
Infantry · November 1968 – December 1969
9th Battalion, Royal Australian Regiment
- Helicopter missions
- 42
- Contacts
- 324
- Operations
- 22
- Dead
- 35
- Australian wounded
- 138
- Enemy killed
- 195
 View unit in Battle MapView missions in Battle Map
Year by year #
324 contacts are recorded for the unit and sub-units, from 19 January 1968 to 14 November 1969. It was the unit in contact in 315 of them, and took part in 9 led by other units.
Unit actions #
In the contacts it led, by the task the report records:
| Task | Contacts | Share |
|---|---|---|
| Patrol | 131 | 42% |
| Security | 78 | 25% |
| Ambush | 67 | 21% |
| Bunker | 16 | 5% |
| Transport | 7 | 2% |
| Artillery and mortar fire | 5 | 2% |
| Mine incident | 4 | 1% |
| Attack | 1 | 0% |
| Not recorded | 6 | 2% |
In another unit's contact in 9 contacts led by other units: 1 Armd Regt (3), 3 Cav Regt (3), 1 ATF (1), 5 RAR (1), ARVN (1).
Operations #
| Operation | Dates | Contacts | Australians killed | Enemy killed |
|---|---|---|---|---|
| TAOR | 29 November 1968 – 23 August 1969 | 4 | 0 | 0 |
| King hit 1 | 11 December 1968 – 12 December 1968 | 4 | 0 | 1 |
| King hit | 13 December 1968 – 14 December 1968 | 2 | 0 | 0 |
| King hit 2 | 13 December 1968 – 22 December 1968 | 11 | 0 | 8 |
| King hit 3 | 18 December 1968 | 1 | 0 | 0 |
| Goodwood | 23 December 1968 – 16 February 1969 | 89 | 11 | 69 |
| JACK | 29 January 1969 – 29 October 1969 | 40 | 2 | 34 |
| Federal | 23 February 1969 – 30 March 1969 | 25 | 0 | 31 |
| KOROBA | 23 February 1969 | 1 | 0 | 4 |
| TAOR patrol | 18 March 1969 | 1 | 0 | 1 |
| Overlander | 29 March 1969 – 16 April 1969 | 33 | 4 | 14 |
| Surfside | 17 April 1969 – 20 April 1969 | 2 | 0 | 2 |
| Reynella | 8 May 1969 – 12 June 1969 | 35 | 3 | 6 |
| U/K | 10 May 1969 – 11 November 1969 | 6 | 0 | 1 |
| Toan Thang III | 24 May 1969 – 25 May 1969 | 2 | 0 | 0 |
| Reynella/Toan Thang III | 25 May 1969 – 6 June 1969 | 4 | 2 | 0 |
| ESSO | 17 June 1969 | 1 | 0 | 1 |
| Readback | 26 June 1969 | 1 | 0 | 0 |
| Matthew | 30 June 1969 – 18 July 1969 | 10 | 4 | 2 |
| Hat Dich | 18 July 1969 – 26 July 1969 | 8 | 2 | 5 |
| Lyre Bird | 15 August 1969 | 1 | 0 | 0 |
| Nepabunna | 15 August 1969 – 11 September 1969 | 15 | 1 | 13 |
Air support #
No. 9 Squadron RAAF's unit history records 42 helicopter missions flown for 9 RAR, from 12 December 1968 to 12 November 1969. 35 casualties were evacuated, as the reports count them; helicopters were fired on from the ground on 3 missions, and hit on 2.
| Mission | Missions | Share |
|---|---|---|
| Troop Lift | 21 | 50% |
| Medevac | 15 | 36% |
| Combat Assault | 2 | 5% |
| Patrol Extraction | 2 | 5% |
| Extraction | 1 | 2% |
| Other | 1 | 2% |
The most significant:
- 16 December 1968: medevac. 3 casualties evacuated. On the allied side: 1 killed, 2 wounded. An accidental clash between two platoons of C Company, 9 RAR left one soldier killed and two wounded. A squadron helicopter captained by Squadron Leader Dirou evacuated them.
- 8 February 1969: medevac. 2 casualties evacuated. Fired on from the ground, and hit. On the allied side: 1 killed, 1 wounded. US Army Dustoff 30 was hit by ground fire and put out of action while winching out an Australian killed from 9 RAR. At 2.30 pm Albatross 04, captained by Flying Officer Parsons, went to 9 RAR's help and winched out, by …
- 9 March 1969: medevac. 8 casualties evacuated. On the allied side: 3 killed, 2 wounded. A 9 RAR patrol strayed into the minefield around the ARVN training camp. Night Dustoff 1 and 2 were called at 2.45 am and took off at 3.02 am. Albatross 01 (Flying Officer Davies) lifted out two stretcher patients, one …
- 18 July 1969: medevac. 5 casualties evacuated. On the allied side: 5 wounded. Pilot Officer McFarlane lifted out five Australians of C Company, 9 RAR with gunshot wounds.
- 26 July 1969: medevac. 4 casualties evacuated. Hit. On the allied side: 4 wounded. Flying Officer Bradford used a jungle penetrator on a winch at 70 to 80 feet to evacuate three wounded Australians. Pilot Officer McFarlane then evacuated a fourth from the same spot, a 9 RAR soldier who had been hit in …
View the missions in Battle Map
Notable contacts #
19 January 1968: Patrol #
First · 9 RAR in contact
Enemy: 1 killed.
A Company made contact with one enemy, who was killed.
10 January 1969: Bunker, Operation Goodwood #
Significant · 9 RAR in contact
Australian: 1 killed, 6 wounded. Enemy: 10 killed.
3 Platoon, A Company, 9 RAR, sweeping an area, came under fire from a large bunker system with heavy and light machine-guns, rocket-propelled grenades and Claymores. The fight drew in 2 Platoon and lasted three and a half hours, until contact was broken at dusk with the help of artillery, mortars and helicopter gunships. One Australian was killed and six wounded; ten enemy were killed.
18 January 1969: Patrol, Operation Goodwood #
Typical: patrol · 9 RAR in contact
Australian: 1 killed, 2 wounded. Enemy: 2 killed, 3 wounded.
2 Platoon, A Company, 9 RAR, was engaged from the rear by about ten enemy in black and green, who withdrew. Two enemy were killed and three wounded, and rifles and seven packs of rice captured; one Australian was shot in the stomach and two others slightly hurt.
19 January 1969: Security, Operation Goodwood #
Significant · 9 RAR in contact
Australian: 3 killed, 5 wounded.
A Company, 9 RAR, was packing up its Claymores to leave its night position when three rocket-propelled grenades were fired at it; one landed among a section of 2 Platoon gathered for orders. Three Australians were killed and five wounded. The platoon returned fire and called in artillery and gunships, and the lesson drawn was not to stand around in groups.
4 February 1969: Ambush, Operation Goodwood #
Typical: ambush · 9 RAR in contact
Enemy: 6 killed, 2 wounded.
5 Platoon, B Company, 9 RAR, ambushed a creek crossing at first light as about 20 enemy came in quietly and well spread out. Claymores and rifle fire killed three, three more were killed as the rest tried to escape, and artillery and mortars hit the escape routes; six enemy were killed and more later found dead of shrapnel wounds. The platoon commander credited the success to concealment and fire discipline, and to using all its firepower once the ambush was sprung.
8 February 1969: Bunker, Operation Goodwood #
Significant · In 5 RAR's contact
Australian: 1 killed, 5 wounded. Enemy: 4 killed.
D Company, 9 RAR, moving west, ran into a bunker system of 21 bunkers that was bigger than it first thought. 11 Platoon was hit by rocket-propelled grenades, and when the medical helicopter came in, 12 Platoon was fired on by heavy machine-guns and rockets and the helicopter was driven off; the company withdrew while artillery, air strikes and gunships hit the camp, and found it empty the next day. One Australian was killed and five wounded; four enemy bodies were found. The company commander warned against being drawn into a bunker fight without heavy support, and noted how patiently the enemy held fire until a helicopter was hovering.
14 February 1969: Bunker, Operation Goodwood #
Significant · 9 RAR in contact
Australian: 5 wounded. Enemy: 6 killed.
8 Platoon, C Company, 9 RAR, entering a gully, fired on an enemy soldier and found itself facing at least a platoon in a bunker system, under rifle and rocket fire. The company commander brought 9 Platoon round the north flank and used artillery to block the south, but 9 Platoon was also hit and pulled back to let the artillery work on the bunkers. After five hours, gunships covered the company's withdrawal and the area was shelled; the bunkers were destroyed the next day after the enemy had gone. Five Australians were wounded and six enemy killed; the enemy's fire, aimed about a metre above the ground, was noted as very well controlled.
23 February 1969: Security, Operation Federal #
Significant · 9 RAR in contact
Enemy: 15 killed.
D Company, 9 RAR, saw rockets being fired from about 600 metres away. Artillery and the mortar platoon fired on the launch site, and shouting and running were heard. A patrol the next morning found seven enemy dead, six makeshift launchers and nine rockets, and more bodies were found in the area in the following days, fifteen in all.
8 April 1969: Bunker, Operation Overlander #
Typical: bunker · 9 RAR in contact
Australian: 1 killed, 6 wounded. Enemy: 1 wounded.
12 Platoon, D Company, 9 RAR, came on a latrine and was fired on from an enemy platoon's bunker system, with snipers, a Claymore and rocket-propelled grenades, along a 200-metre front with good fire lanes. It withdrew by fire and movement under gunship, artillery and mortar cover, and the whole company then cleared 25 bunkers of a larger system by evening. One Australian died of wounds and six were wounded; one enemy sniper was shot out of a tree. The platoon noticed the enemy's fire followed its machine-guns, and suggested moving them during a long fight.
6 June 1969: Security, Operation Reynella #
Typical: security · 9 RAR in contact
Australian: 1 killed, 7 wounded.
Fire Support Base Thrust, 9 RAR's headquarters, was hit by 25 to 30 mortar bombs. The enemy fired while the base's own guns were firing, which made their mortar hard to locate; it was found by a patrol the next day. One Australian was killed and six or seven wounded.
19 July 1969: Bunker, Operation Hat Dich #
Significant · 9 RAR in contact
Australian: 1 killed, 8 wounded. Enemy: 4 wounded.
Following up an earlier contact, the forward section of 7 Platoon, C Company, 9 RAR, came under heavy rocket and rifle fire from about a platoon in a large bunker system. The forward scout was killed and eight men wounded, one of them trying to reach him, and the section lost its weapons as it was dragged clear. 9 Platoon's move round the flank eased the pressure; low cloud ruled out air strikes, but helicopter gunships were very effective, and artillery fired through the night. When the company attacked the next morning after heavy shelling, the enemy had gone, leaving blood trails.
4 September 1969: Security, Operation Nepabunna #
Significant · In 1 ATF's contact
Australian: 4 wounded. Enemy: 1 killed, 8 wounded.
The enemy got through the Regional Force bunkers into Dat Do and came up against a small mobile advisory team from B Company, 9 RAR, firing rocket-propelled grenades. The team fought back with a gunship aircraft overhead through the night, and tanks, carriers and a platoon were assembled to attack at dawn, but the enemy withdrew at first light. Three or four Australians were wounded; four Regional Force soldiers were killed and four wounded, and one enemy was killed.
24 October 1969: Ambush, Operation JACK #
Significant · 9 RAR in contact
Enemy: 6 killed, 6 wounded.
A Company ambushed a large enemy group of 50 to 60. 1 Platoon let a leading party of five through, and 2 Platoon, 200 metres away, let the vanguard pass and sprang its ambush on the next group of about 20; artillery and a gunship aircraft then fired on the larger group behind. Three enemy were possibly killed and six wounded, and 100 pounds of rice was recovered.
14 November 1969: Security #
Last · 9 RAR in contact
A patrol of 9 RAR heard about three Viet Cong moving to its west, and fired pre-arranged defensive fire on the area with unknown results.
Sub-units #
A Company #
62 contacts, 19 January 1968 to 26 October 1969; 9 operations. Australian: 11 killed, 24 wounded. Enemy: 38 killed, 38 wounded.
Actions: ambush 34%, patrol 27%, security 25%, bunker 10%, artillery and mortar fire 3%.
Most significant contacts:
- 10 January 1969: bunker, Operation Goodwood. Australian: 1 killed, 6 wounded. Enemy: 10 killed.
- 19 January 1969: security, Operation Goodwood. Australian: 3 killed, 5 wounded.
- 24 October 1969: ambush, Operation JACK. Enemy: 6 killed.
B Company #
94 contacts, 14 December 1968 to 11 November 1969; 17 operations. Australian: 10 killed, 29 wounded. Enemy: 53 killed, 50 wounded.
Actions: patrol 38%, security 24%, ambush 23%, bunker 4%, mine incident 3%.
Most significant contacts:
- 6 January 1969: bunker, Operation Goodwood. Australian: 2 killed, 4 wounded.
- 4 February 1969: ambush, Operation Goodwood. Enemy: 6 killed.
- 4 September 1969: security, Operation Nepabunna. Australian: 4 wounded. Enemy: 1 killed.
C Company #
66 contacts, 13 December 1968 to 29 October 1969; 13 operations. Australian: 1 killed, 23 wounded. Enemy: 50 killed, 29 wounded.
Actions: patrol 61%, ambush 20%, security 15%, bunker 3%.
Most significant contacts:
- 16 January 1969: ambush, Operation Goodwood. Enemy: 5 killed.
- 14 February 1969: bunker, Operation Goodwood. Australian: 5 wounded. Enemy: 6 killed.
- 19 July 1969: bunker, Operation Hat Dich. Australian: 1 killed, 8 wounded.
D Company #
77 contacts, 20 January 1968 to 12 November 1969; 12 operations. Australian: 5 killed, 39 wounded. Enemy: 47 killed, 17 wounded.
Actions: patrol 45%, security 29%, ambush 16%, bunker 5%, artillery and mortar fire 1%.
Most significant contacts:
- 5 January 1969: bunker, Operation Goodwood. Australian: 5 wounded.
- 23 February 1969: security, Operation Federal. Enemy: 15 killed.
- 8 April 1969: bunker, Operation Overlander. Australian: 1 killed, 6 wounded.
Roll of honour #

The unit's 35 dead on the honour roll: those on a tour with the unit when they died, and reinforcements killed in the unit's contacts. Each opens their entry on the honour roll.
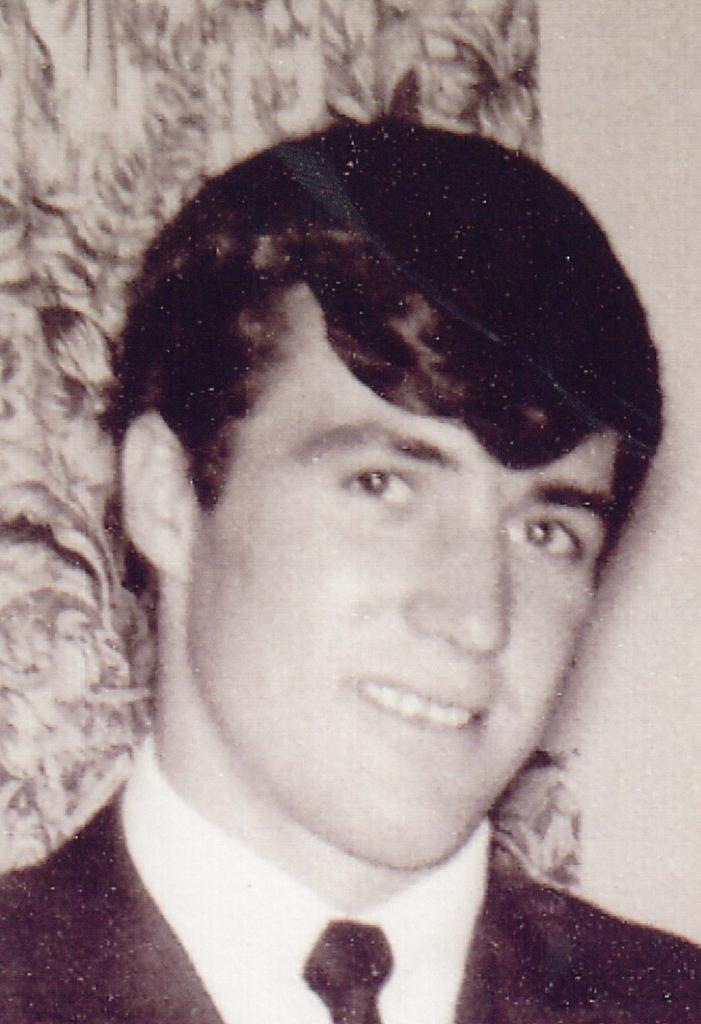 Ronald James Gaffney
Private
16 December 1968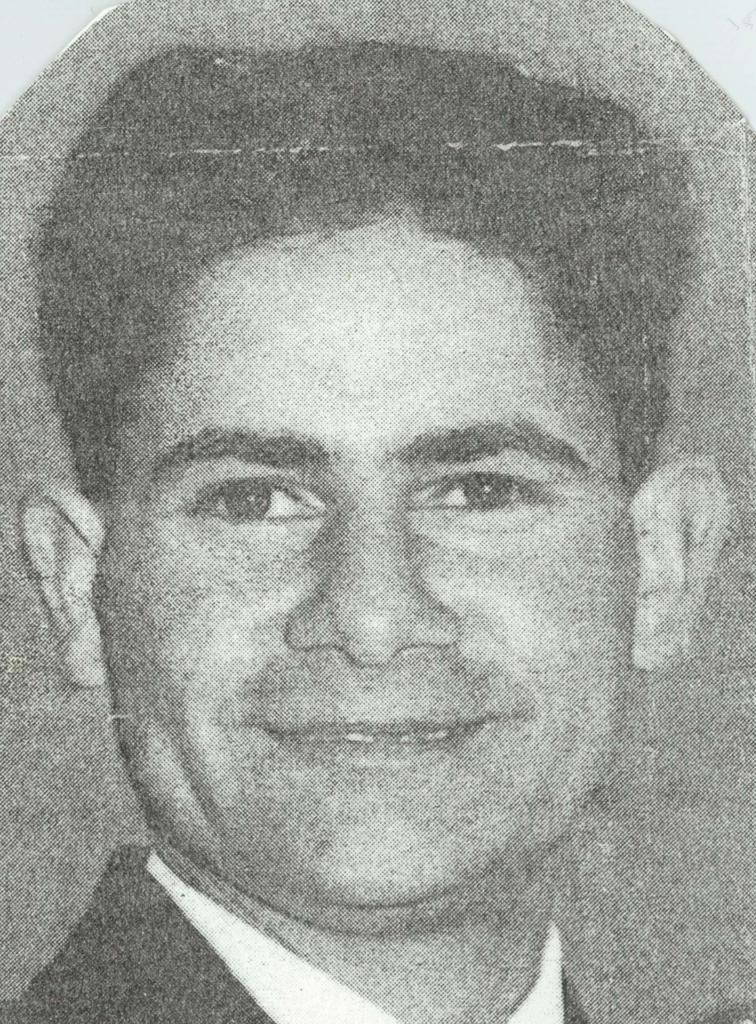 Jeffrey Max Duroux
(Temporary) Sergeant
5 January 1969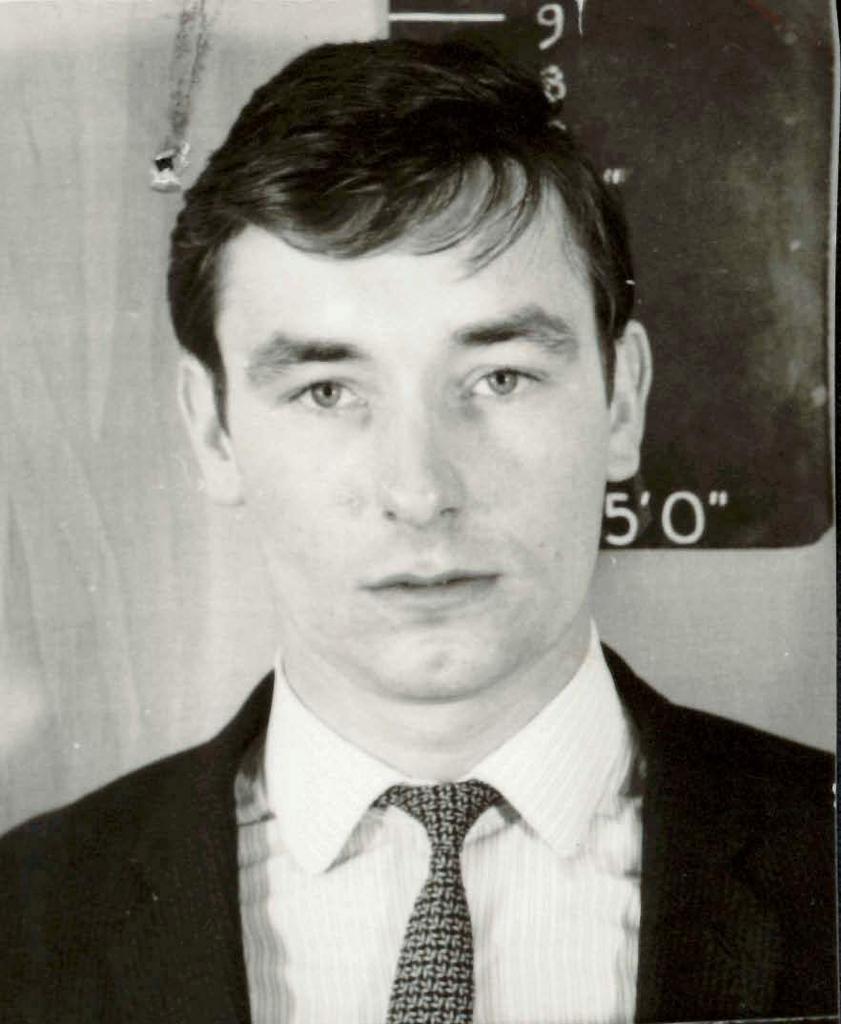 George Nagle
Private
6 January 1969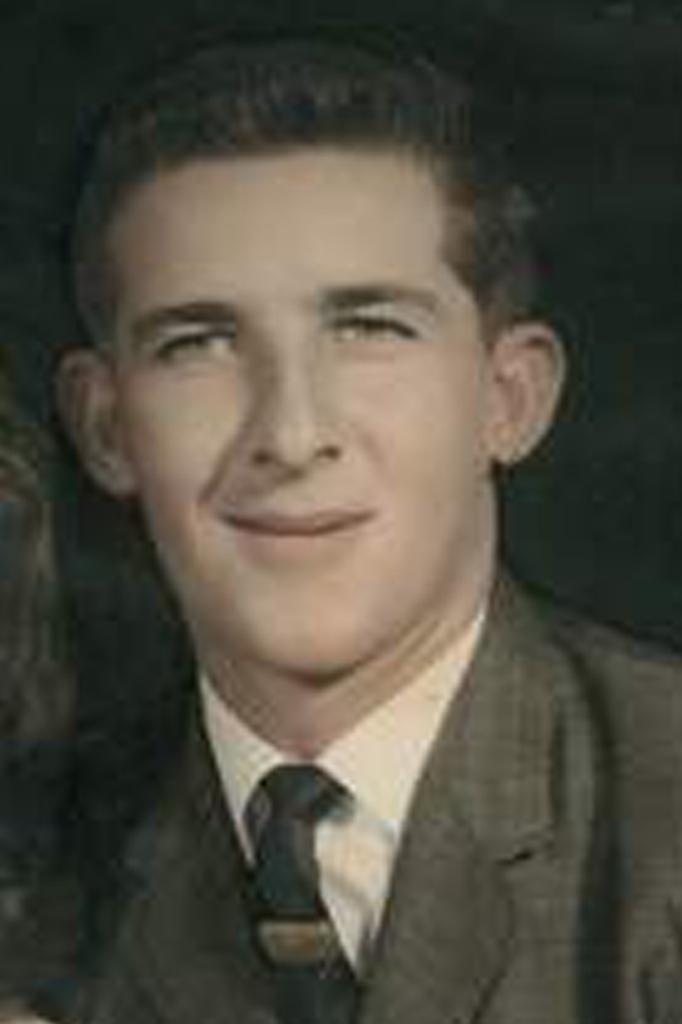 Allan Walter Graham
Corporal
7 January 1969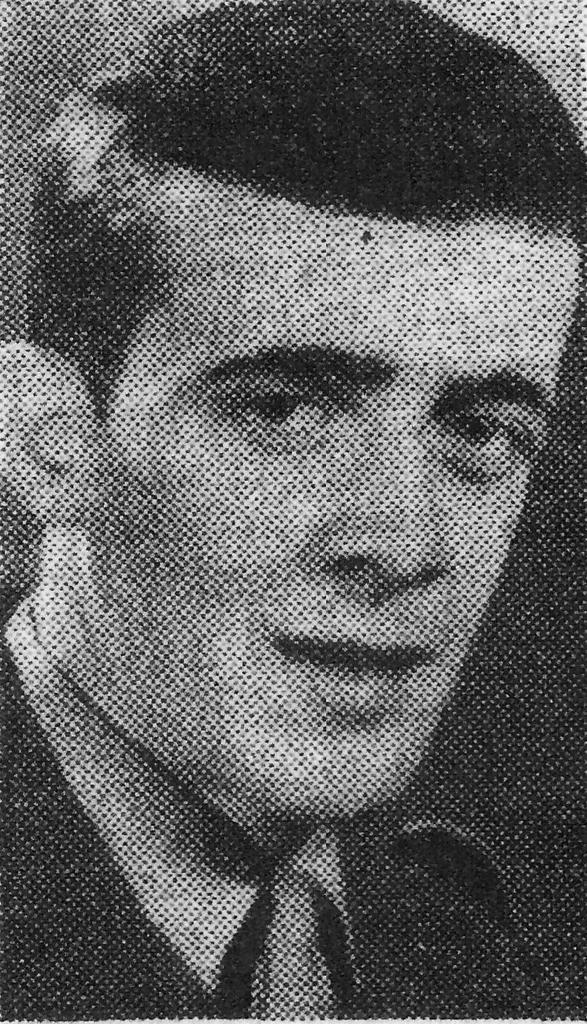 Thomas Frederick Meredith
Private
10 January 1969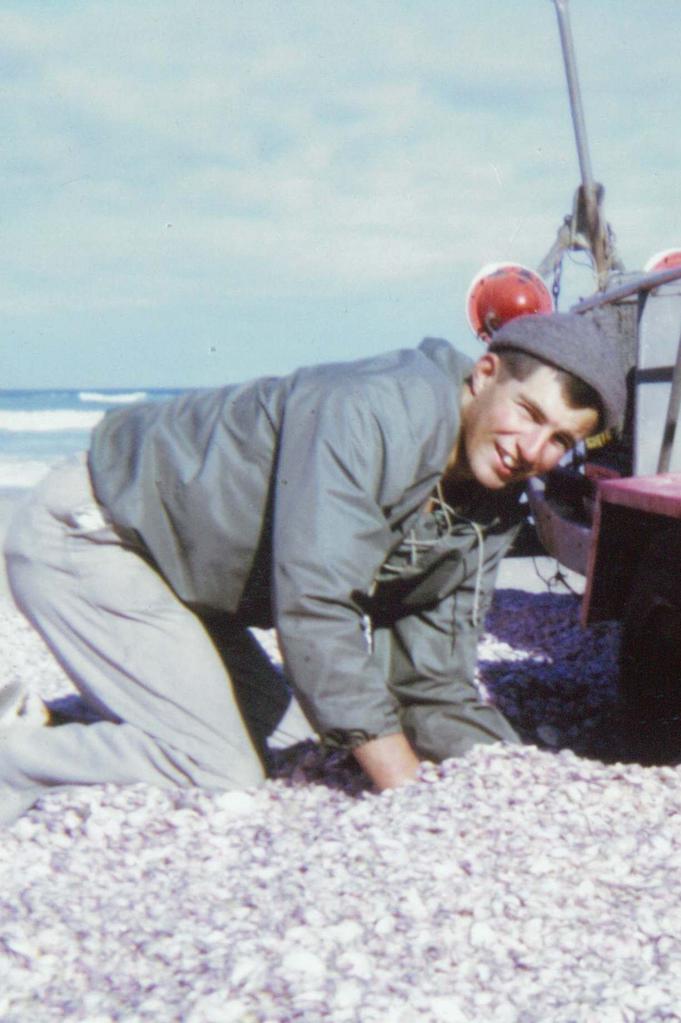 Reginald Arthur Phillips
Private
18 January 1969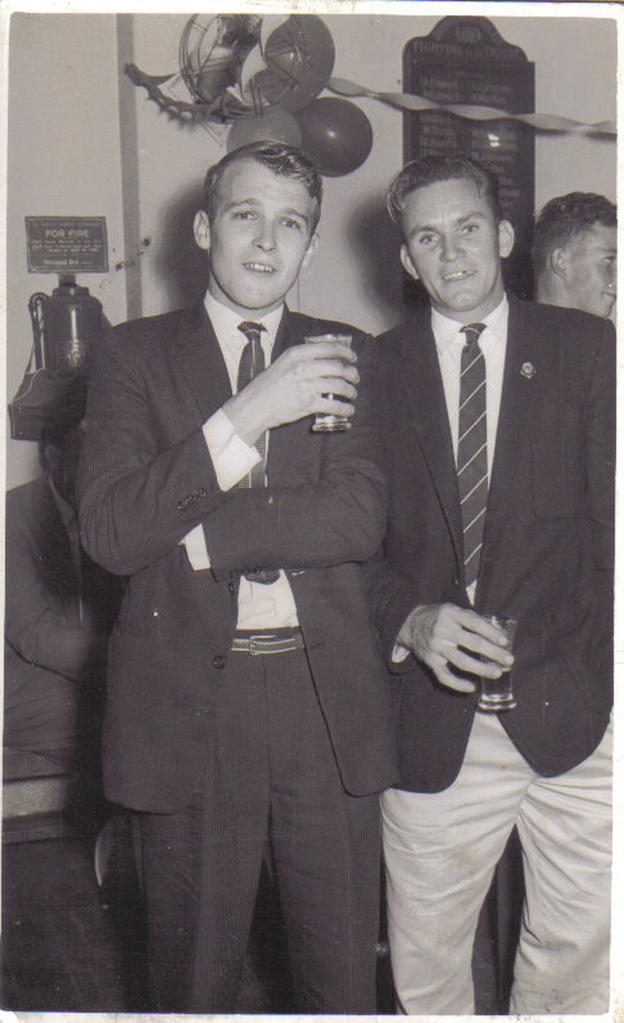 Arnold Sykes
Private
19 January 1969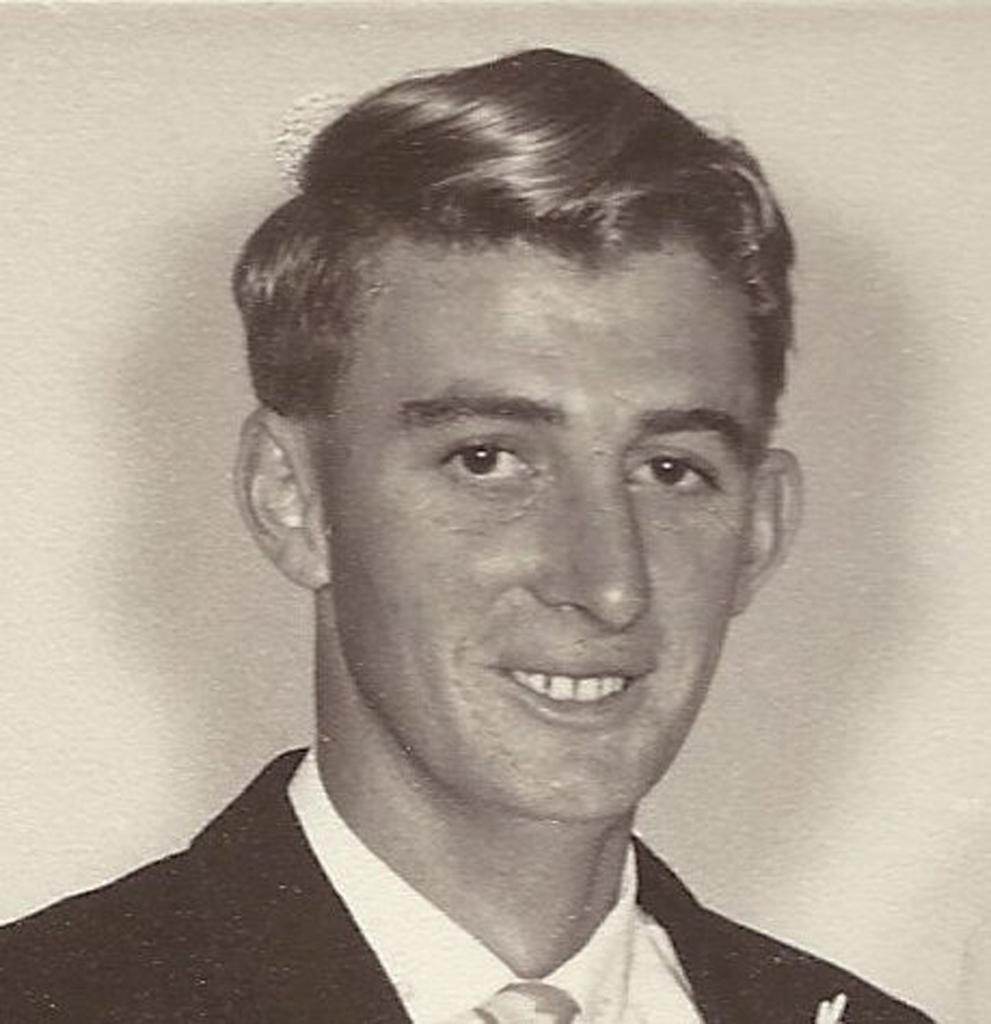 Harold Robert Musicka
Corporal
19 January 1969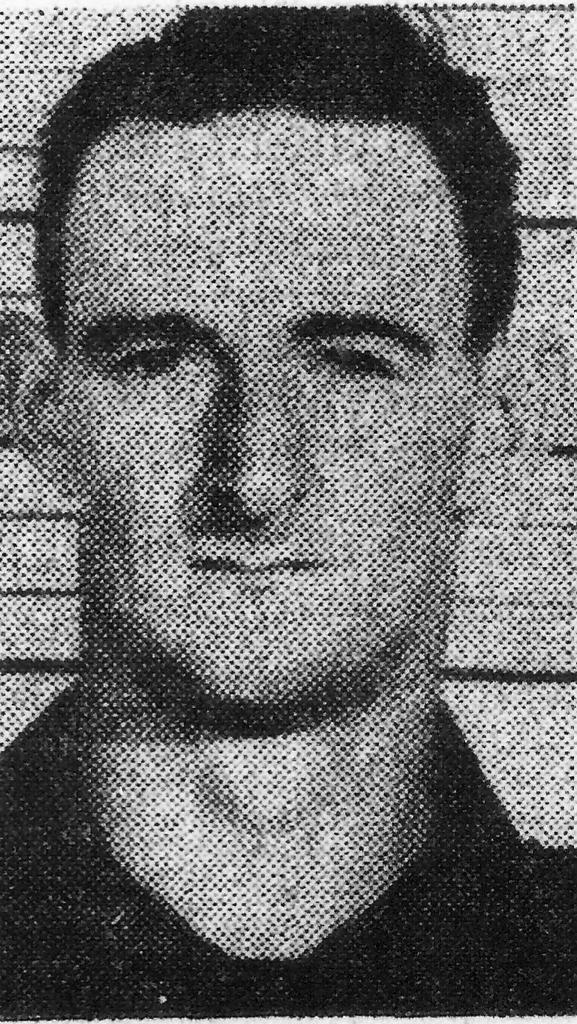 John Raymond Cock
Sergeant
19 January 1969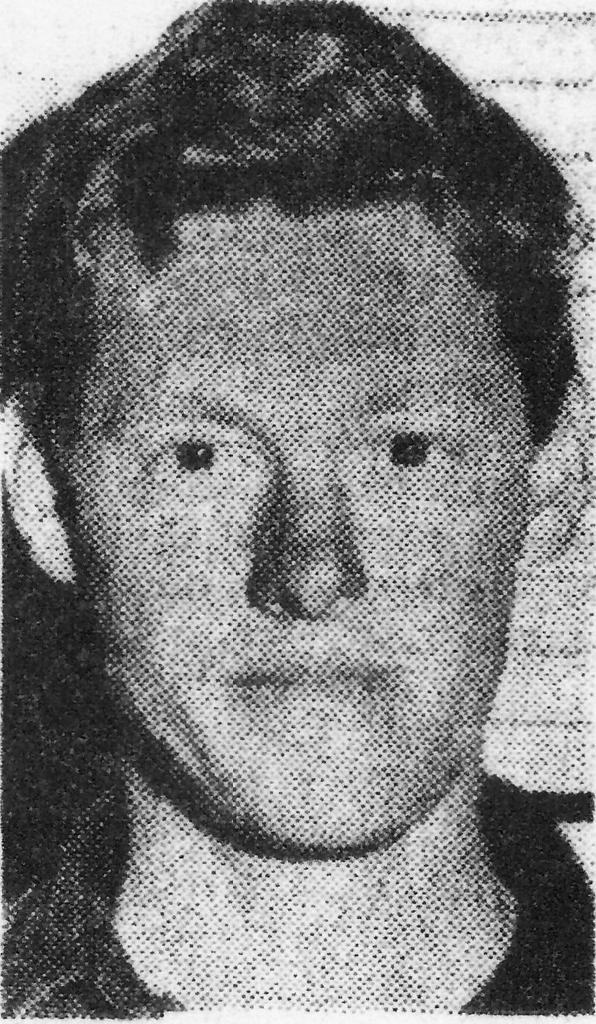 Peter Charles Smith
Private
19 January 1969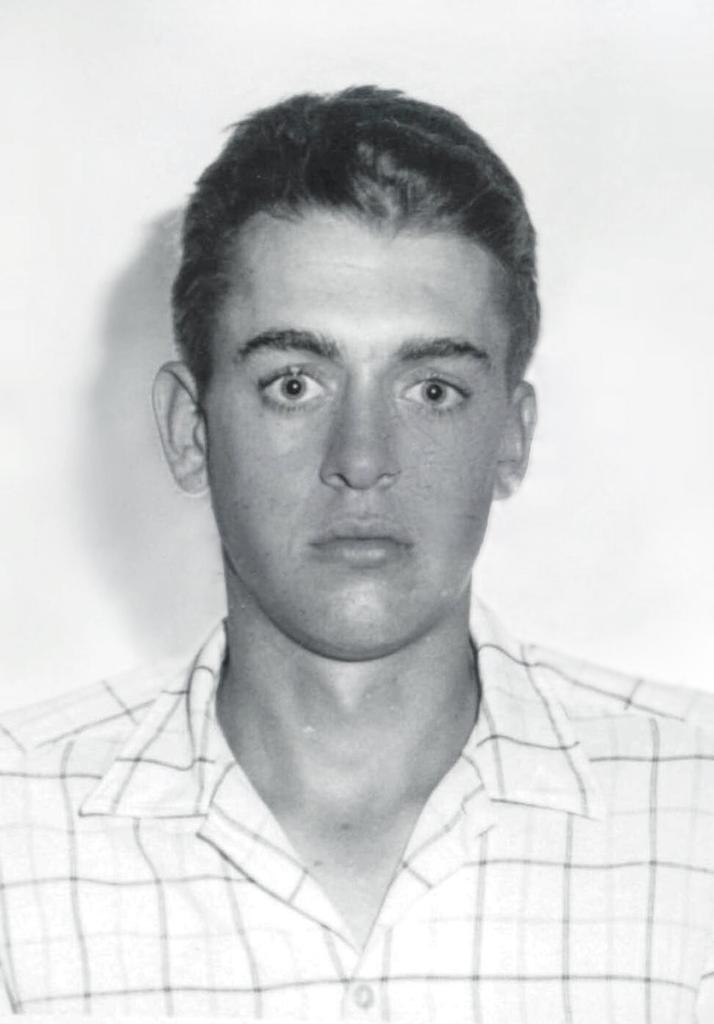 Robert MacDonald Key
Private
19 January 1969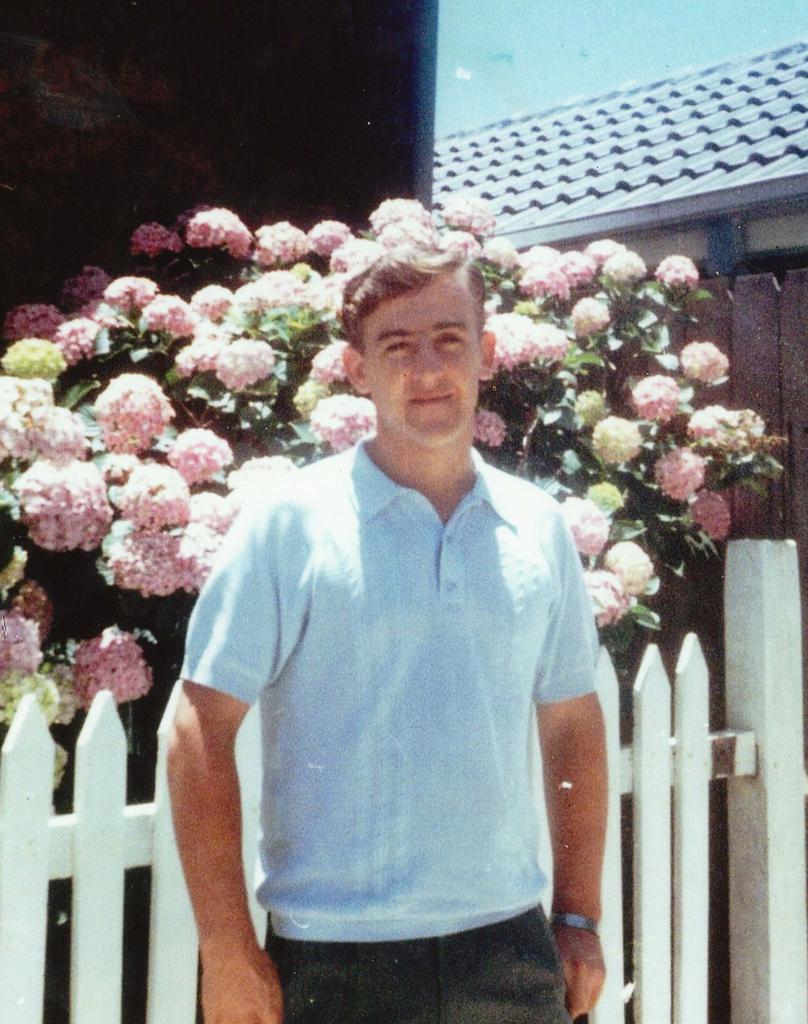 Bruce James Plane
Private
20 January 1969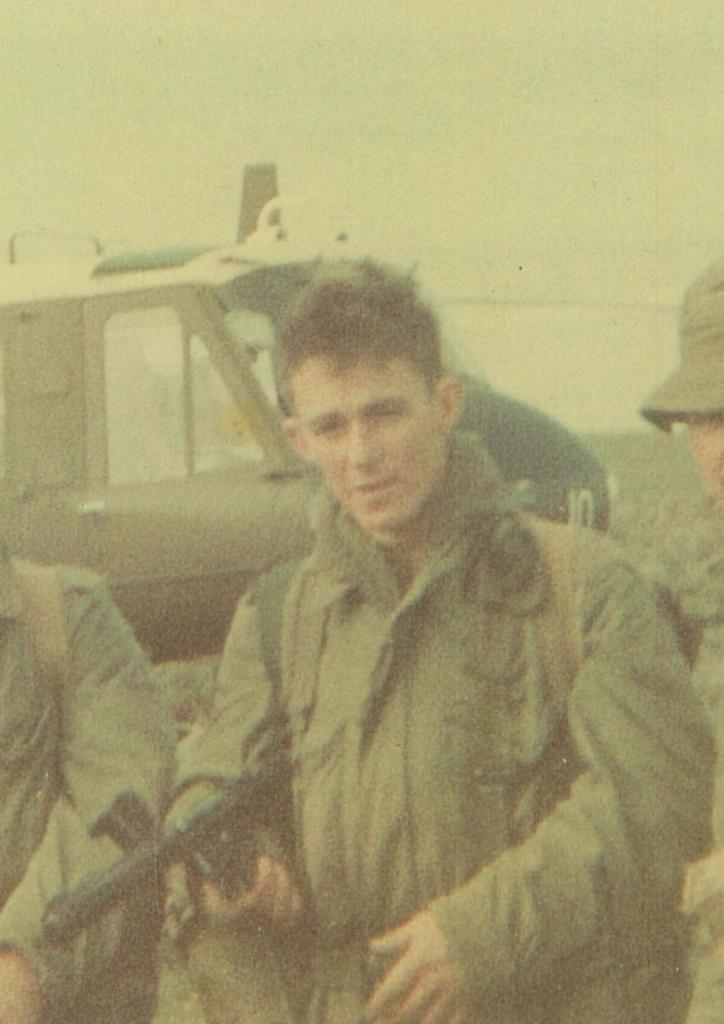 Gary Alex Archer
Private
4 February 1969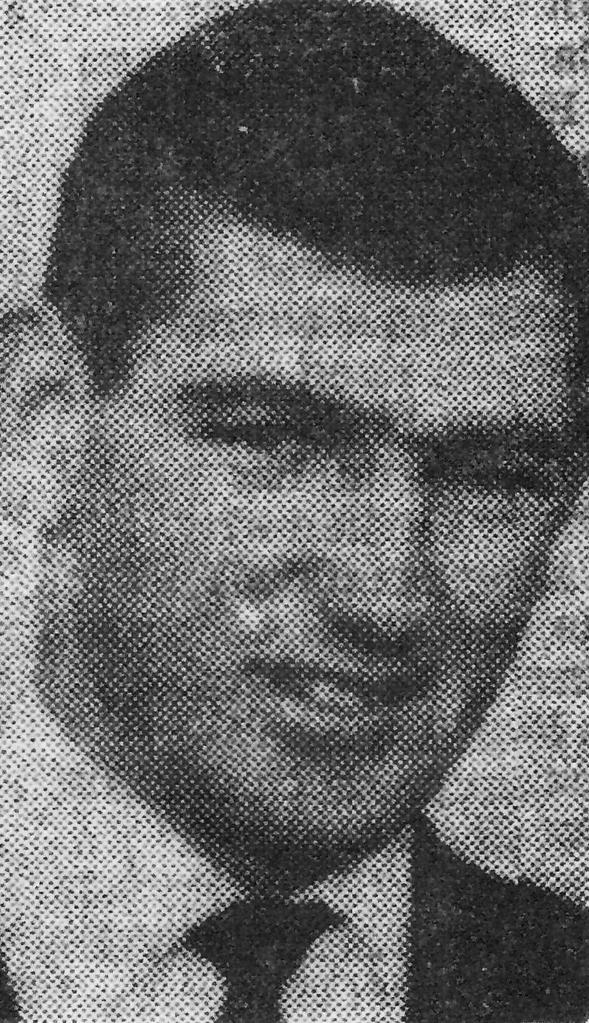 Malcolm Ross Mcconachy
Lance-Corporal
8 February 1969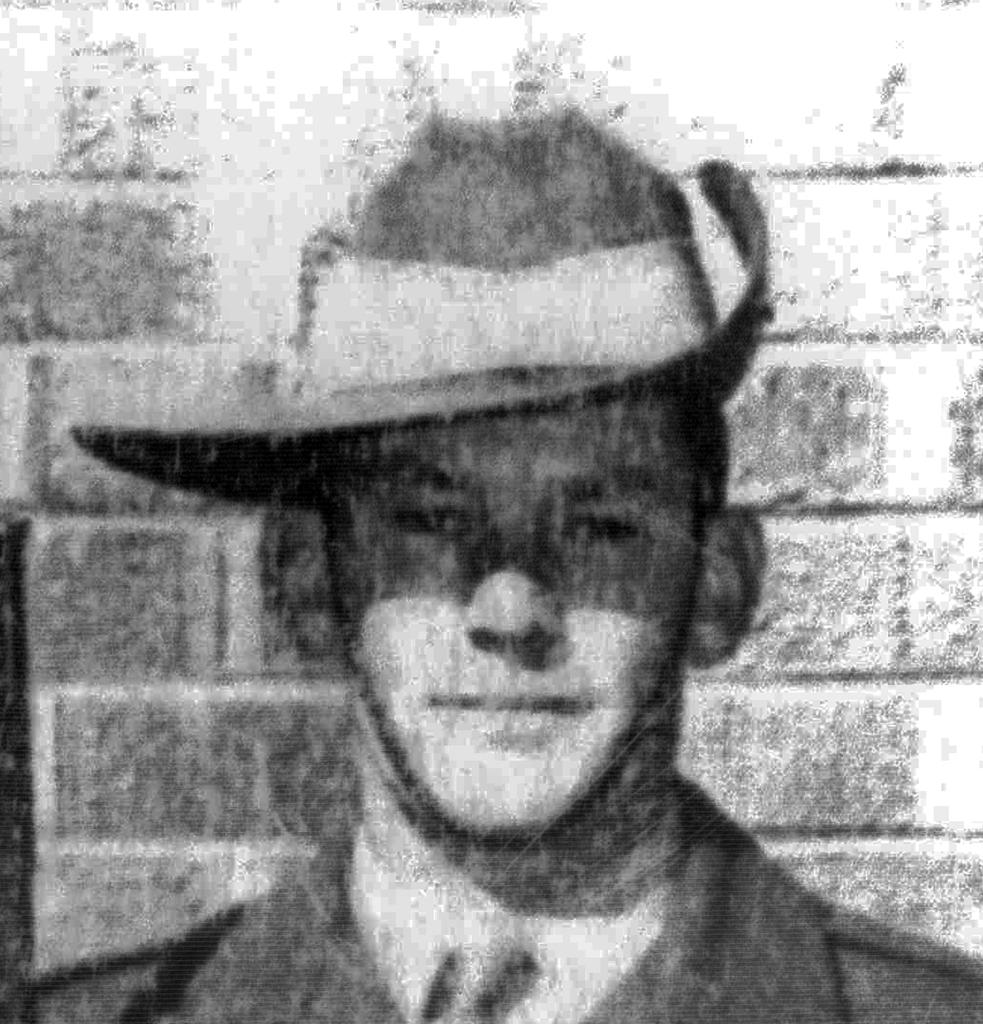 Peter Allan Chant
(Acting) Lance-Corporal
14 February 1969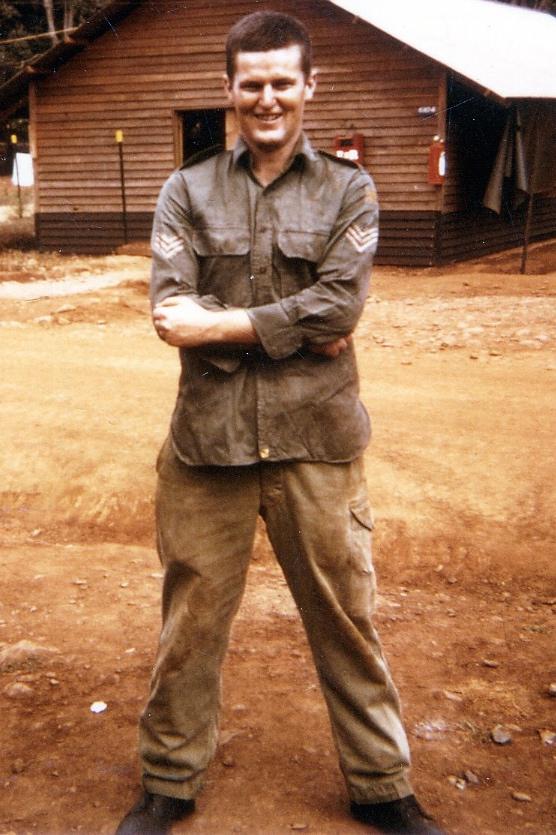 Grantley James Scales
Private
5 March 1969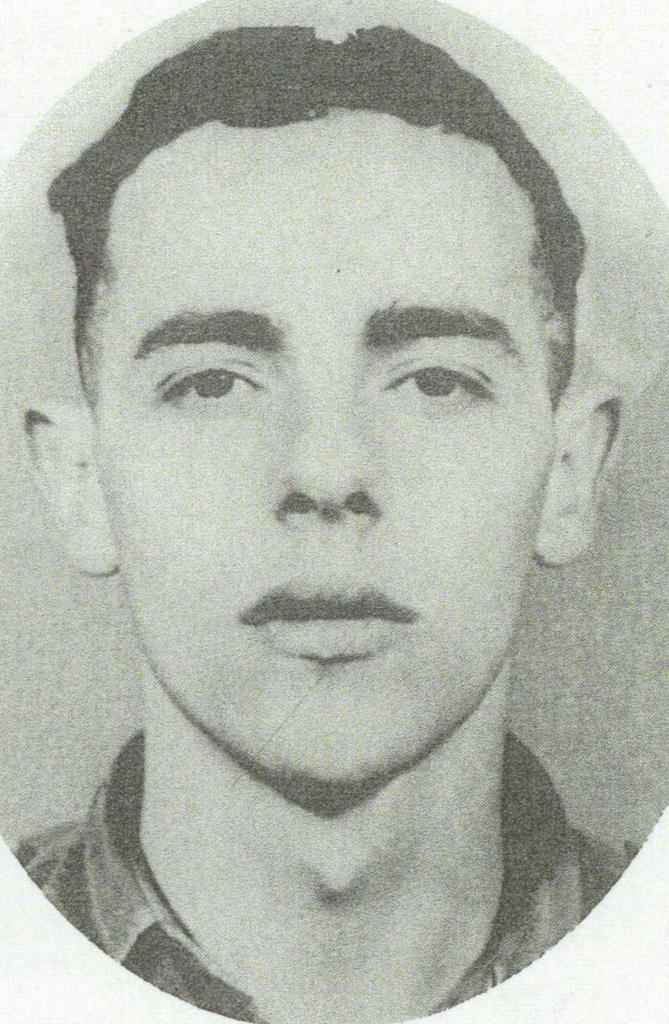 Barry Randolph George
Private
7 April 1969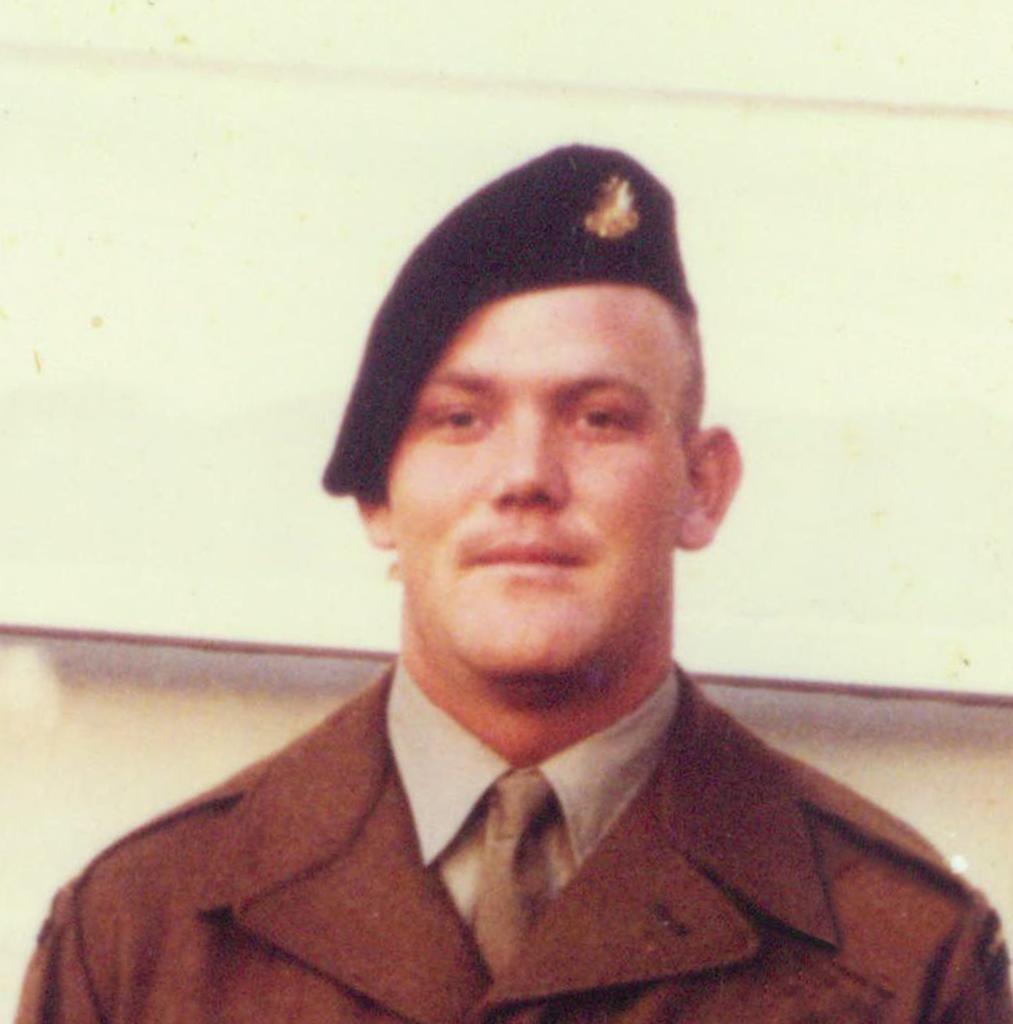 Trevor Ralph Black
Private
8 April 1969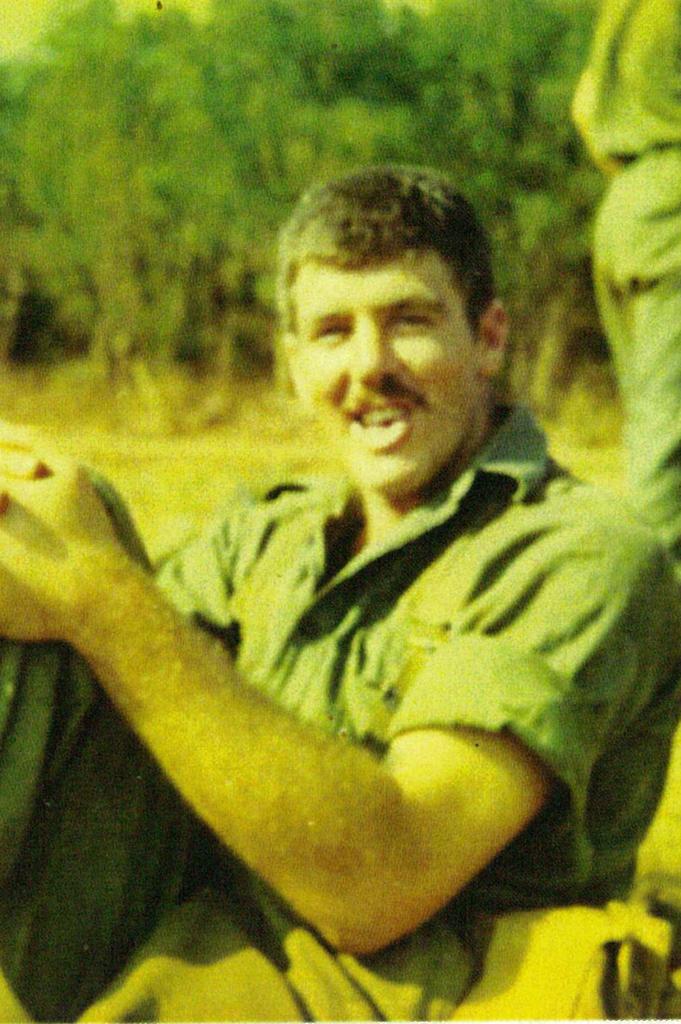 Lyall Hugh Mcpherson
Private
12 April 1969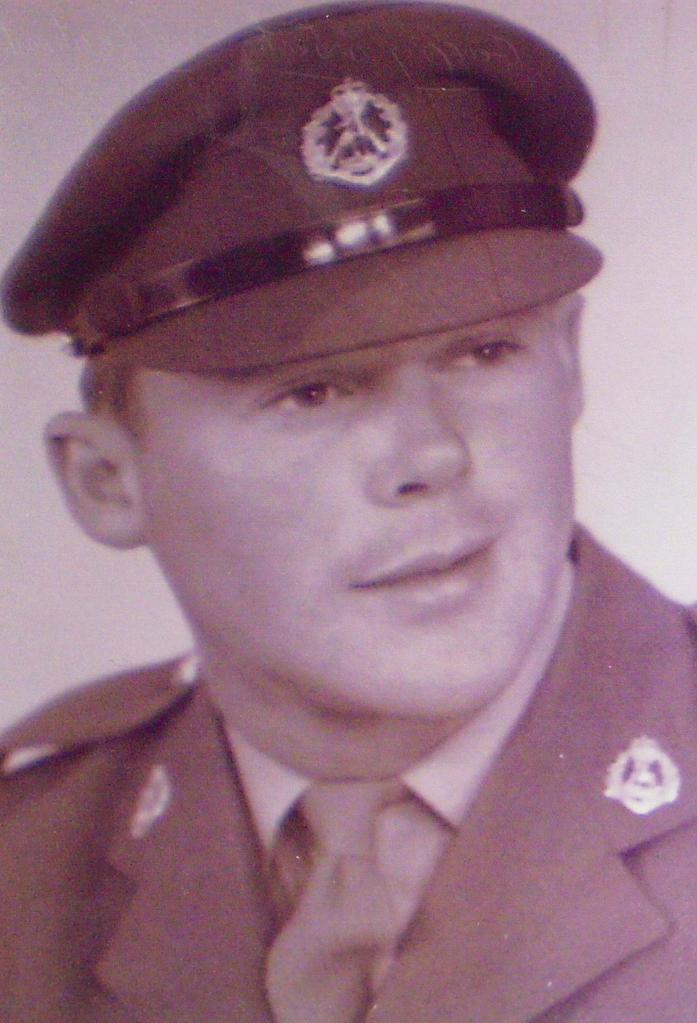 Geoffrey Robert Locke
2nd Lieutenant
9 May 1969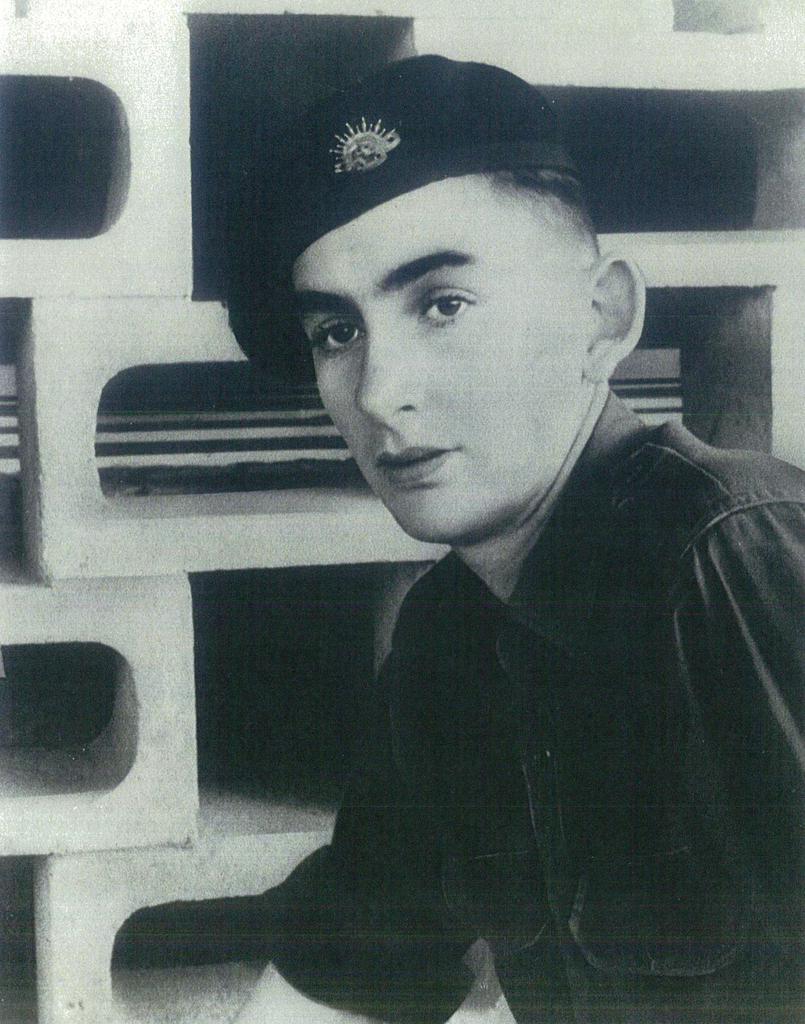 Robert James Yule
Private
11 May 1969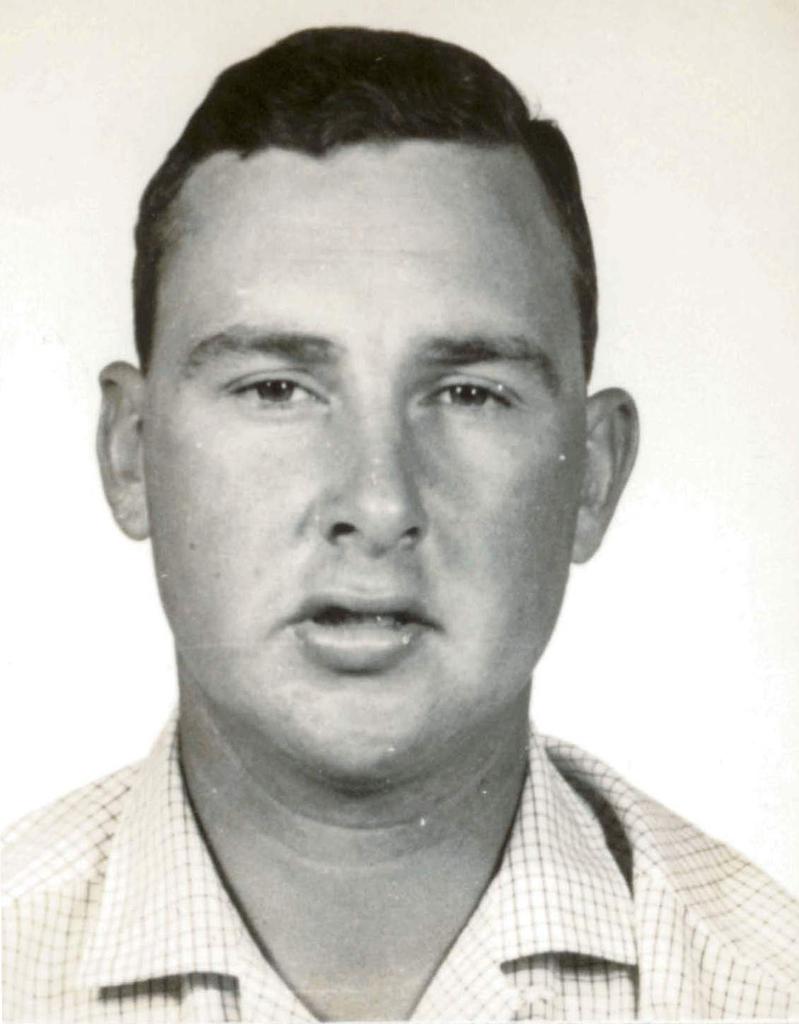 Paul Francis Reidy
Private
25 May 1969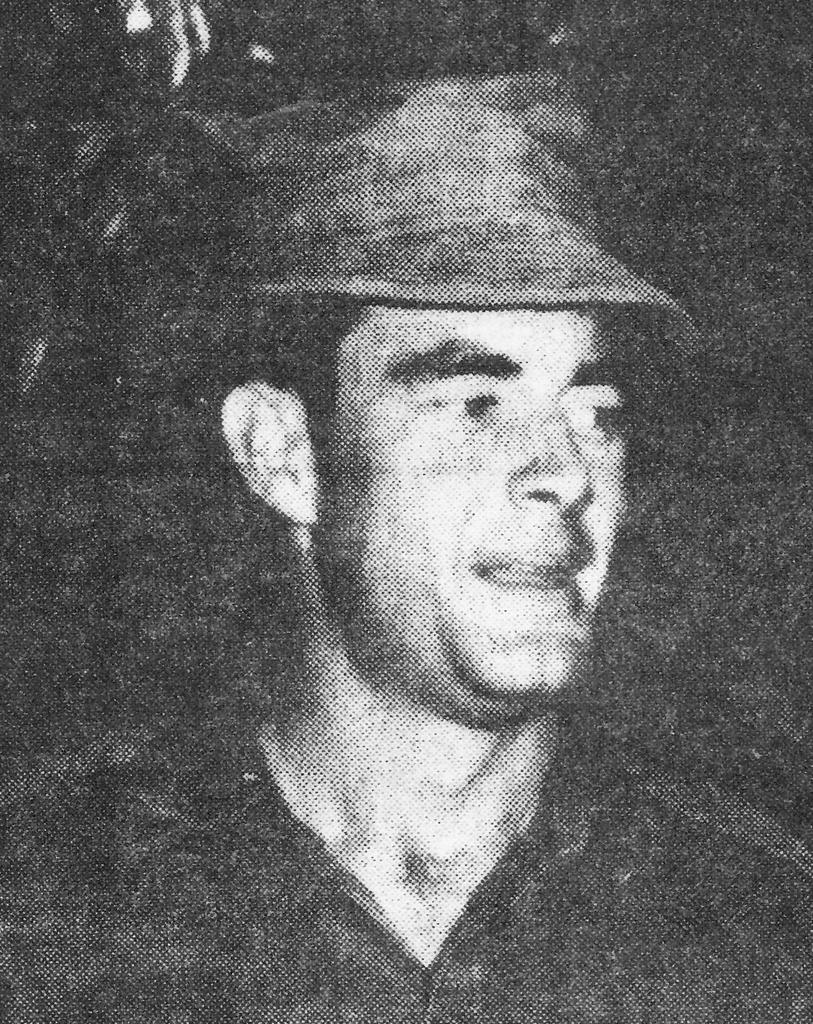 David John Brennan
Corporal
6 June 1969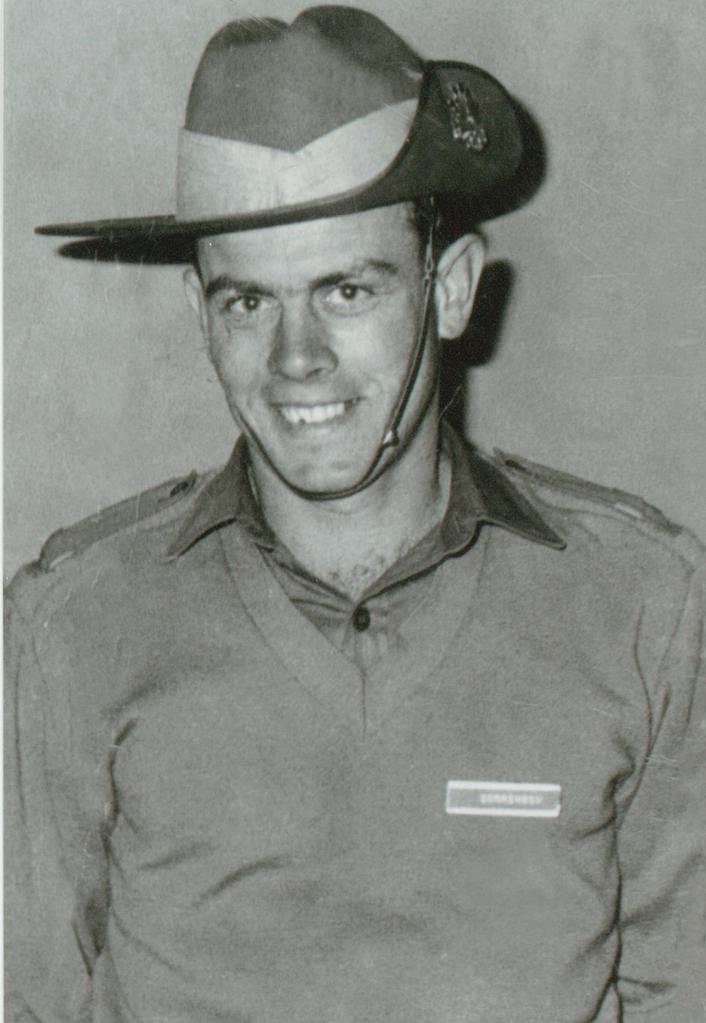 Gordon Dennis Sorrensen
Private
30 June 1969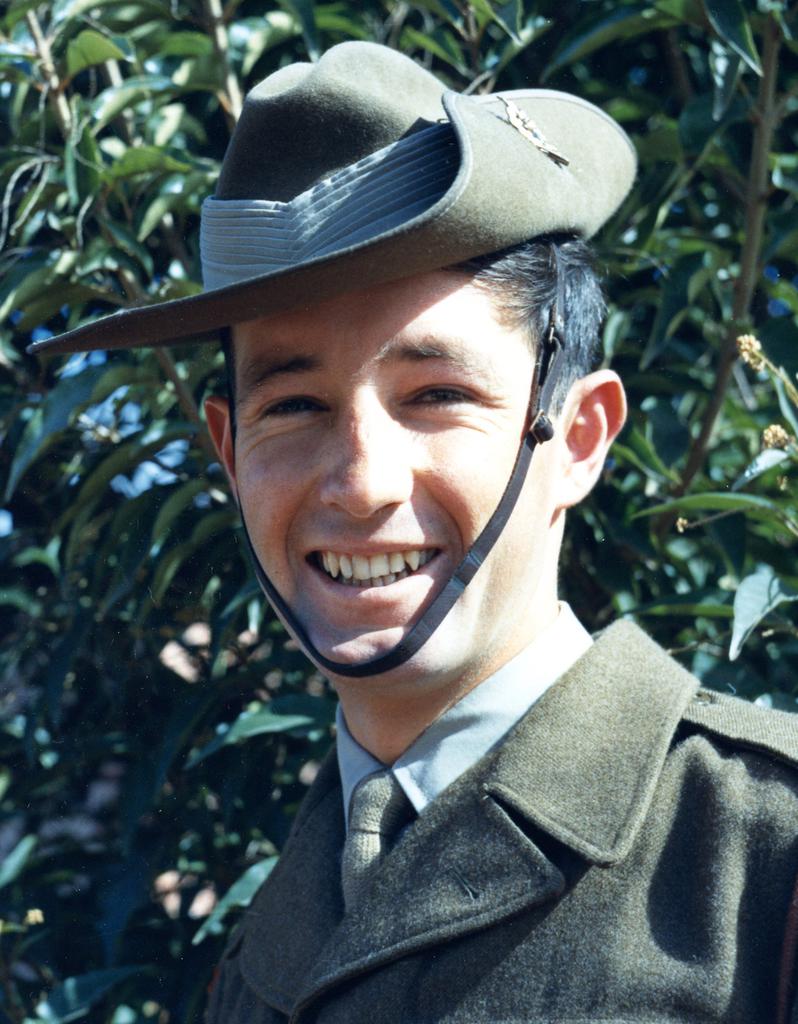 Richard John Abraham
Lance-Corporal
6 July 1969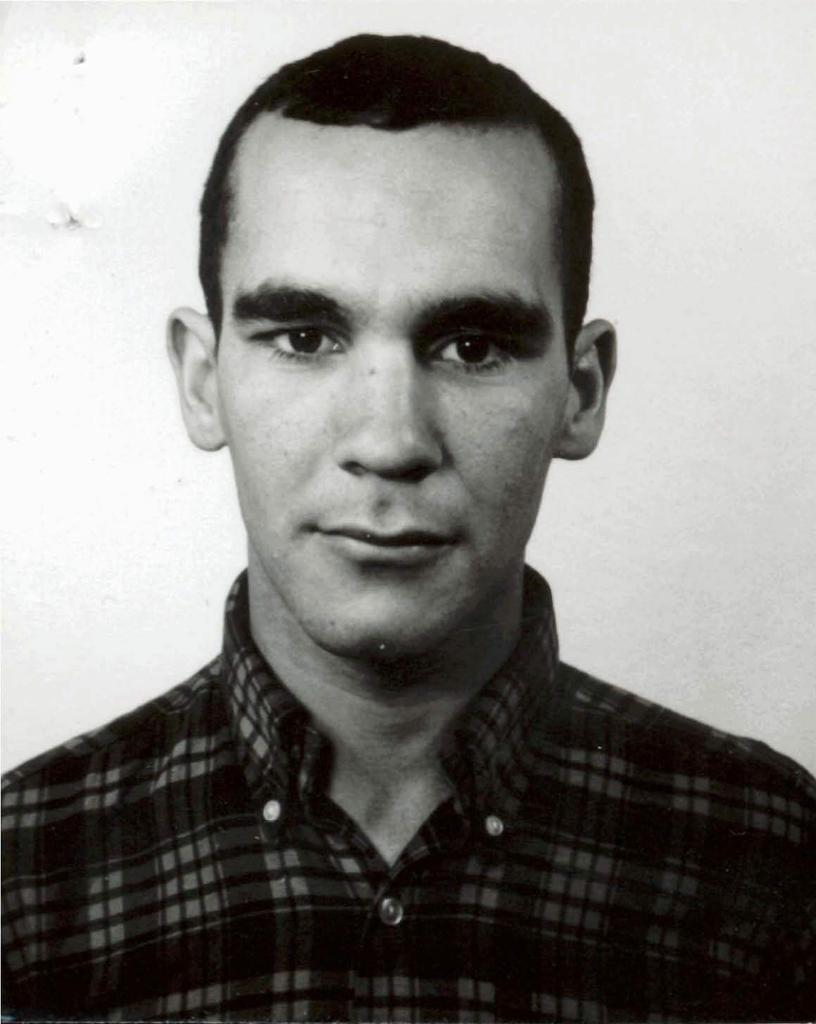 Beresford Paul Edwards
Private
12 July 1969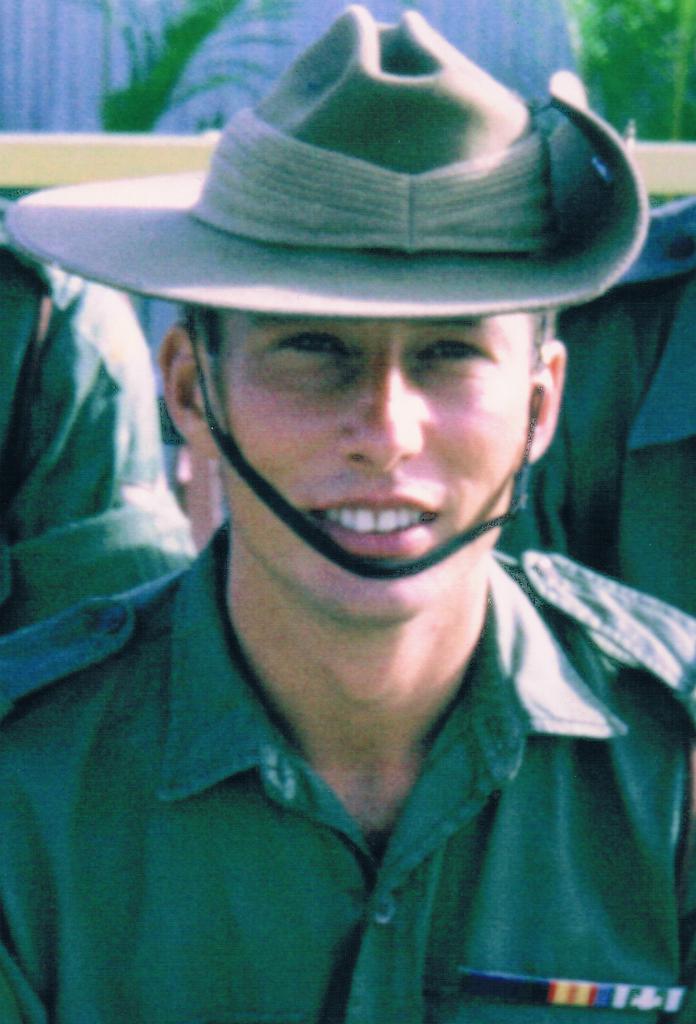 Bruno Adam Josef Adamczyk
Corporal
12 July 1969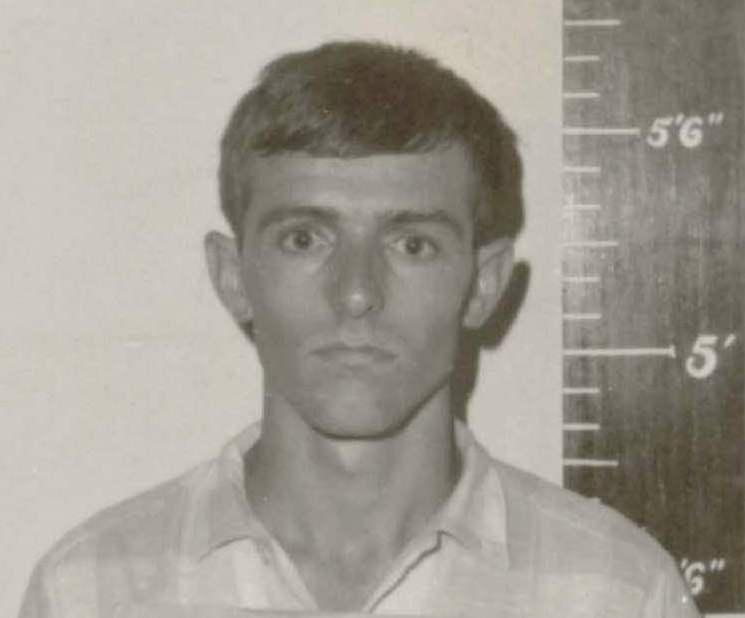 Raymond Charles Kermode
Private
19 July 1969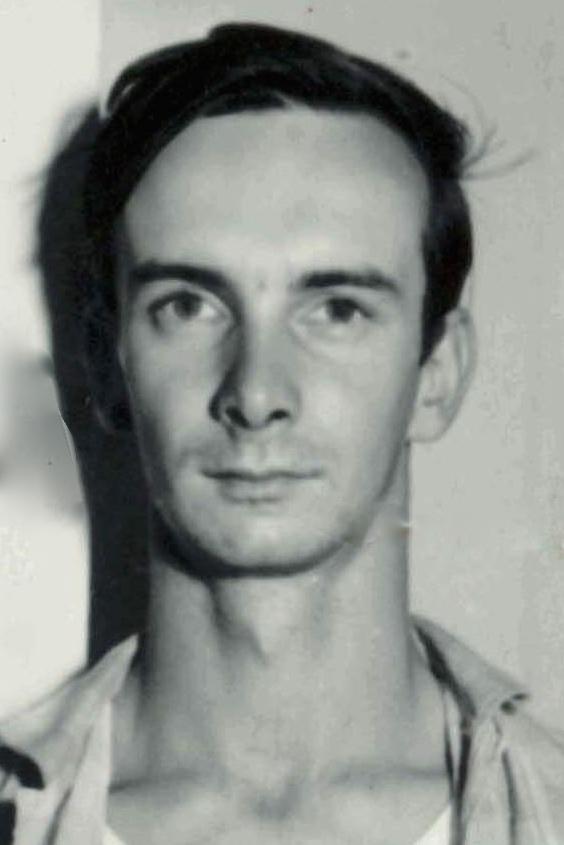 Raymond John Moore
Private
24 July 1969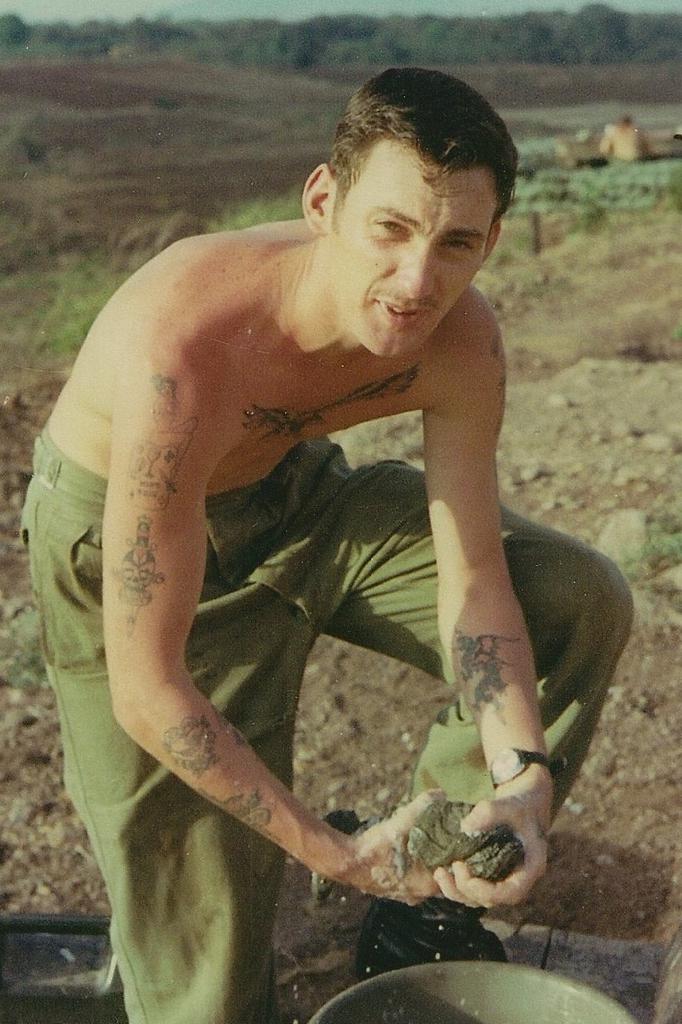 Brian Rennie
Private
7 September 1969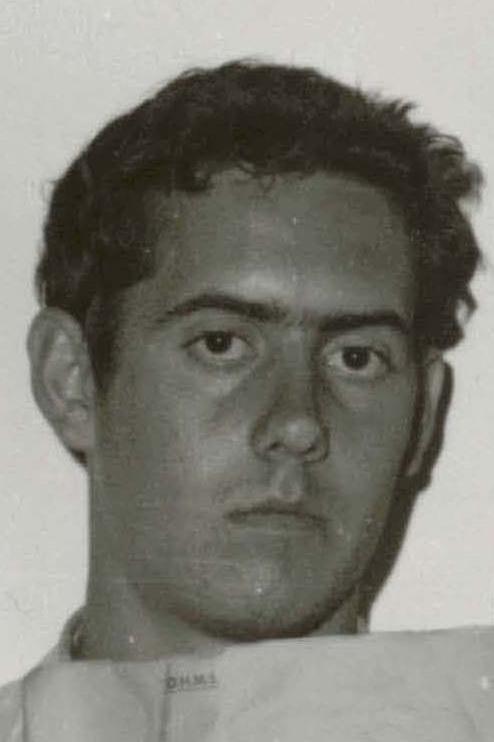 Kevin John Prior
Private
2 October 1969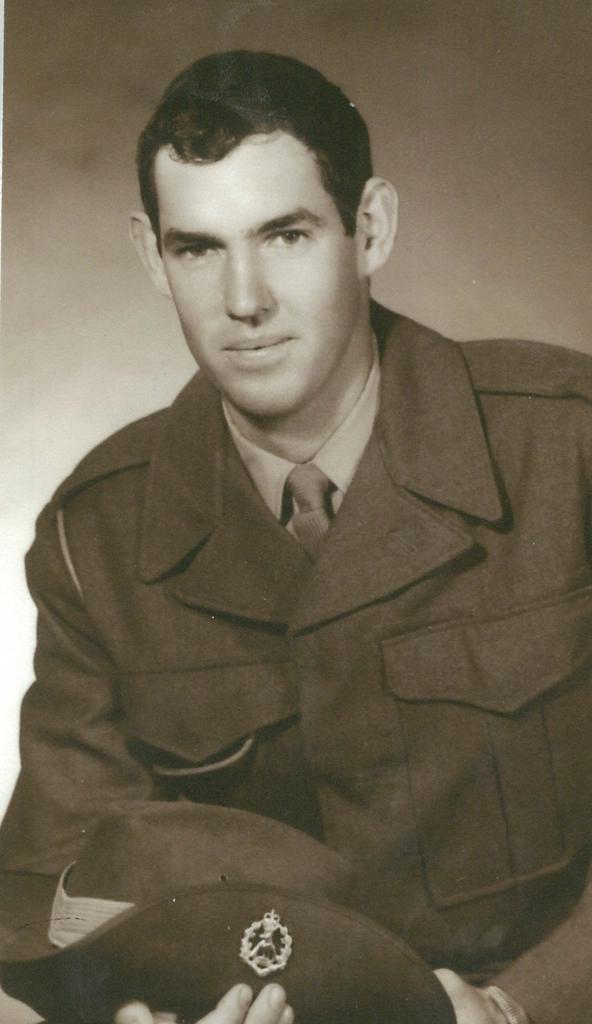 John Wallace Holloway
Private
26 October 1969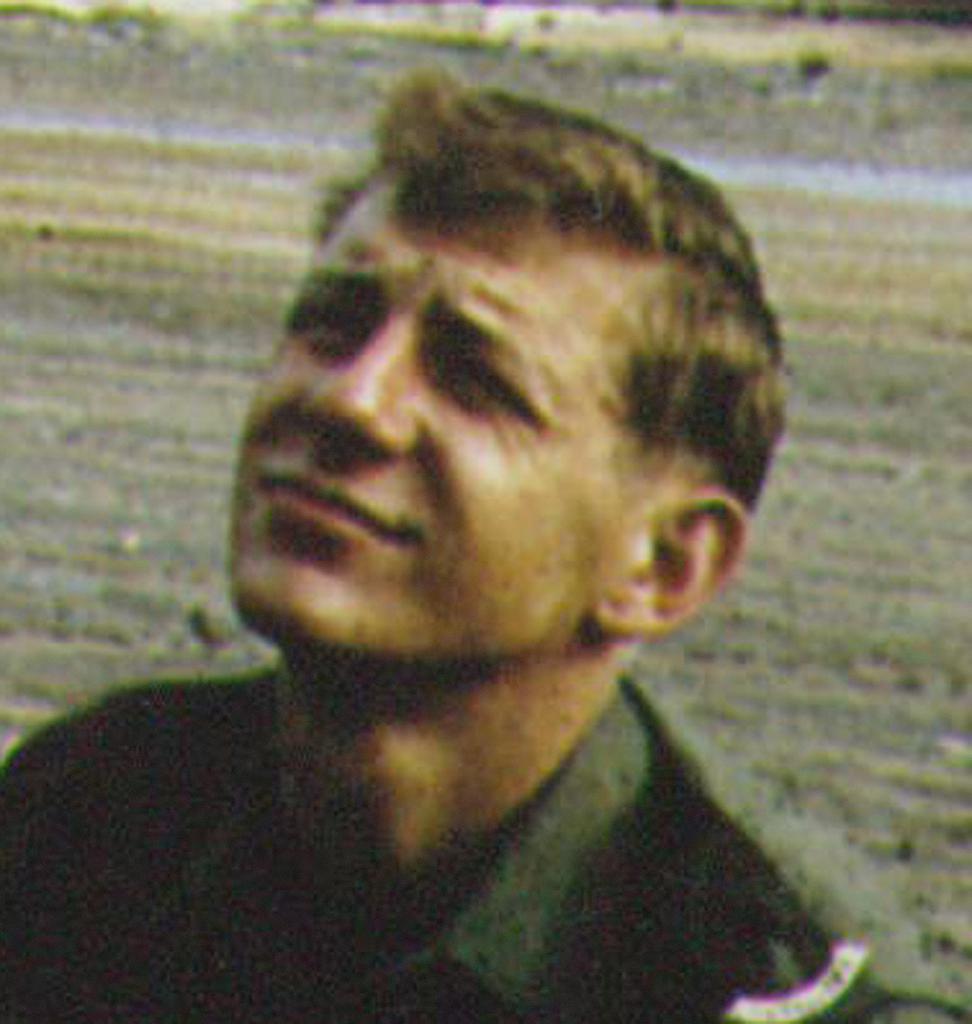 Bemd George Fritz Binder
Private
27 October 1969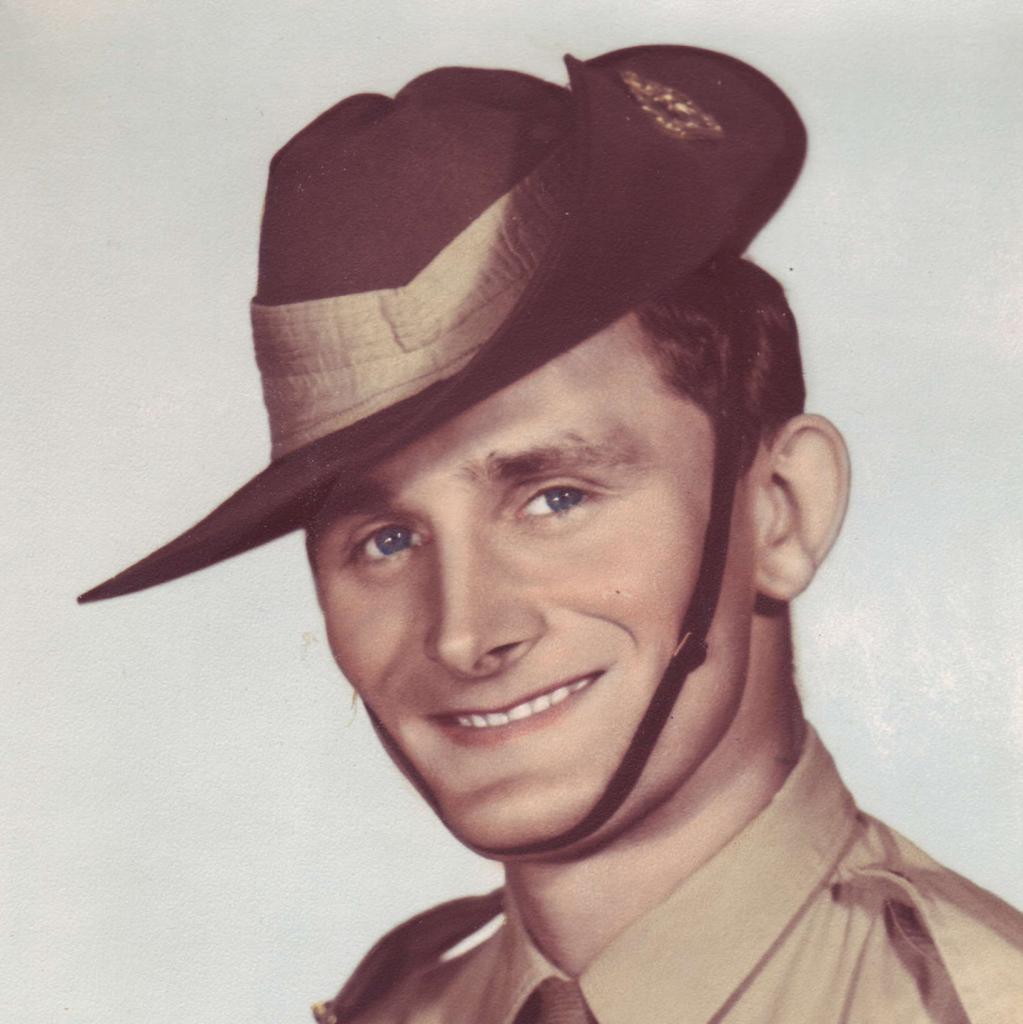 Martin Bink
Lance-Corporal
5 November 1969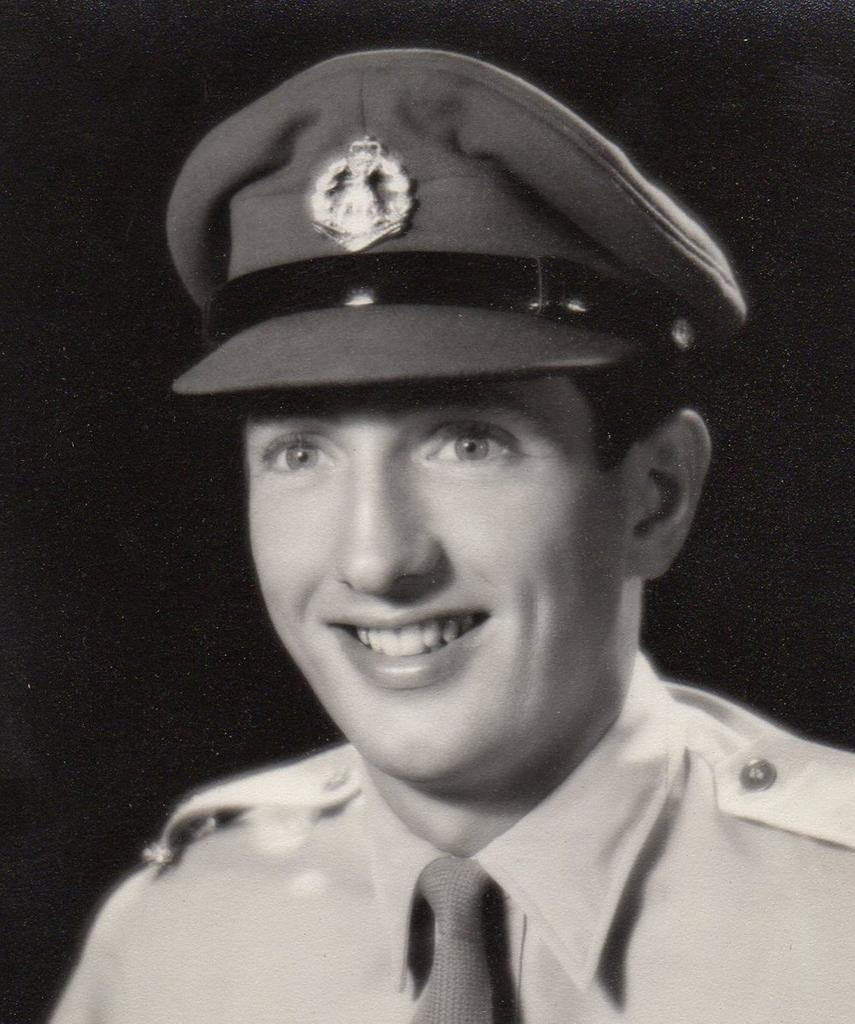 Robert Tom Convery
Lieutenant
23 November 1969
Photographs #
From the site's collection: pictures linked to the unit's contacts, and others taken near them at the time. Each opens on the Battle Map.
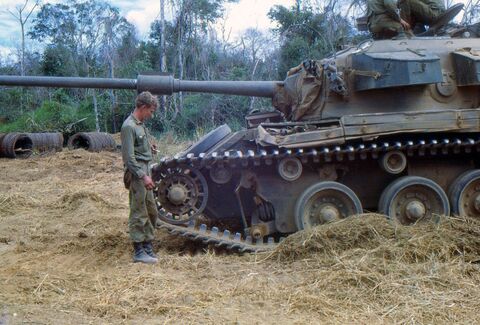 32 Charlie after having been escorted back to FSB Dyke. Temporary repairs had been made to the damaged suspension station. Rus Kiellerup is inspecting the … Duncan McIntosh, 10 December 1968
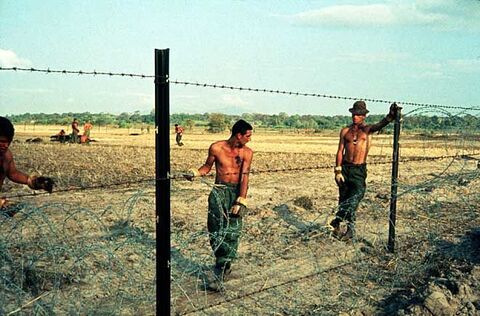 Building the Minefield Ern Marshall unknown
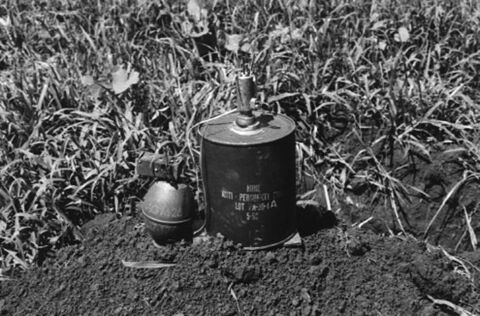 Mine with anti lifting protection ErnMarshall
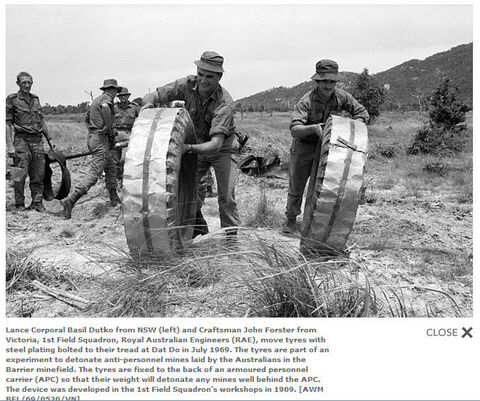 Ern Marshall AWM
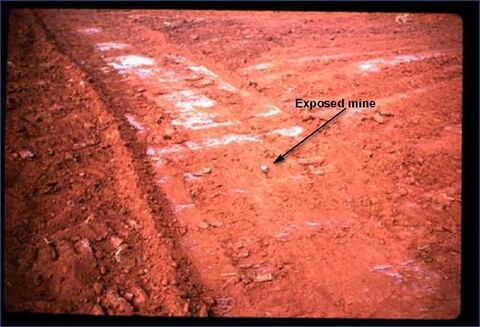 Exposed mine after clearing the Minefield Ern Marshall Mike Byron
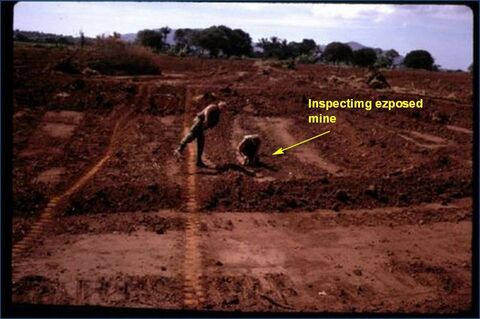 Inspecting the exposed mine Ern Marshall Mike Byron
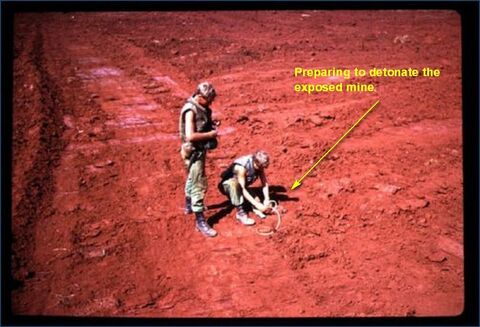 Preparing the to detonate the mine Ern Marshall Mike Byron
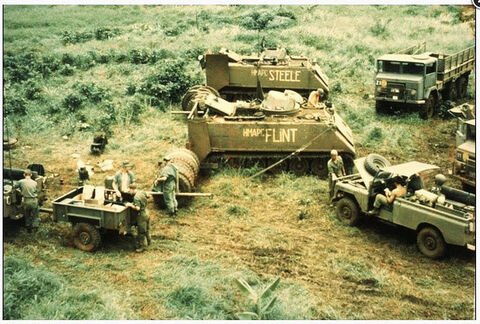 HMAPC Flint and Steele clearing the minefield Ern Marshall Danny Johnson
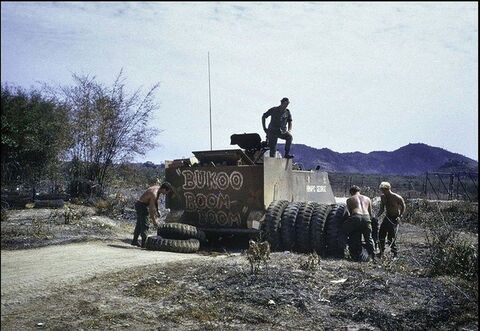 HMAPC George clearing the minefield ErnMarshall Danny Johnson
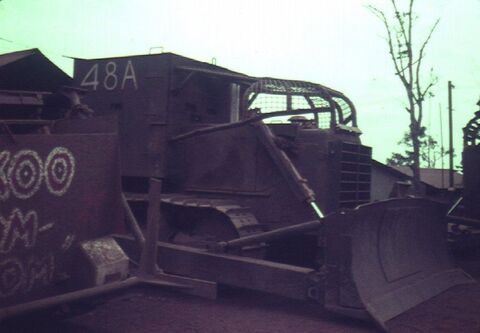 Dozer 48A used to help clear the minefield Ern Marshall 104 sigs
- Dozer 48A used to help clear the minefield Ern Marshall 104 sigs
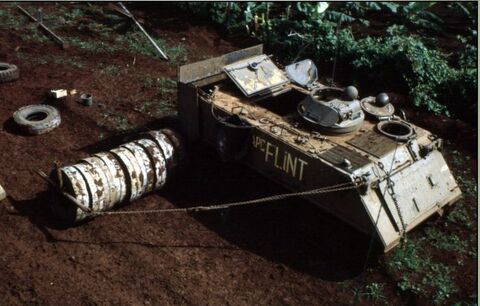 HMAPC Flint Notice the canvas bag on the side. This was SUPPOSED to be used for collecting un-exploded mines. You were SUPPOSED to get off the carrier and with … Ern Marshall Unknown
Sources #
- Tours and arm: the Australian War Memorial's record of the unit.
- Contacts: the Battle Map's records of 324 contacts, each report citing the archival source (most often the commanders' diaries, AWM95).
- The dead: the honour roll, with tours of duty from the nominal roll.
- Helicopter missions: No. 9 Squadron RAAF's unit history sheets (National Archives of Australia, A9186, 736), read into the Battle Map's records, with each report's summary written by an AI model (Claude).
- Summaries of the reports: written by an AI model (Claude) from the reports, and reviewed.