
Infantry · May 1966 – June 1967, May 1969 – May 1970
6th Battalion, Royal Australian Regiment
- Helicopter missions
- 131
- Contacts
- 461
- Operations
- 37
- Dead
- 49
- Australian wounded
- 213
- Enemy killed
- 560
 View unit in Battle MapView missions in Battle Map
Year by year #
461 contacts are recorded for the unit and sub-units, from 10 June 1966 to 30 April 1970. It was the unit in contact in 451 of them, and took part in 10 led by other units.
Unit actions #
In the contacts it led, by the task the report records:
| Task | Contacts | Share |
|---|---|---|
| Patrol | 227 | 50% |
| Ambush | 75 | 17% |
| Security | 67 | 15% |
| Bunker | 30 | 7% |
| Artillery and mortar fire | 15 | 3% |
| Artillery engagement | 8 | 2% |
| Mine incident | 6 | 1% |
| Transport | 3 | 1% |
| Friendly fire | 1 | 0% |
| Not recorded | 19 | 4% |
In another unit's contact in 10 contacts led by other units: 3 Cav Regt (4), 1 ATF (2), 1 Armd Regt (1), 1 Fd Sqn (1), V Company, 2 RAR (New Zealand) (1), W Company, 6 RAR (New Zealand) (1).
Operations #
| Operation | Dates | Contacts | Australians killed | Enemy killed |
|---|---|---|---|---|
| Hardihood | 10 June 1966 – 19 June 1966 | 6 | 0 | 0 |
| Enoggera | 24 June 1966 – 4 July 1966 | 17 | 0 | 0 |
| TAOR | 8 July 1966 – 1 March 1967 | 37 | 1 | 16 |
| Hobart | 25 July 1966 – 29 July 1966 | 13 | 2 | 16 |
| Smithfield (original - Vendetta) | 18 August 1966 | 3 | 17 | 265 |
| Smithfield | 20 August 1966 | 1 | 0 | 0 |
| Toledo | 3 September 1966 | 4 | 0 | 1 |
| Vaucluse | 8 September 1966 – 23 September 1966 | 15 | 0 | 7 |
| Bathurst | 10 October 1966 – 26 October 1966 | 6 | 0 | 0 |
| Bathurst/TAOR | 10 October 1966 | 1 | 0 | 0 |
| Robin | 16 October 1966 | 1 | 0 | 0 |
| Hayman | 8 November 1966 | 4 | 0 | 0 |
| Ingham | 19 November 1966 – 2 December 1966 | 28 | 1 | 10 |
| Duck | 16 December 1966 – 27 December 1966 | 3 | 0 | 0 |
| Wollongong | 15 January 1967 – 27 January 1967 | 6 | 0 | 1 |
| Kirribili | 28 January 1967 | 1 | 0 | 0 |
| Tambourine | 1 February 1967 – 6 February 1967 | 15 | 0 | 7 |
| DALBY | 16 February 1967 | 2 | 0 | 0 |
| Bribie | 17 February 1967 | 3 | 8 | 58 |
| Portsea | 21 March 1967 – 5 April 1967 | 10 | 3 | 8 |
| Leeton | 7 May 1967 | 1 | 0 | 0 |
| Armidale | 13 May 1967 | 1 | 0 | 0 |
| Geraldton | 18 June 1967 | 1 | 0 | 0 |
| Toan Thang III | 25 May 1969 | 1 | 0 | 0 |
| Lavarack | 31 May 1969 – 28 June 1969 | 48 | 0 | 62 |
| Lavarack/Toan Thang III | 3 June 1969 – 6 June 1969 | 4 | 1 | 12 |
| Waiouru | 6 July 1969 | 1 | 0 | 0 |
| Mundingburra | 14 July 1969 – 10 August 1969 | 31 | 3 | 18 |
| U/K | 17 July 1969 – 30 April 1970 | 9 | 2 | 1 |
| Burnham | 31 August 1969 – 30 September 1969 | 19 | 1 | 16 |
| Ross | 16 October 1969 – 19 November 1969 | 18 | 4 | 4 |
| Marsden | 2 December 1969 – 27 December 1969 | 37 | 3 | 14 |
| Napier | 15 January 1970 – 25 February 1970 | 36 | 0 | 19 |
| Matilda | 20 January 1970 – 21 January 1970 | 2 | 0 | 1 |
| Gisborne | 28 February 1970 – 8 March 1970 | 10 | 3 | 5 |
| Townsville | 27 March 1970 – 19 April 1970 | 12 | 0 | 13 |
| Concrete | 22 April 1970 | 1 | 1 | 0 |
Air support #
No. 9 Squadron RAAF's unit history records 131 helicopter missions flown for 6 RAR, from 25 July 1966 to 14 May 1970. 47 casualties were evacuated, as the reports count them; helicopters were fired on from the ground on 3 missions, and hit on 1.
| Mission | Missions | Share |
|---|---|---|
| Troop Lift | 95 | 73% |
| Medevac | 20 | 15% |
| Gunship | 5 | 4% |
| Other | 4 | 3% |
| Combat Assault | 3 | 2% |
| Patrol Extraction | 3 | 2% |
| Insertion | 1 | 1% |
The most significant:
- 25 July 1966: medevac, Operation Hobart. 13 casualties evacuated. Fired on from the ground. On the allied side: 2 killed, 9 wounded. During Operation Hobart, about 5 km east of Nui Dat, the Viet Cong mortared a 6 RAR rifle company, killing two soldiers and wounding nine. With the US Army Dustoff helicopter unable to cope, five 9 Squadron helicopters …
- 21 July 1969: medevac. 7 casualties evacuated. On the allied side: 3 killed, 4 wounded. Callsign 13 of 6 RAR/NZ (3 Platoon, A Company) set off two mines, which killed two and wounded three, among them Lieutenant Colonel Butler, the Commanding Officer of 6 RAR. Wing Commander Hibben in Albatross 01 …
- 19 December 1969: medevac. 2 casualties evacuated. On the allied side: 2 killed. Albatross 01, captained by Pilot Officer Hobson, flew out two Australians killed in the previous day's 6 RAR/NZ contact. Hobson had evacuated the platoon commander the day before; he was transferred to the 24th …
- 8 March 1970: medevac. 10 casualties evacuated. On the allied side: 6 killed, 4 wounded. D Company, 6 RAR/NZ suffered several casualties, and three killed and two wounded were taken to Vampire. Albatross 01, flown by Pilot Officer Thompson, winched out two killed and two wounded, and Albatross 03, flown by …
- 22 April 1970: medevac. 5 casualties evacuated. On the allied side: 1 killed, 4 wounded. Members of A Company, 6 RAR/NZ hit a mine. One killed and four wounded were evacuated by US Dustoff 14 and Albatross 03, flown by Pilot Officer Wheal, under Bushranger cover.
View the missions in Battle Map
Notable contacts #
10 June 1966: Contact, Operation Hardihood #
First · 6 RAR in contact
Artillery fired on an enemy mortar position.
25 July 1966: Ambush, Operation Hobart #
Typical: ambush · 6 RAR in contact
Australian: 3 wounded. Enemy: 2 killed, 9 wounded.
C Company, 6 RAR, was part of a two-company cordon, with two other companies driving the enemy towards it, when it met an estimated Viet Cong company. As the enemy withdrew, covered by a rearguard of about 15, C Company called in artillery; two Australians were wounded, which the battalion's commander put down to a platoon mistaking its own position rather than to the artillery. The company then came under mortar fire and fought several small-arms clashes, hitting about four enemy, and found a large bunker system nearby. Four enemy bodies killed by artillery were recovered over the following days.
25 July 1966: Ambush, Operation Hobart #
Significant · 6 RAR in contact
Australian: 2 killed, 12 wounded. Enemy: 6 killed, 15 wounded.
B Company, 6 RAR, was manning a cut-off line on a track in a battalion cordon when its sentries opened fire on two groups of Viet Cong, probably most of a company. 6 Platoon brought artillery down on the enemy, but when it rose to clear the area it was hit by rifle and mortar fire, and one Australian shell fell short into the company's position, killing two and wounding several. By the time the enemy withdrew the company had two killed and twelve wounded; at least six enemy were killed and about fifteen wounded. The commanders afterwards debated whether the troops' strict fire discipline had let the enemy's fire go unanswered for too long.
18 August 1966: Patrol, Operation Smithfield (original - Vendetta) #
Significant · 6 RAR in contact
Australian: 17 killed, 19 wounded. Enemy: 245 killed, 350 wounded.
The Battle of Long Tan. D Company, 6 RAR, 108 strong, was following fresh tracks east of Nui Dat when 11 Platoon met a few Viet Cong and then a much larger force. From about 5.30 pm the company was attacked by at least a company, later found to be far more, under heavy machine-gun and mortar fire in heavy rain, and held on until A Company arrived in armoured personnel carriers after 7 pm. Close artillery fire broke up many of the attacks; low cloud ruled out air strikes, and helicopters flew in ammunition and took out the wounded. Seventeen Australians were killed and nineteen wounded; 245 enemy were recorded killed. The company commander afterwards reported that the M60 machine-guns jammed in the mud and that the men needed to carry more ammunition.
18 August 1966: Contact, Operation Smithfield (original - Vendetta) #
Significant · 6 RAR in contact
Australian: 4 wounded. Enemy: 20 killed, 40 wounded.
During the Battle of Long Tan, A Company, 6 RAR, rode out from Nui Dat in the armoured personnel carriers of 3 Troop, 1 APC Squadron, to relieve D Company. On the way it clashed with the support company of the D445 Battalion, causing about 15 casualties, and then with two companies of the 275th Regiment, causing about 45 more, before joining D Company as the enemy withdrew. Four Australians were wounded.
2 December 1966: Patrol, Operation Ingham #
Typical: patrol · 6 RAR in contact
Australian: 1 killed, 10 wounded.
A command-detonated mine exploded against D Company, 6 RAR, killing one Australian and wounding ten, with three civilians also wounded. About half the casualties, including the man killed, were caused by an Australian Claymore mine carried by an NCO, which went off in the blast. The record also notes evidence that a Vietnamese woman who ran to the scene was wounded or killed by soldiers who mistook her for an enemy.
17 February 1967: Bunker, Operation Bribie #
Significant · 6 RAR in contact
Australian: 6 wounded. Enemy: 6 killed, 4 wounded.
6 RAR was being flown in by helicopter to cut off enemy forces retreating from an attack on Phuoc Hai. 2 Platoon, A Company, pushing into the jungle to secure the landing zone, came under sniper fire and then ran into a Viet Cong company dug into bunkers with overhead cover. Six Australians were wounded, five of them by an automatic weapon; three to six enemy were killed. The platoon withdrew 150 metres.
17 February 1967: Bunker, Operation Bribie #
Significant · 6 RAR in contact
Australian: 8 killed, 21 wounded. Enemy: 50 killed, 13 wounded.
Operation Bribie. After A Company, 6 RAR, found a Viet Cong company and its heavy weapons company dug into bunkers, B Company was ordered to assault the position. It was pinned down by fire from all sides, including heavy machine-guns, Claymore mines and mortars; four air strikes were called in, and carriers of 2 Troop, A Squadron, 3 Cavalry Regiment, went in to bring out the wounded, one being disabled by recoilless-rifle fire. After four hours both companies withdrew into the battalion's night position, and the enemy left during the night. Eight Australians were killed and 21 wounded; about 50 enemy were recorded killed. The battalion's commander said that tanks could have taken the position with little difficulty.
11 June 1969: Bunker, Operation Lavarack #
Significant · 6 RAR in contact
Australian: 10 wounded. Enemy: 9 killed.
B Company, 6 RAR, spotted a sentry and sent a platoon and a half to attack what seemed a small camp, their approach hidden by heavy rain. They surprised the enemy and killed the sentry, but the camp proved to be a large bunker system, and the enemy counter-attacked. The whole company was committed, with artillery, helicopter gunships and a gunship aircraft overhead for over an hour; after ten were wounded, the company was ordered to withdraw, hampered by rain and eight to ten snipers in the trees. Two machine-guns failed and radio contact was poor. Nine enemy bodies were found when the company went back in the next day to an empty camp.
20 June 1969: Ambush, Operation Lavarack #
Significant · 6 RAR in contact
Enemy: 22 killed.
10 Platoon, D Company, 6 RAR, had been in ambush in thick bamboo beside a track through the Courtenay rubber plantation for two days when about 60 enemy, a carrying party with stretcher-bearers and escort, walked into it. The Claymores were fired with as many as possible in the killing ground, followed by three machine-guns; the enemy fired a few wild shots and fled. The sweep found 22 dead and captured weapons, grenades, medical supplies and documents. Five of the eleven Claymores failed from faulty detonators, but the machine-guns, cleaned daily, fired 500 rounds each without a stoppage.
21 July 1969: Patrol, Operation Mundingburra #
Significant · 6 RAR in contact
Australian: 1 killed, 18 wounded.
While 3 Platoon, A Company, 6 RAR, was clearing a harbour position half a kilometre south-east of Hoi My, the platoon commander stepped out of the cleared area and set off an M16 mine. He was killed and 18 were wounded, one of them a sapper. 750 pounds of rice was found nearby.
21 July 1969: Security, Operation Mundingburra #
Typical: security · 6 RAR in contact
Australian: 1 killed, 5 wounded.
While the scene of the earlier mine blast near Hoi My was being cleared, another M16 mine went off, killing one Australian and wounding five, among them the battalion's medical officer and its commanding officer.
28 February 1970: Bunker, Operation Gisborne #
Typical: bunker · 6 RAR in contact
Australian: 9 wounded. Enemy: 4 wounded.
Elements of 6 RAR/NZ attacked a new base of about 50 bunkers that the D445 Battalion had been building for a week since 8 RAR drove it from the Minh Dam base in the Long Hai Hills. 3 Platoon, looking for the camp, saw a well-used track and a poncho, and both forward sections came under intense rocket, machine-gun and rifle fire, including heavy machine-guns. They pulled back 100 metres while artillery, mortars and helicopter gunships hit the area; nine Australians were wounded, and the enemy withdrew, leaving one dead and many blood trails. The commanders noted that dense undergrowth limited their rockets and grenade launchers, and that navigation errors made support fire less effective.
30 April 1970: Contact, Operation U/K #
Last · 6 RAR in contact
1 Platoon, A Company, 6 RAR, made contact with an unknown number of enemy, with unknown results.
Sub-units #
A Company #
119 contacts, 18 June 1966 to 30 April 1970; 25 operations. Australian: 26 killed, 93 wounded. Enemy: 325 killed, 440 wounded.
Actions: patrol 51%, security 17%, ambush 12%, bunker 9%, mine incident 3%.
Most significant contacts:
- 18 August 1966: patrol, Operation Smithfield (original - Vendetta). Australian: 17 killed, 19 wounded. Enemy: 245 killed.
- 18 August 1966: contact, Operation Smithfield (original - Vendetta). Australian: 4 wounded. Enemy: 20 killed.
- 21 July 1969: patrol, Operation Mundingburra. Australian: 1 killed, 18 wounded.
B Company #
102 contacts, 18 June 1966 to 16 April 1970; 25 operations. Australian: 30 killed, 90 wounded. Enemy: 398 killed, 454 wounded.
Actions: patrol 48%, ambush 23%, security 11%, bunker 10%, artillery and mortar fire 3%.
Most significant contacts:
- 18 August 1966: patrol, Operation Smithfield (original - Vendetta). Australian: 17 killed, 19 wounded. Enemy: 245 killed.
- 18 August 1966: contact, Operation Smithfield (original - Vendetta). Australian: 4 wounded. Enemy: 20 killed.
- 17 February 1967: bunker, Operation Bribie. Australian: 8 killed, 21 wounded. Enemy: 50 killed.
C Company #
64 contacts, 18 June 1966 to 21 December 1969; 15 operations. Australian: 1 killed, 12 wounded. Enemy: 16 killed, 31 wounded.
Actions: patrol 65%, security 15%, artillery and mortar fire 10%, ambush 6%, artillery engagement 3%.
Most significant contacts:
- 9 July 1966: ambush, Operation TAOR. Australian: 1 killed, 2 wounded. Enemy: 1 killed.
- 25 July 1966: ambush, Operation Hobart. Australian: 3 wounded. Enemy: 2 killed.
- 5 December 1966: patrol, Operation TAOR. Enemy: 5 killed.
D Company #
124 contacts, 26 June 1966 to 11 April 1970; 21 operations. Australian: 27 killed, 60 wounded. Enemy: 310 killed, 383 wounded.
Actions: patrol 47%, ambush 21%, security 13%, bunker 7%, mine incident 2%.
Most significant contacts:
- 18 August 1966: patrol, Operation Smithfield (original - Vendetta). Australian: 17 killed, 19 wounded. Enemy: 245 killed.
- 20 June 1969: ambush, Operation Lavarack. Enemy: 22 killed.
- 8 March 1970: bunker, Operation Gisborne. Australian: 3 killed, 6 wounded.
Support Company #
40 contacts, 16 December 1966 to 30 March 1970; 10 operations. Australian: 10 killed, 27 wounded. Enemy: 75 killed, 23 wounded.
Actions: patrol 53%, ambush 21%, security 21%, bunker 3%.
Most significant contacts:
- 17 February 1967: bunker, Operation Bribie. Australian: 8 killed, 21 wounded. Enemy: 50 killed.
- 25 October 1969: patrol, Operation Ross. Australian: 2 killed, 6 wounded.
- 30 March 1970: ambush, Operation Townsville. Enemy: 5 killed.
View Support Company in Battle Map
Roll of honour #

The unit's 49 dead on the honour roll: those on a tour with the unit when they died, and reinforcements killed in the unit's contacts. Each opens their entry on the honour roll.
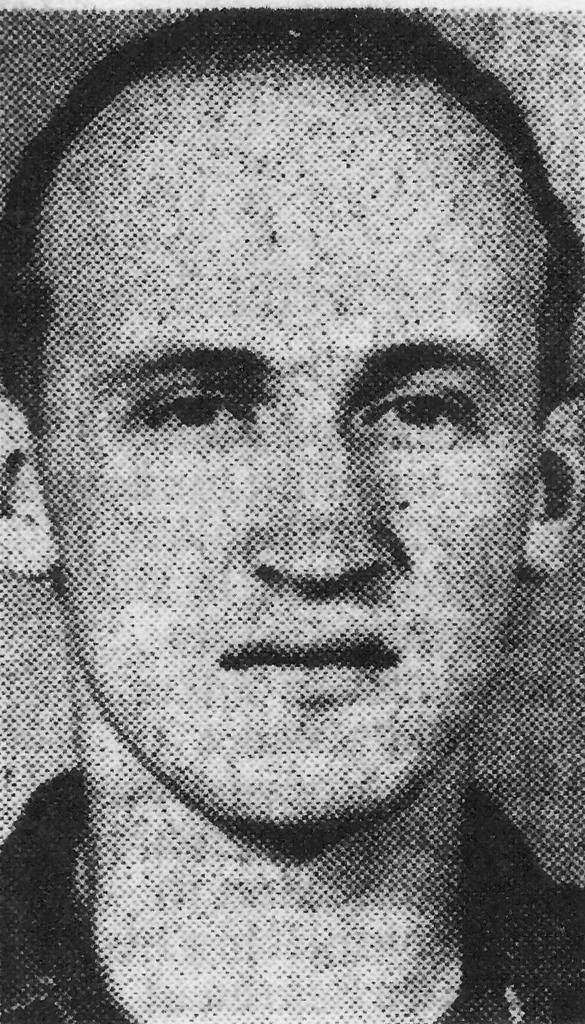 Gordon Knight
Private
9 July 1966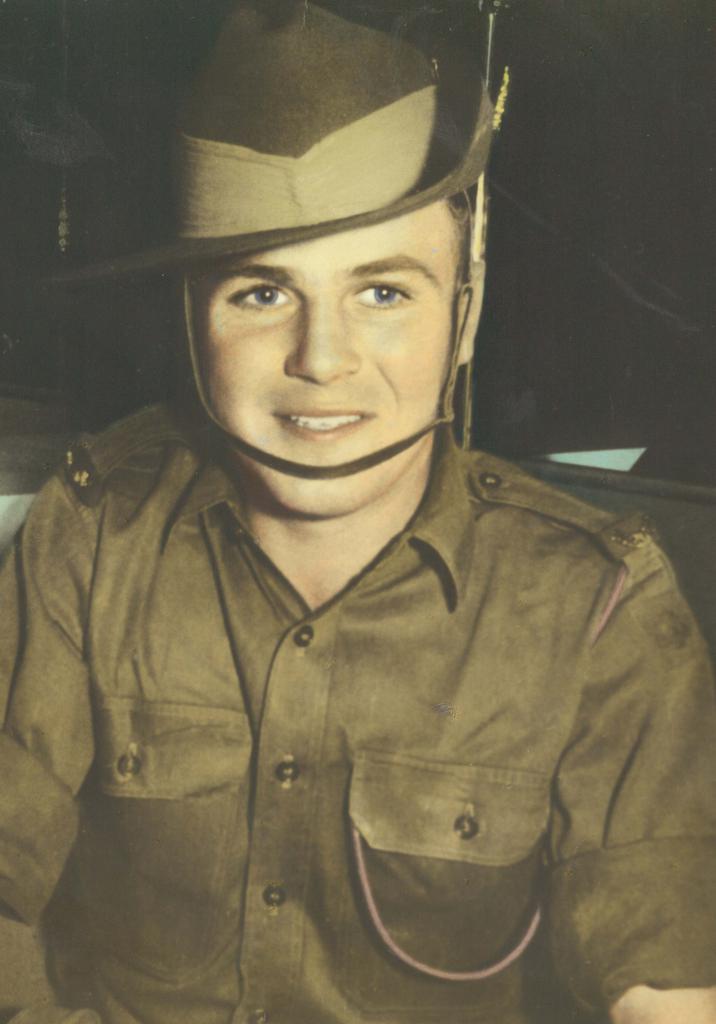 Anthony Thomas Purcell
Private
25 July 1966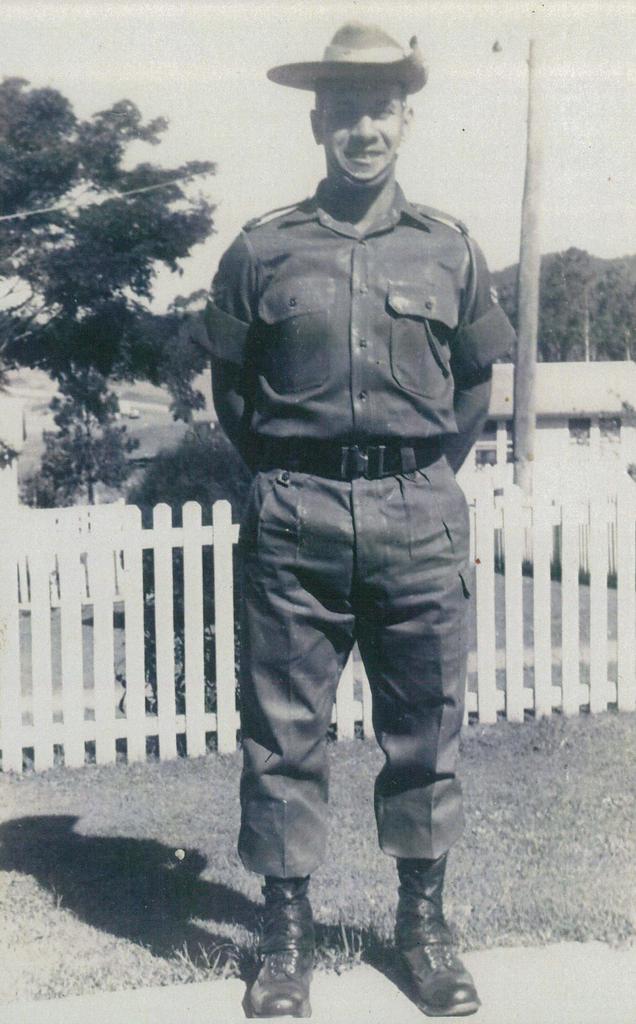 John William Norris
Corporal
25 July 1966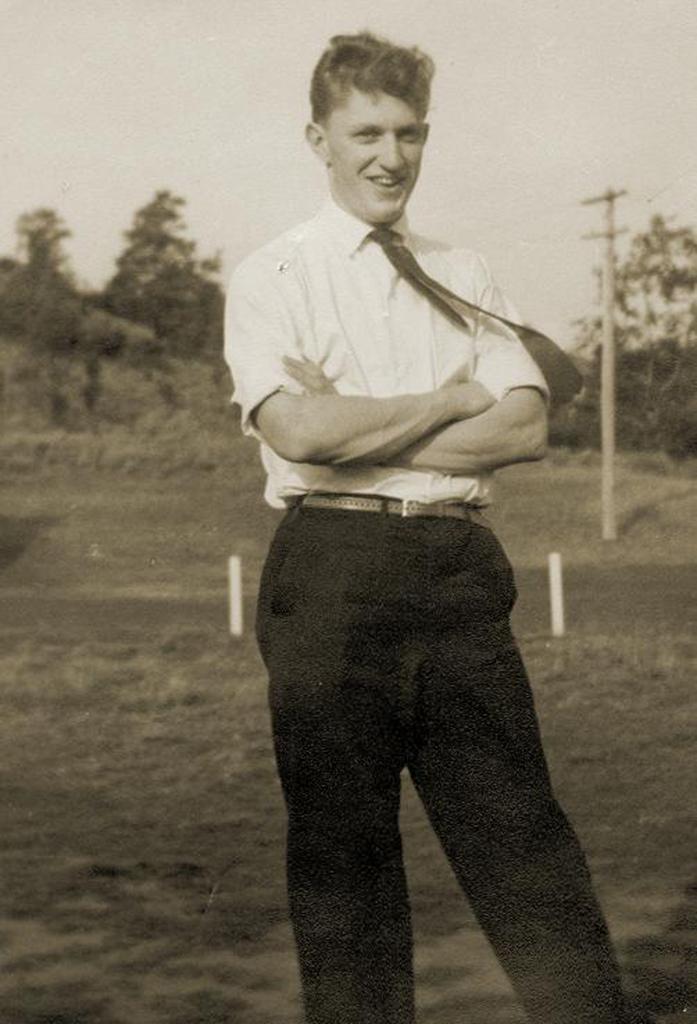 Albert Frederick Mccormack
Private
18 August 1966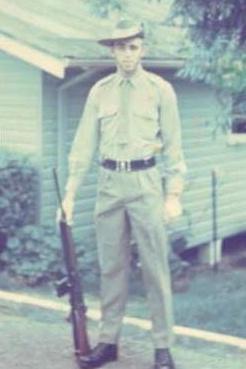 Colin Joseph Whiston
Private
18 August 1966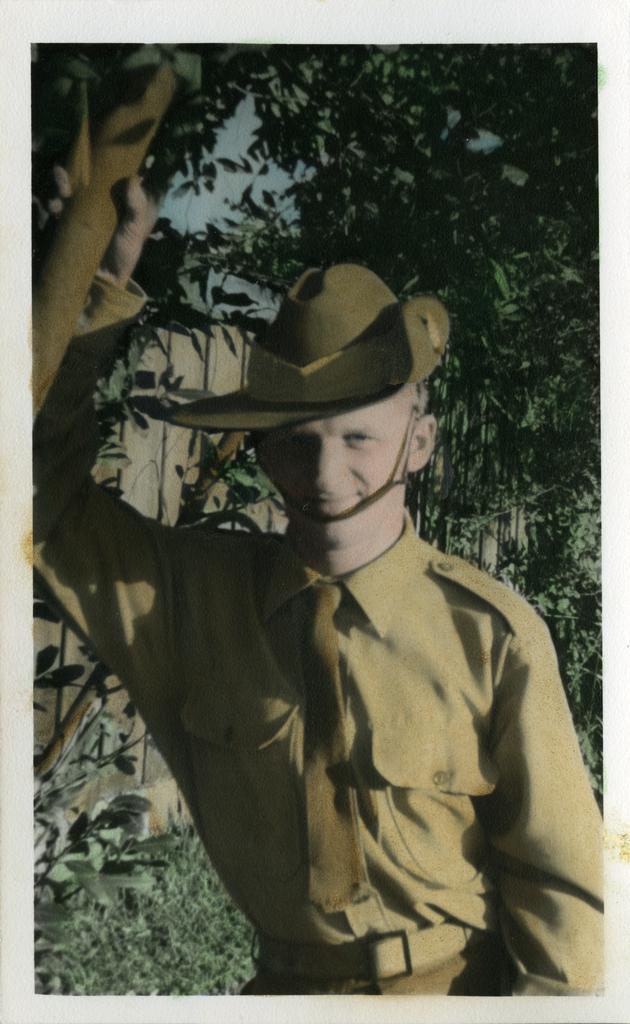 David John Thomas
Private
18 August 1966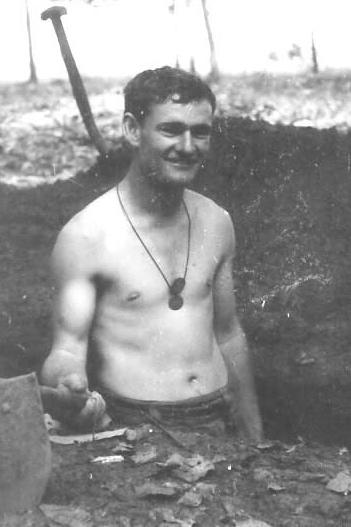 Dennis James Mccormack
Private
18 August 1966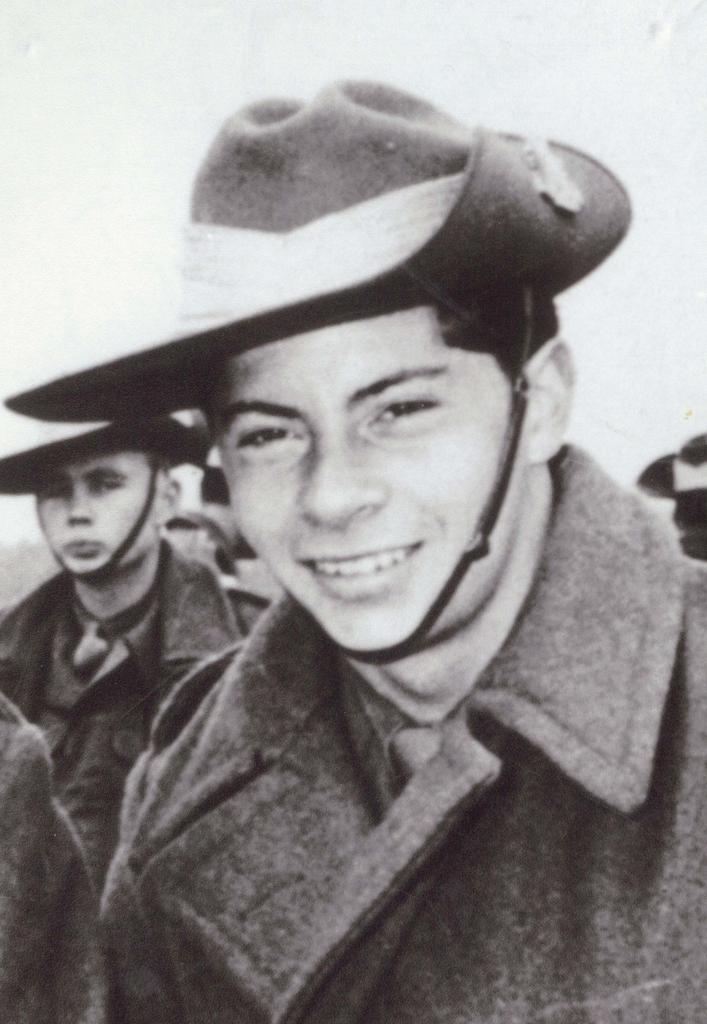 Douglas Javing Salveron
Private
18 August 1966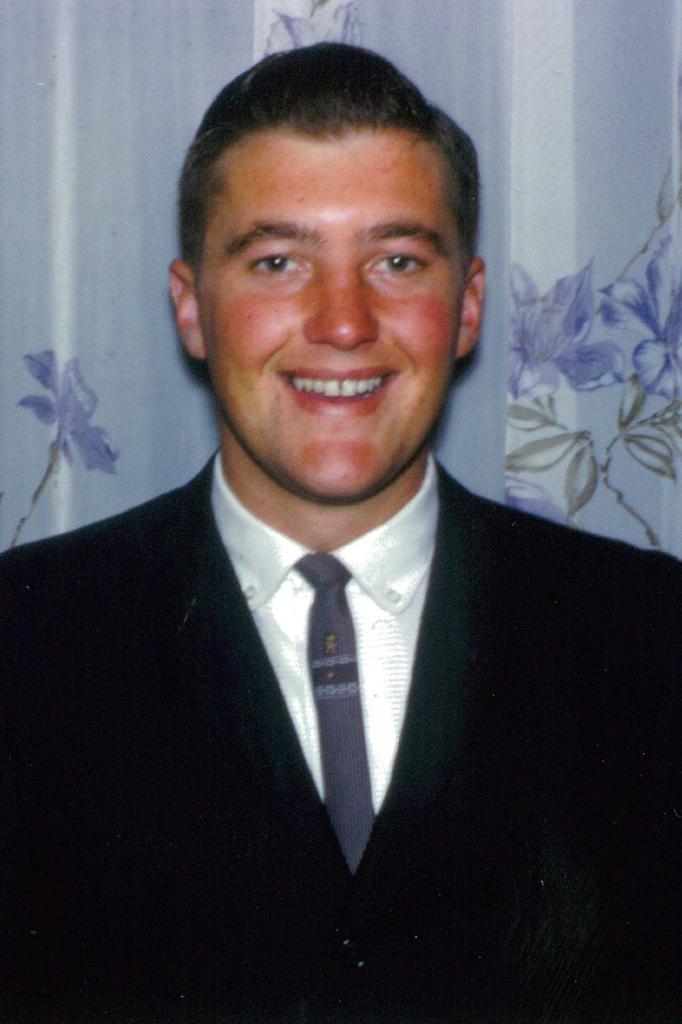 Ernest Francis Grant
Private
18 August 1966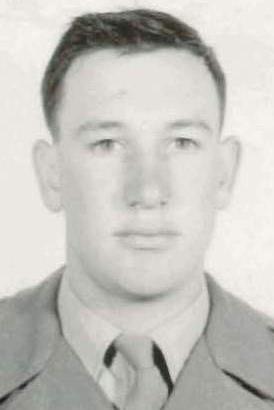 Francis Brett Topp
Private
18 August 1966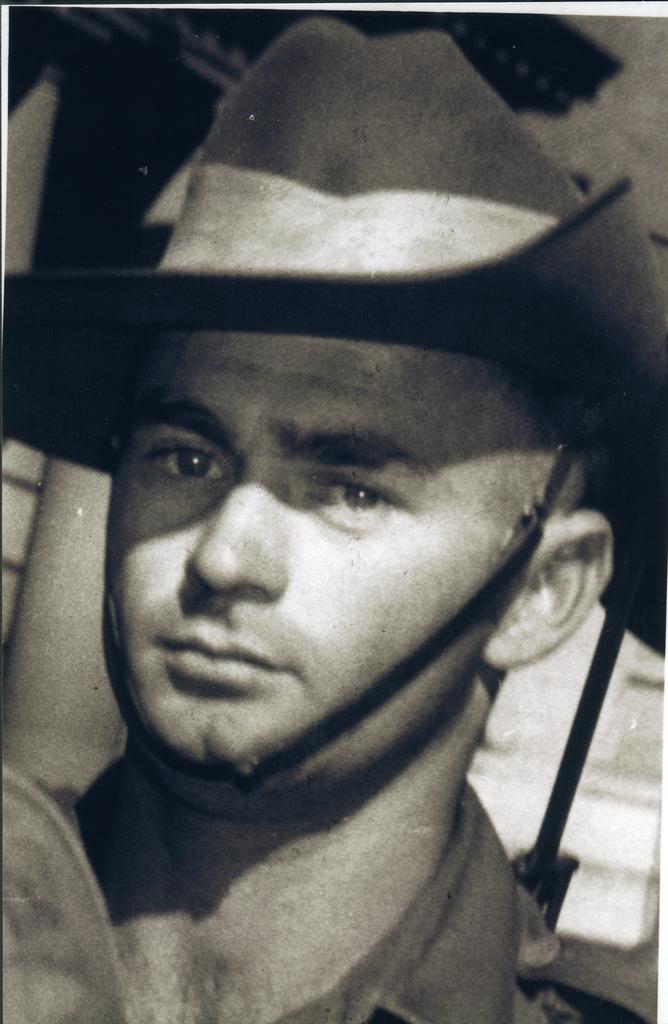 Glenn Alfred Drabble
Private
18 August 1966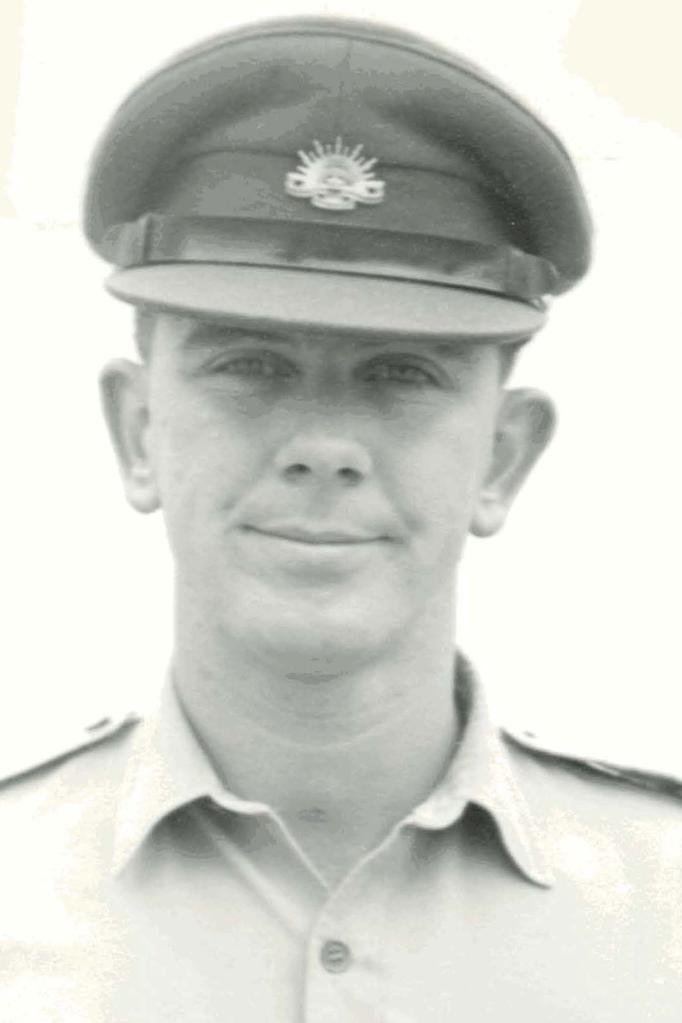 Gordon Cameron Sharp
2nd Lieutenant
18 August 1966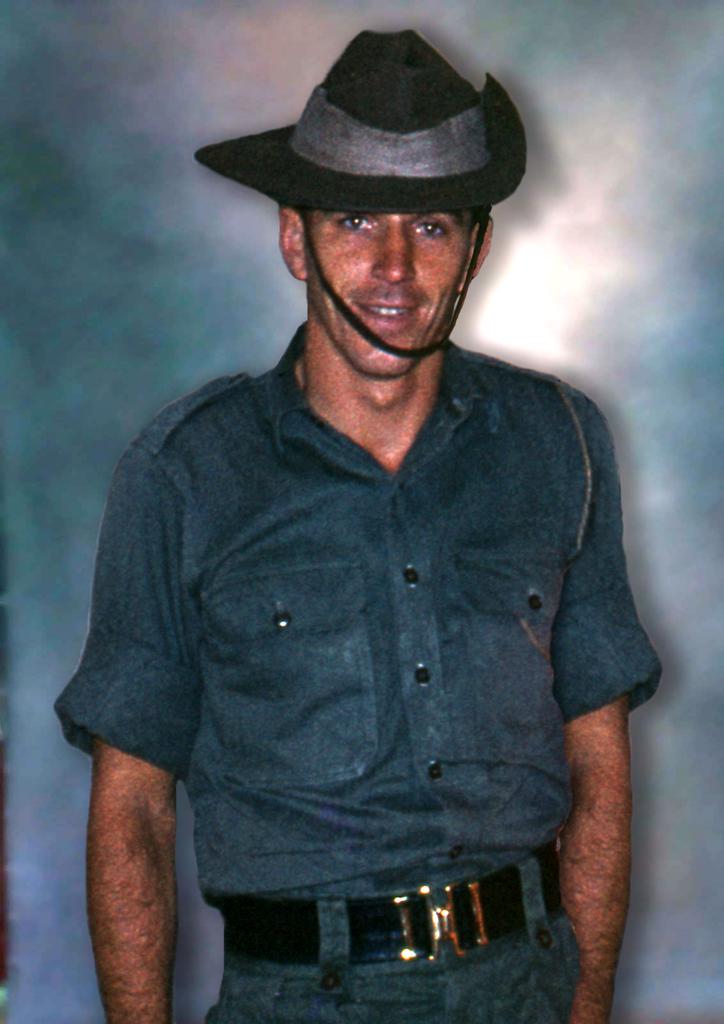 Jack Jewry
Lance-Corporal
18 August 1966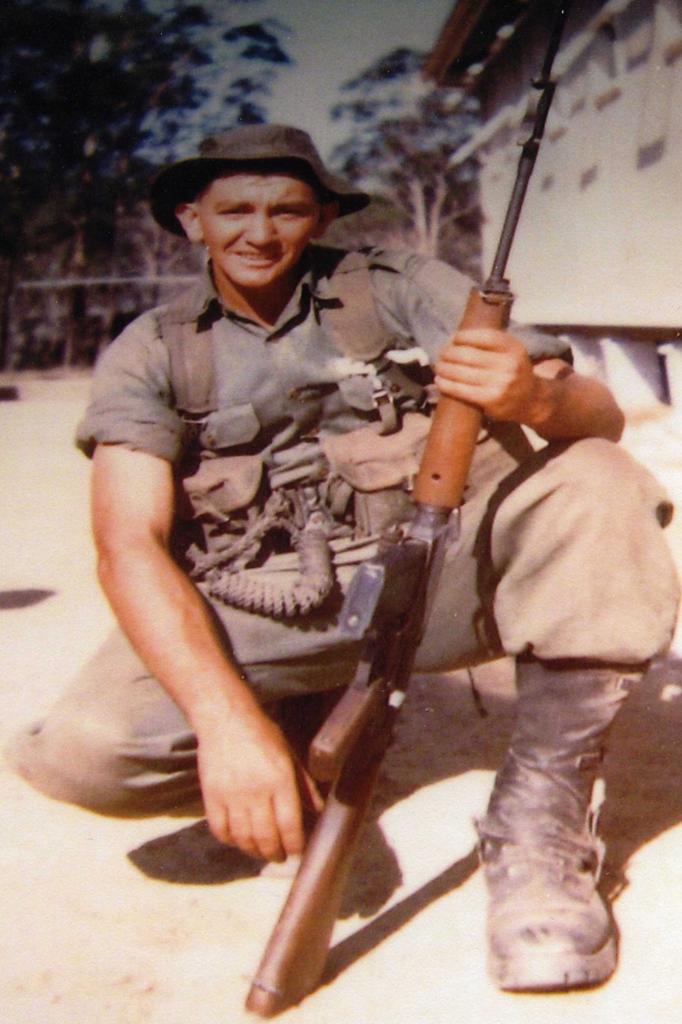 James Michael Houston
Private
18 August 1966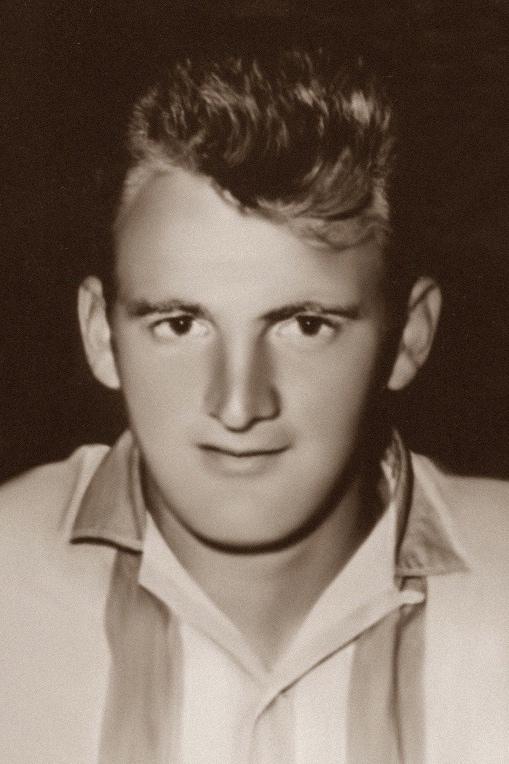 Kenneth Howard Gant
Private
18 August 1966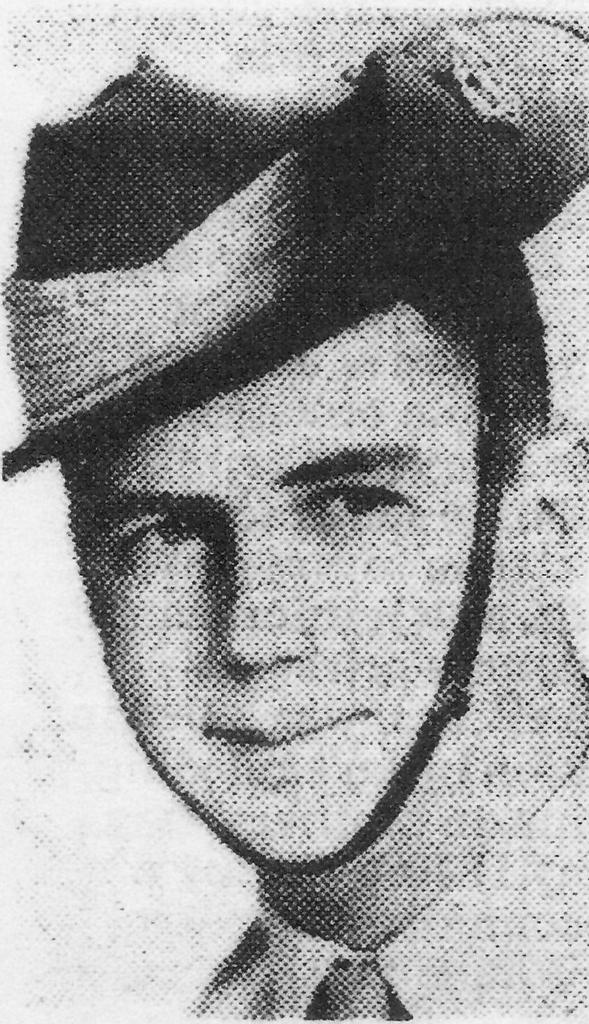 Maxwell Ray Wales
Private
18 August 1966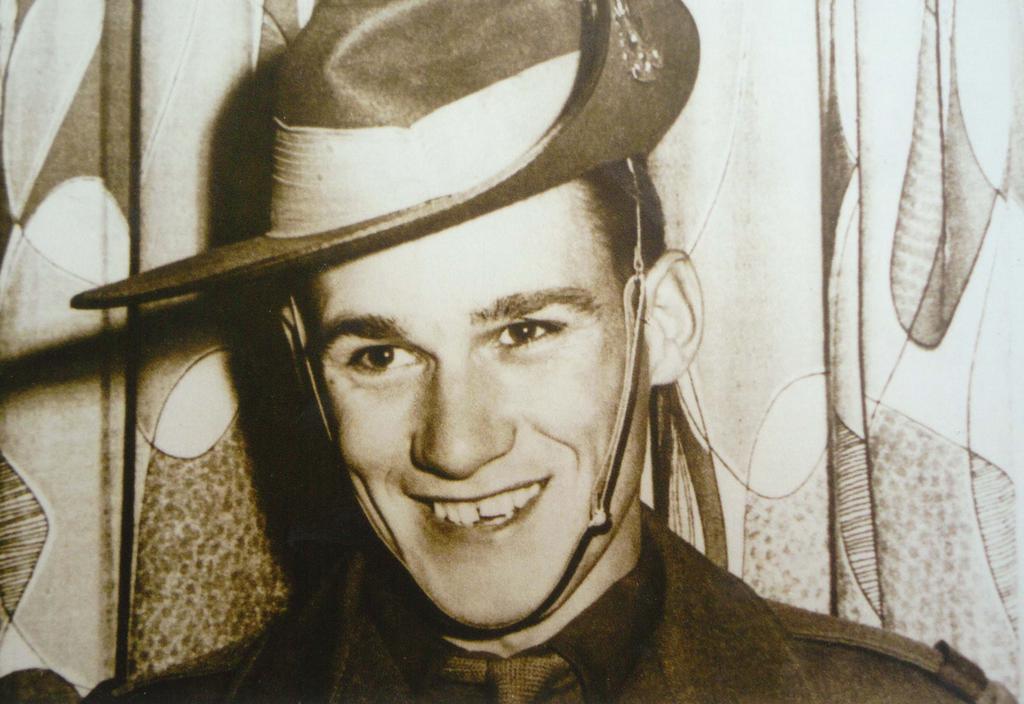 Paul Andrew Large
Private
18 August 1966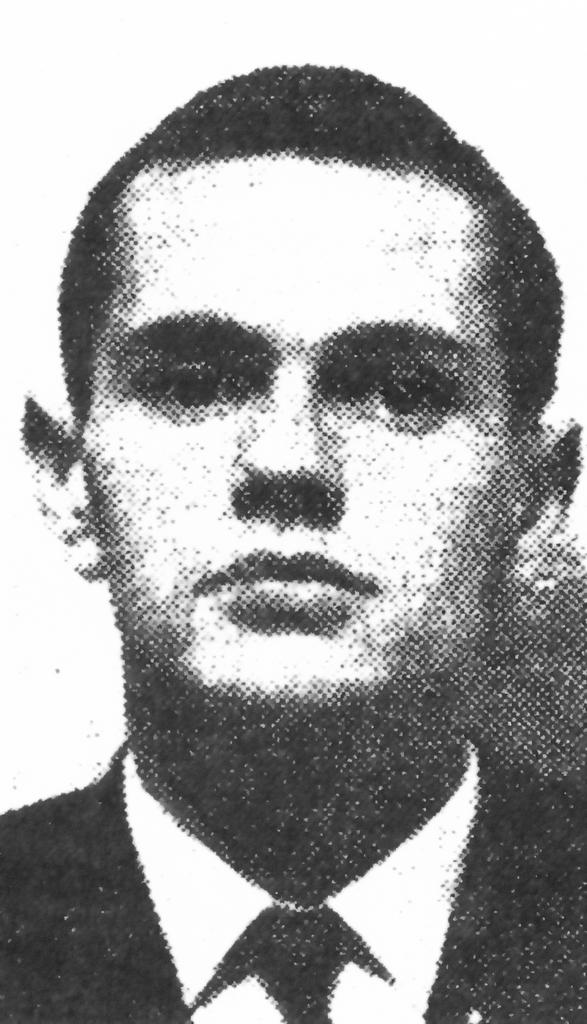 Richard Alfred Aldersea
Private
18 August 1966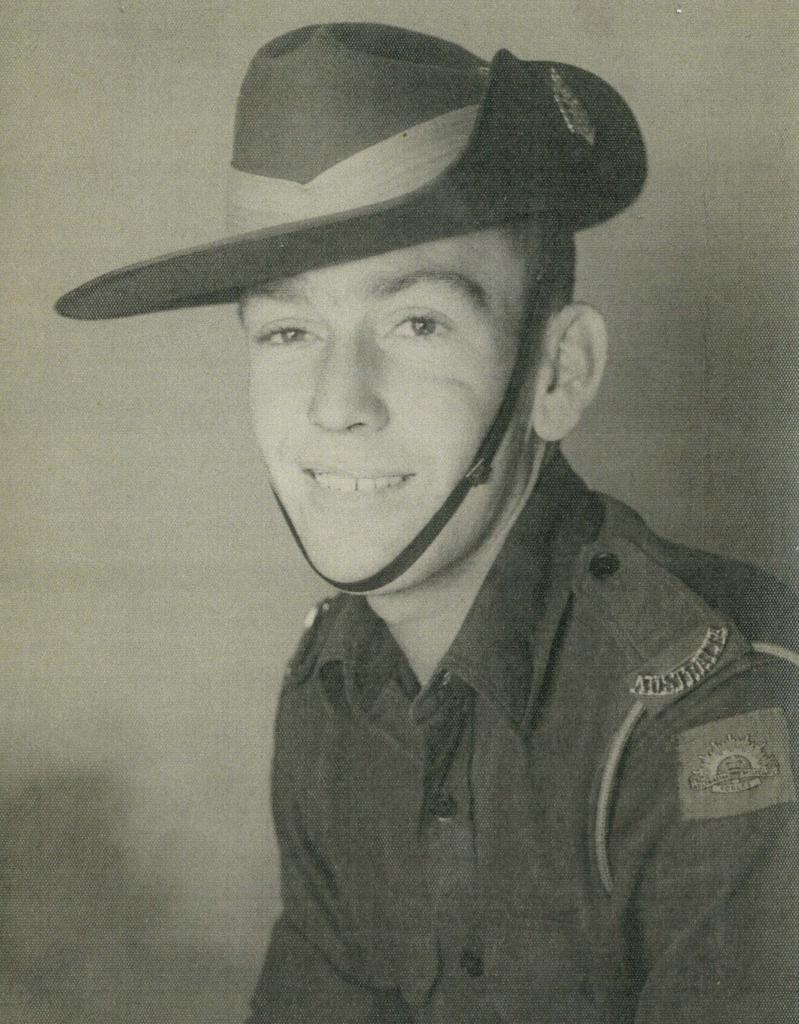 Victor Roy Grice
Private
18 August 1966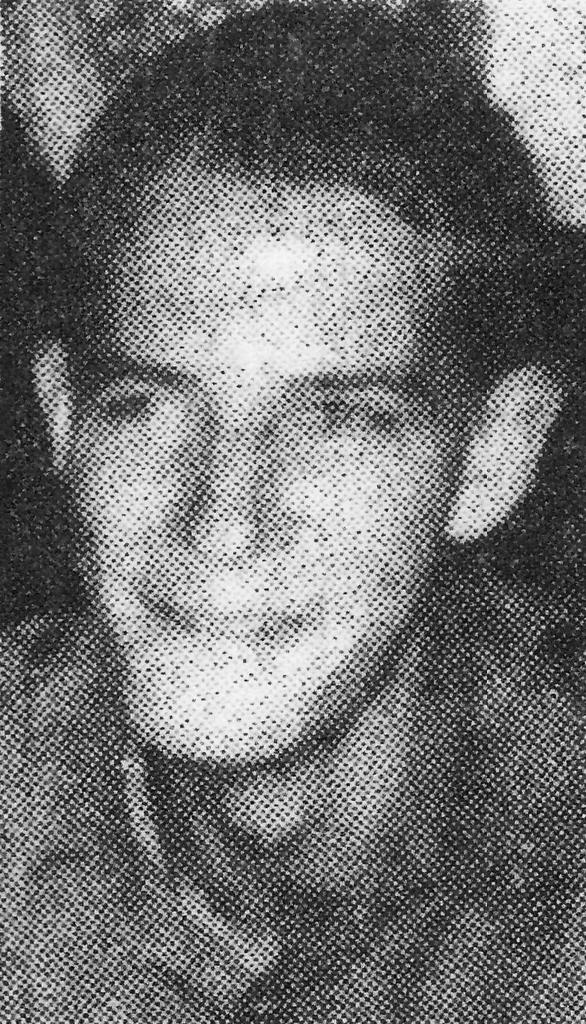 Warren David Mitchell
Private
18 August 1966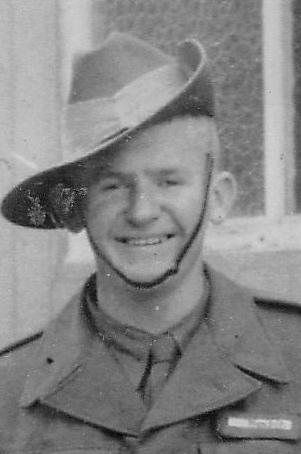 Terence Edward Hendle
Lance-Corporal
30 November 1966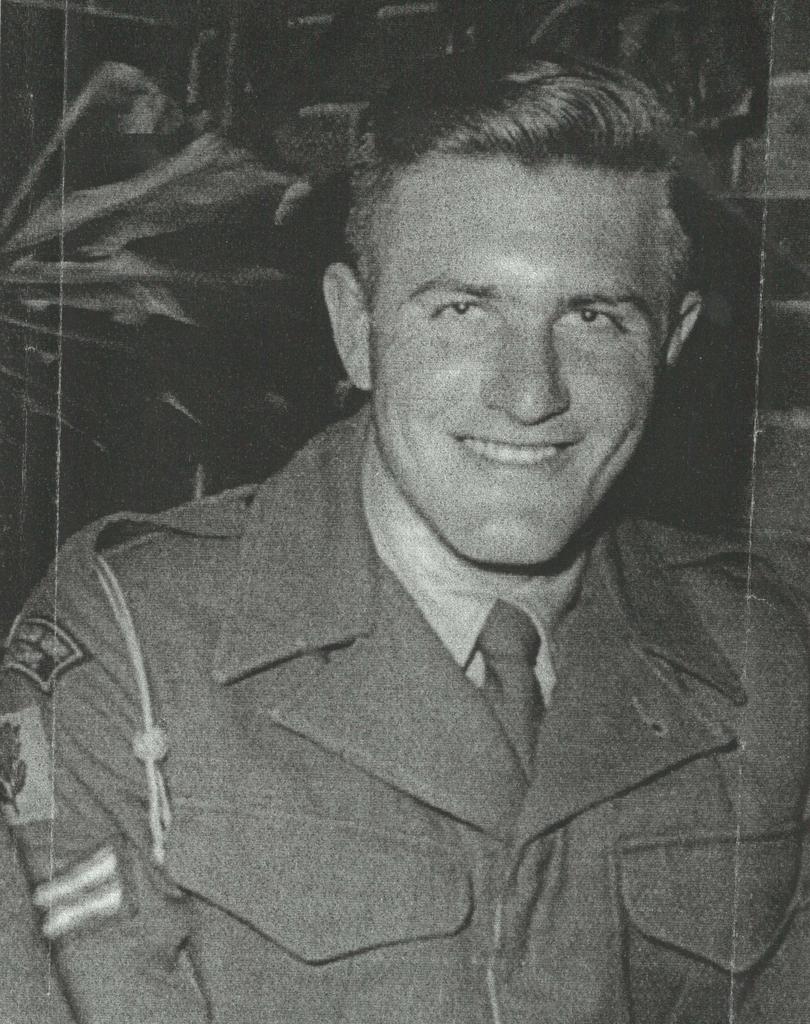 Colin Thomas Lithgow
(Temporary) Corporal
2 December 1966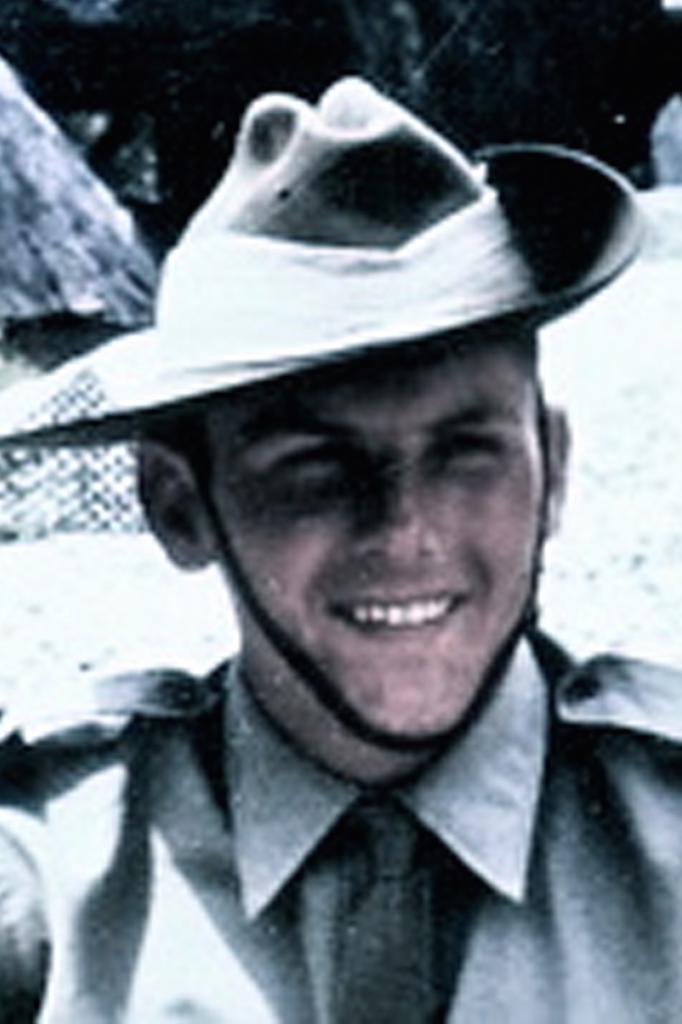 Geoffrey Lawrence Tweedie
Private
28 January 1967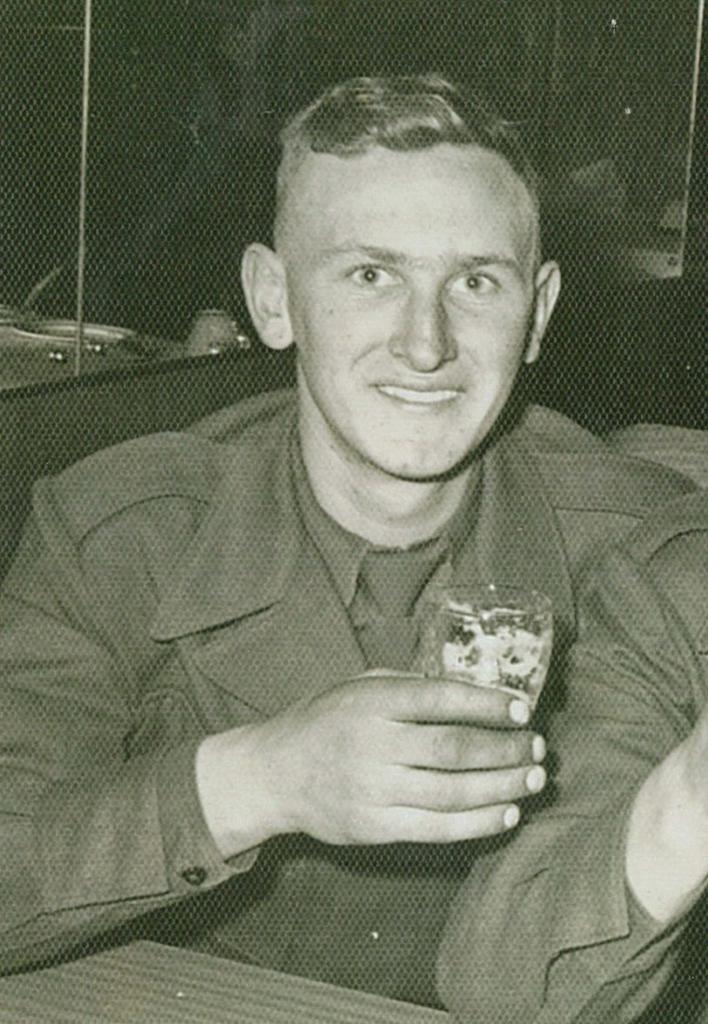 Barry Walter Kelly
Private
6 February 1967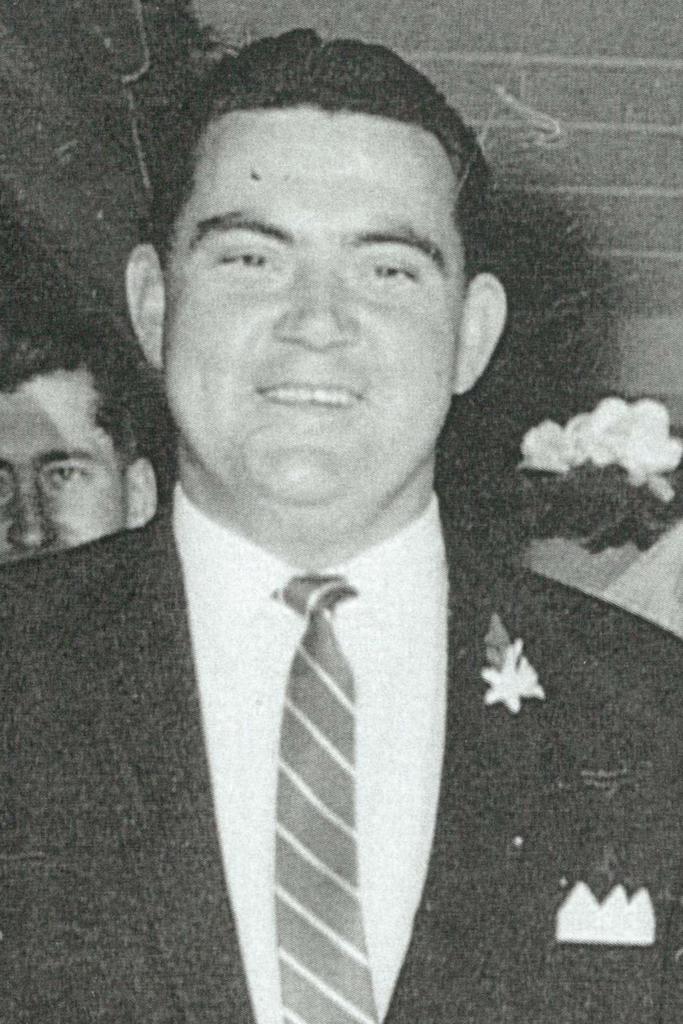 John William Kirby
(Temporary) Warrant-Officer Class 2
6 February 1967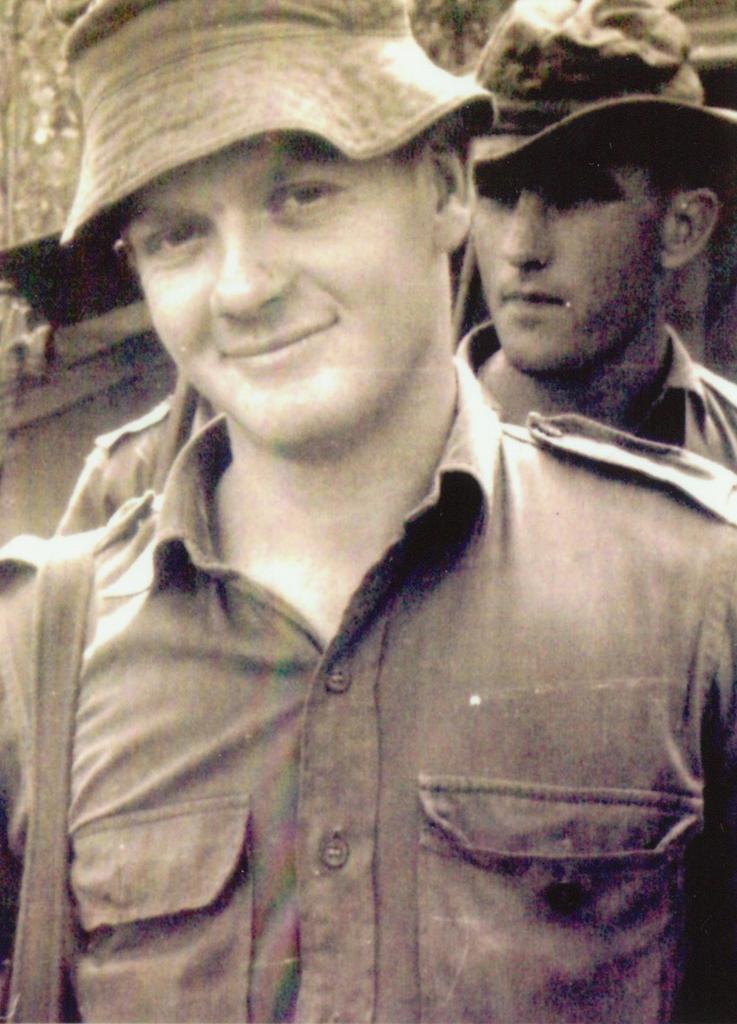 Douglas Roy Powter
Private
7 February 1967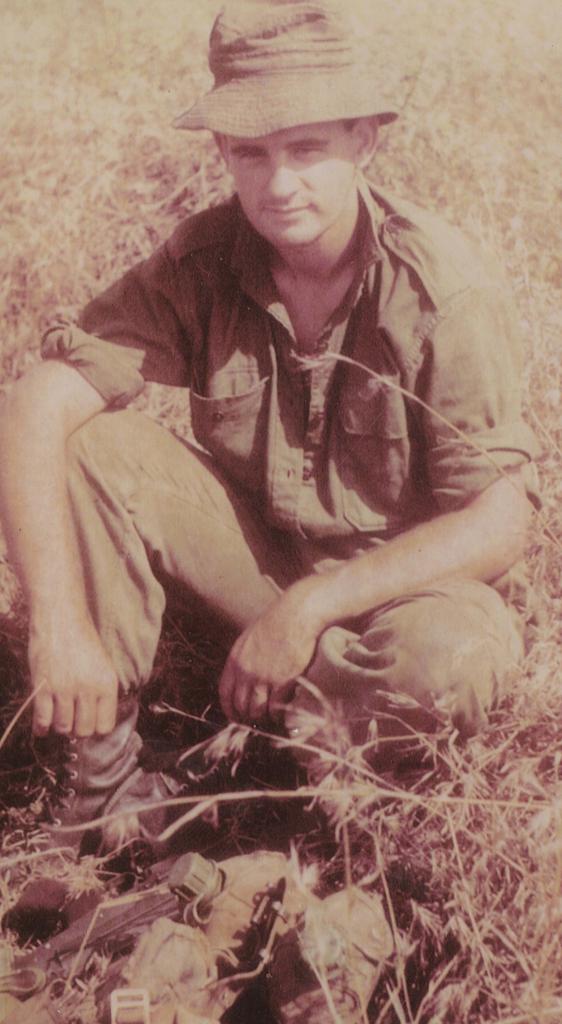 Adrian William Rich
Private
17 February 1967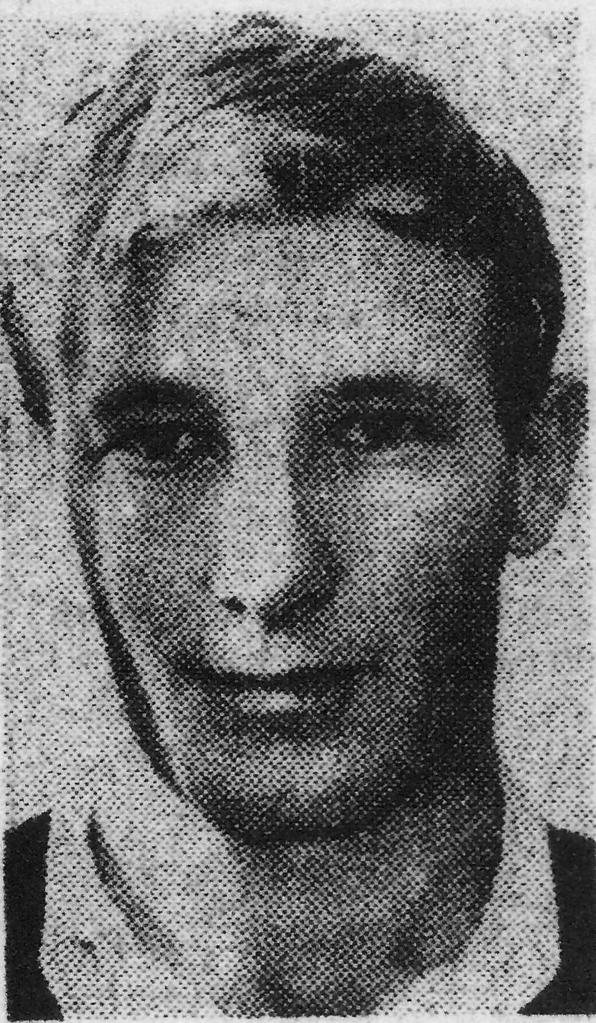 Brian David Waters
Private
17 February 1967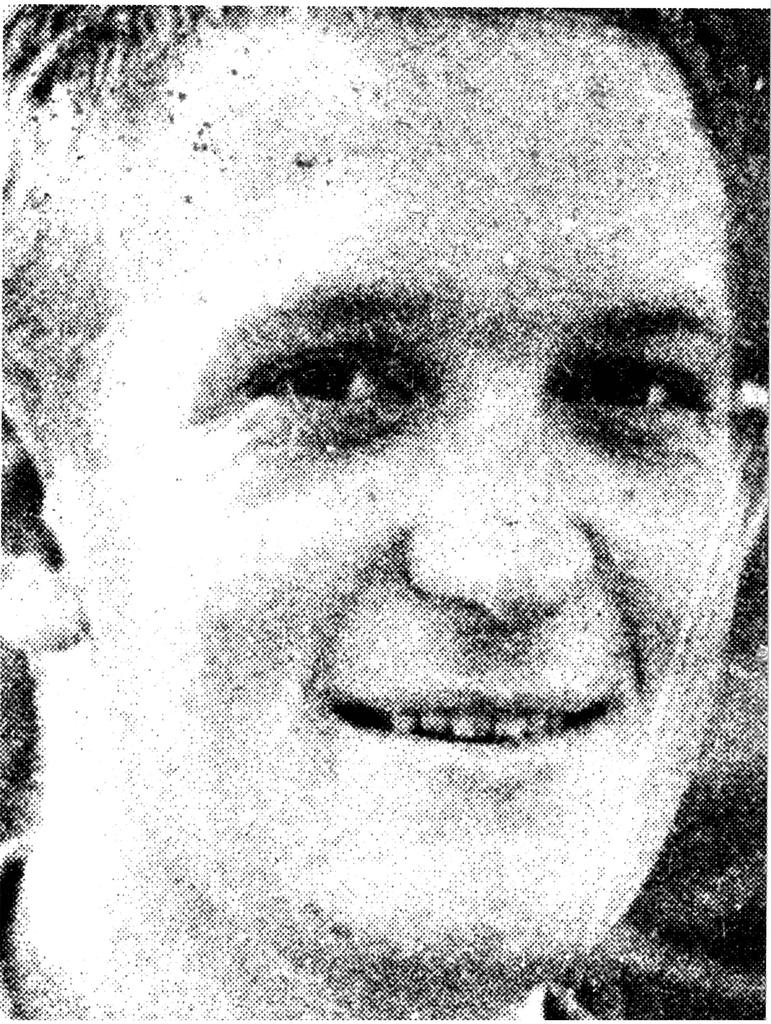 David Raleigh Webster
Private
17 February 1967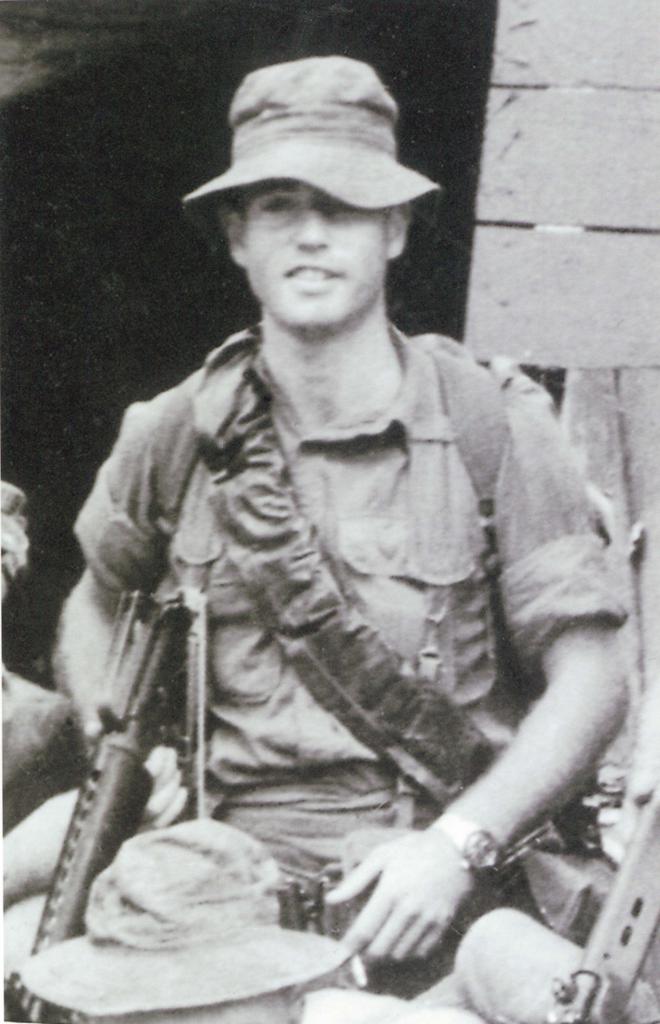 Kerry Michael Rooney
Lance-Corporal
17 February 1967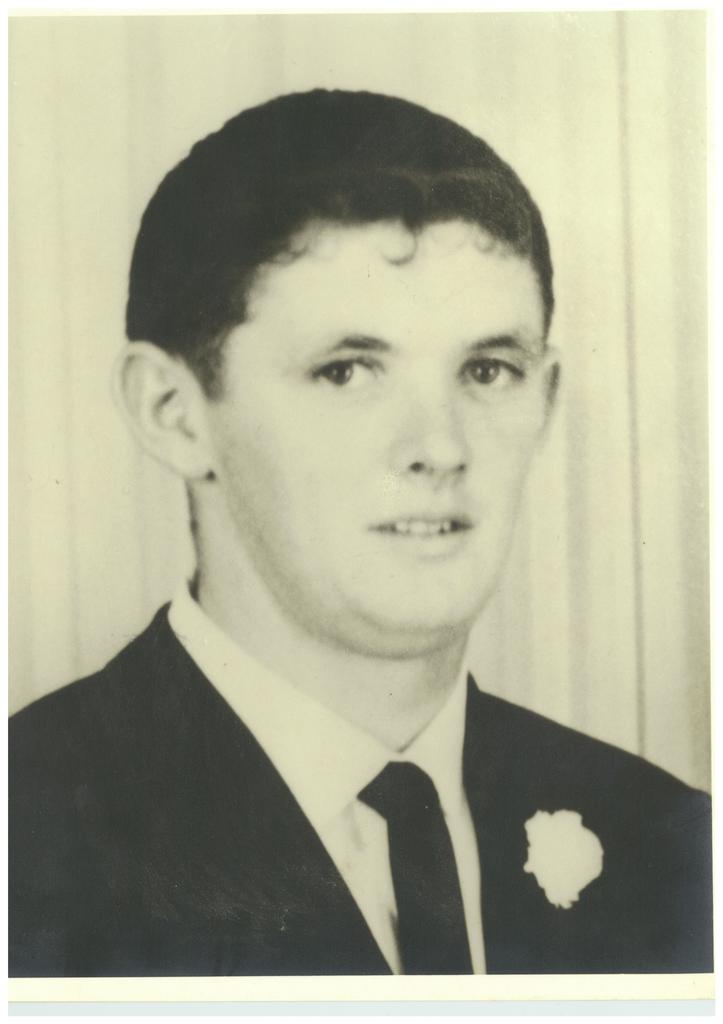 Michael James Birchell
Private
17 February 1967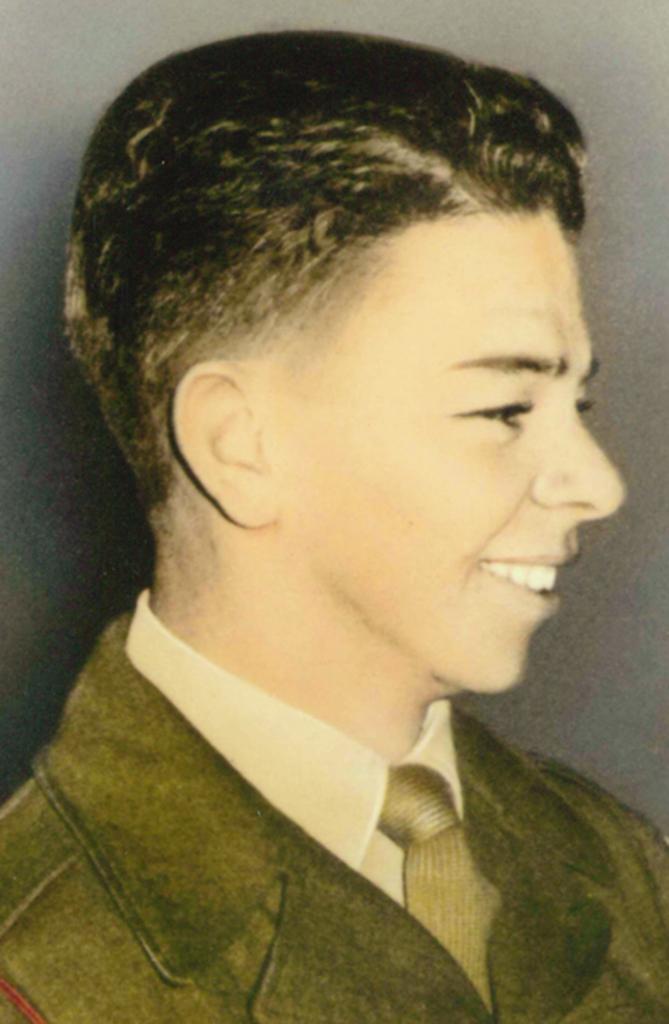 Peter John Arnold
Private
17 February 1967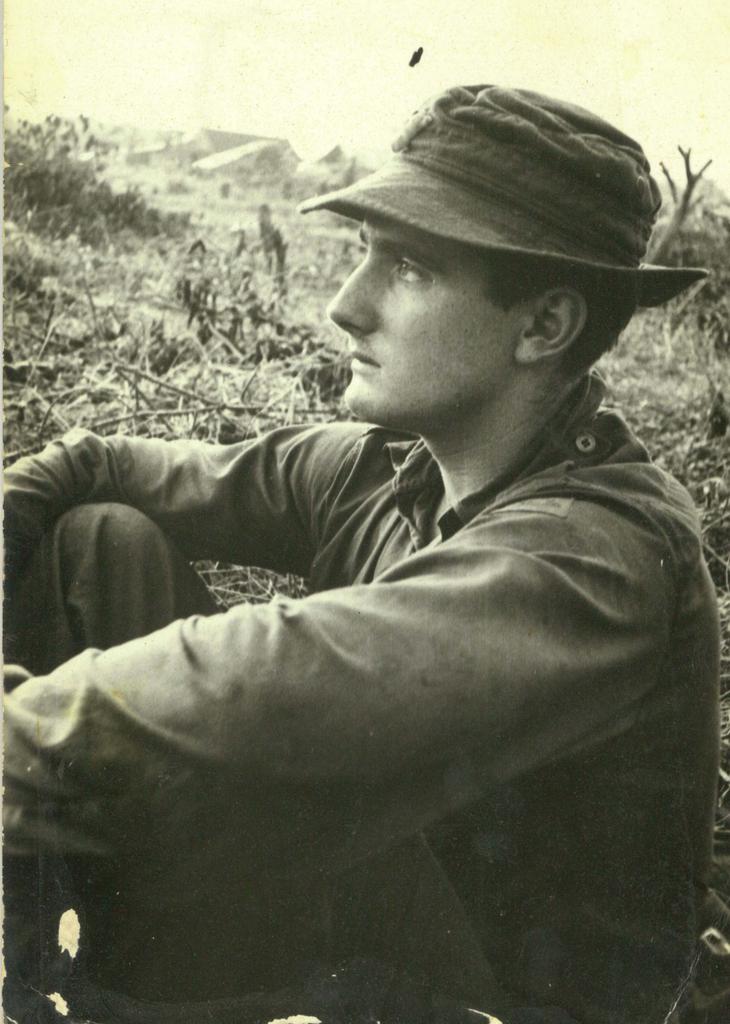 Wayne Maurice Riley
Private
17 February 1967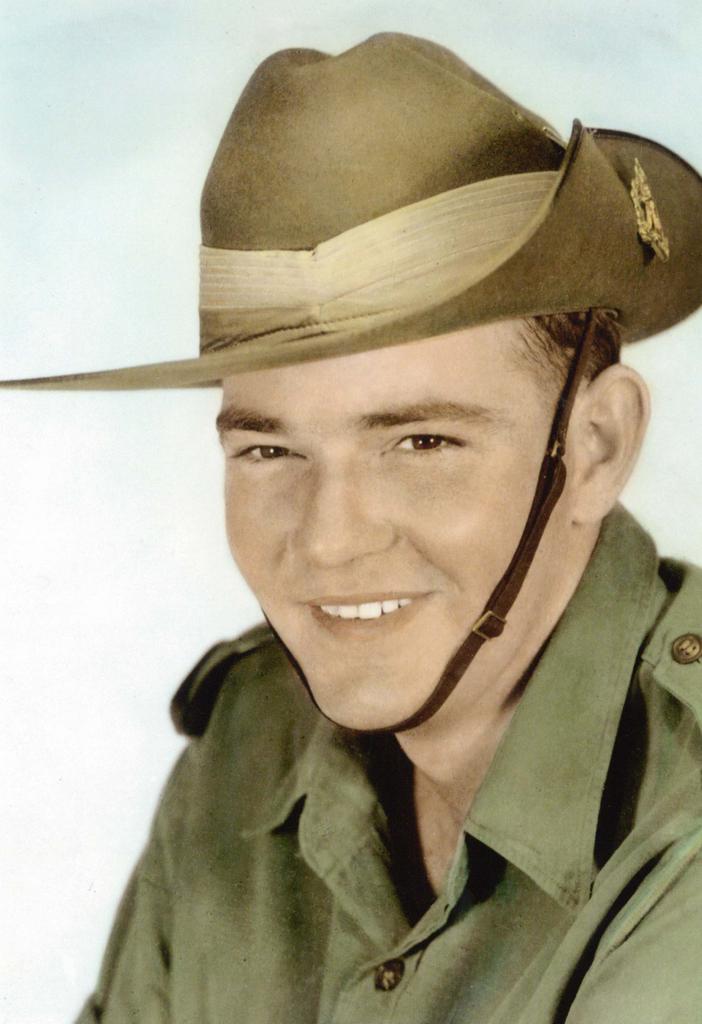 Peter Richard Hart
Private
29 March 1967 Dennis Hampton Bracewell
Private
30 March 1967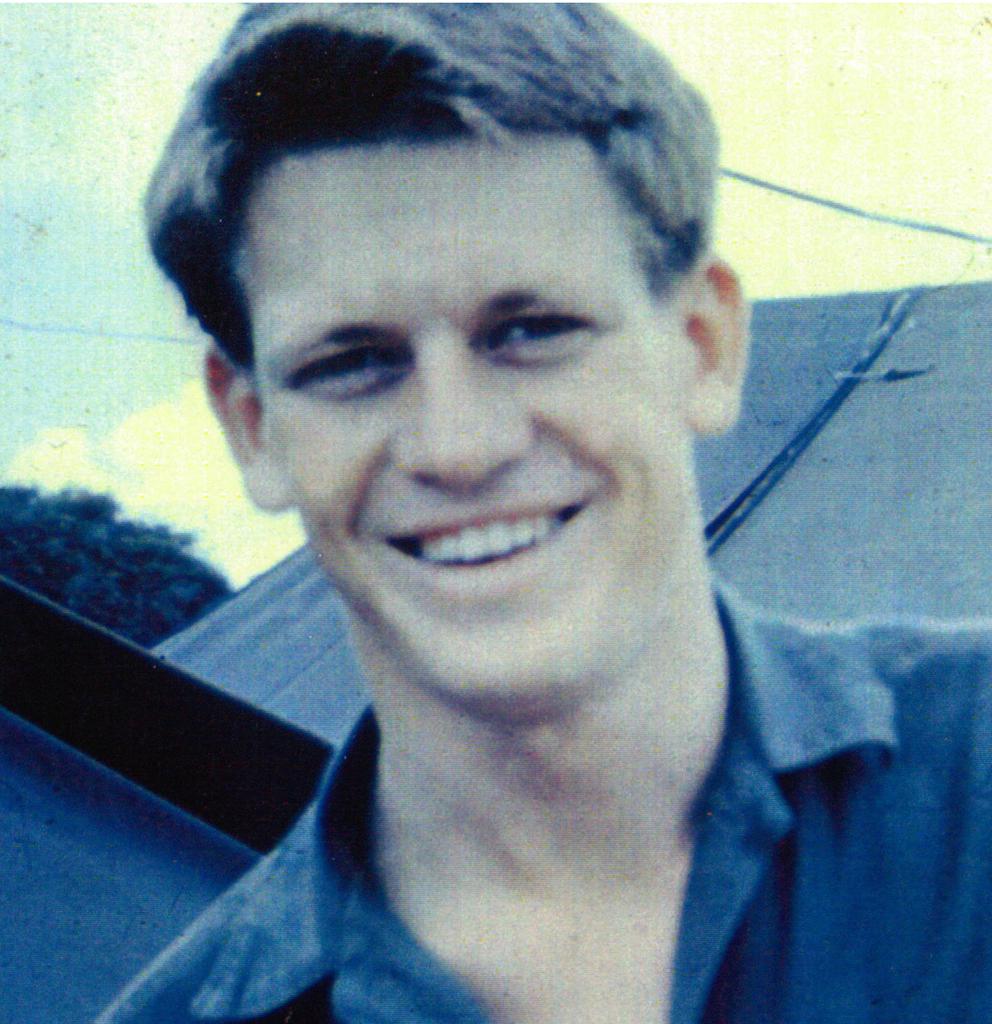 William John Ashton
Private
3 April 1967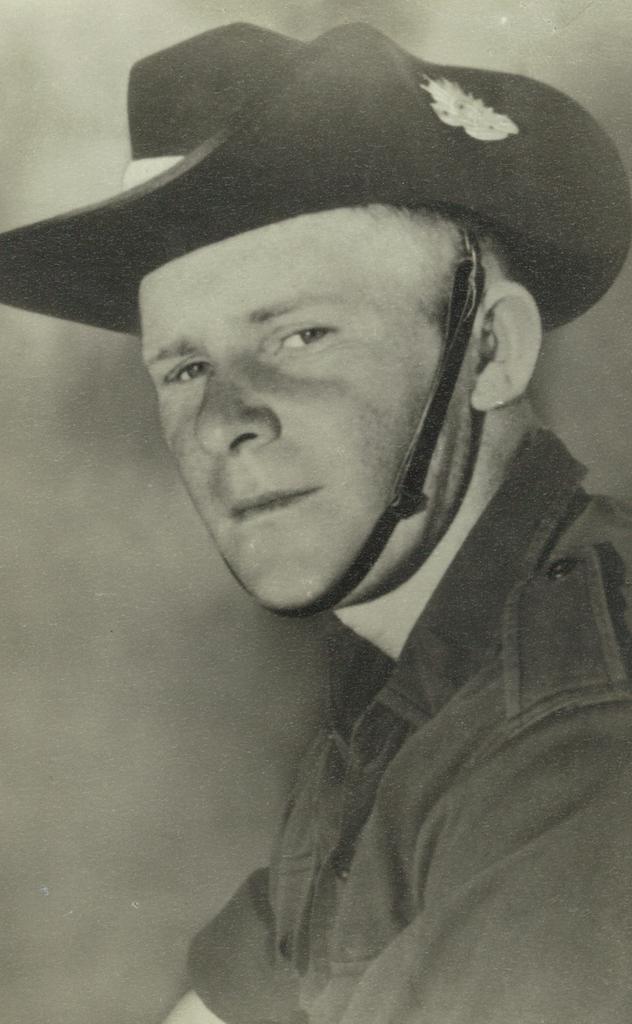 Barry James
Private
5 June 1969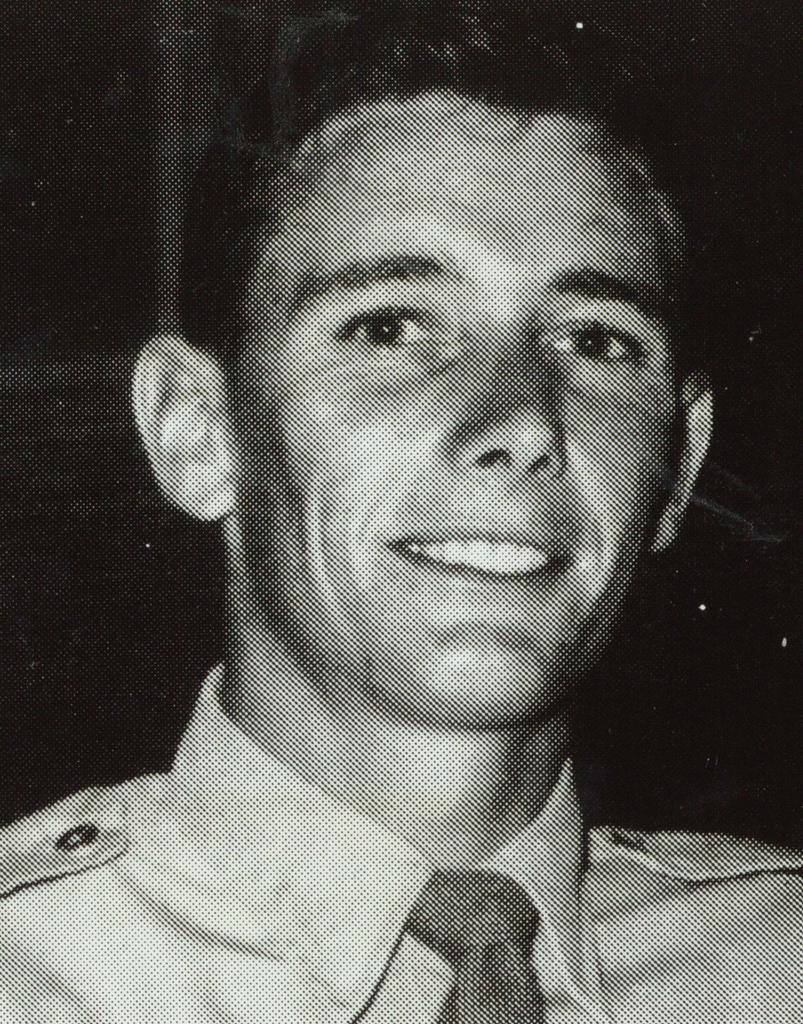 John David Needs
Corporal
21 July 1969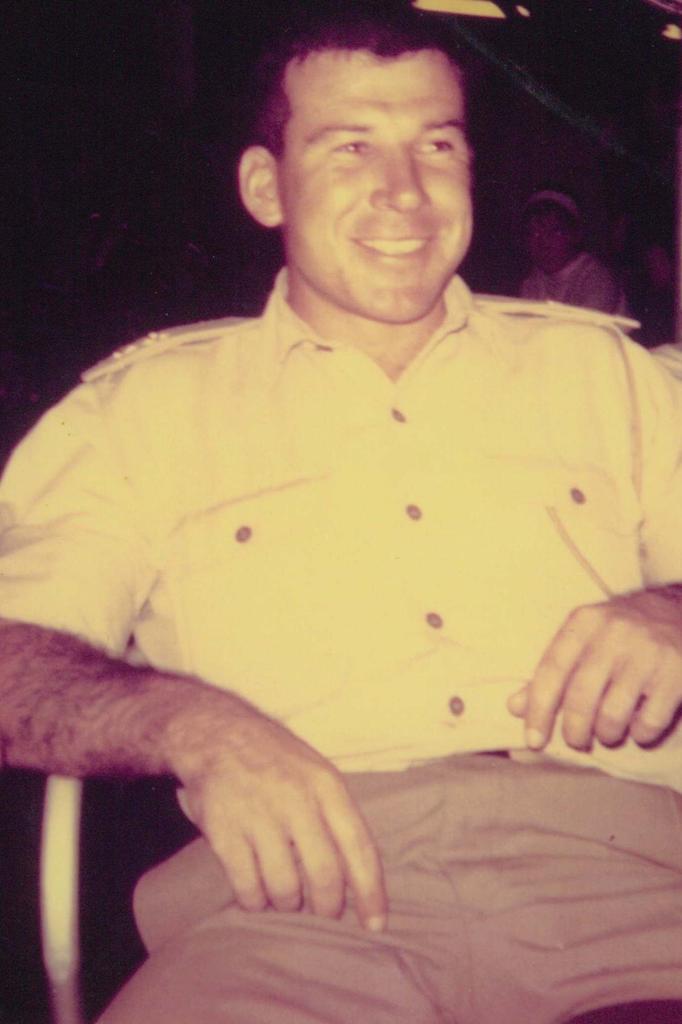 Peter Aubyn Hines
Lieutenant
21 July 1969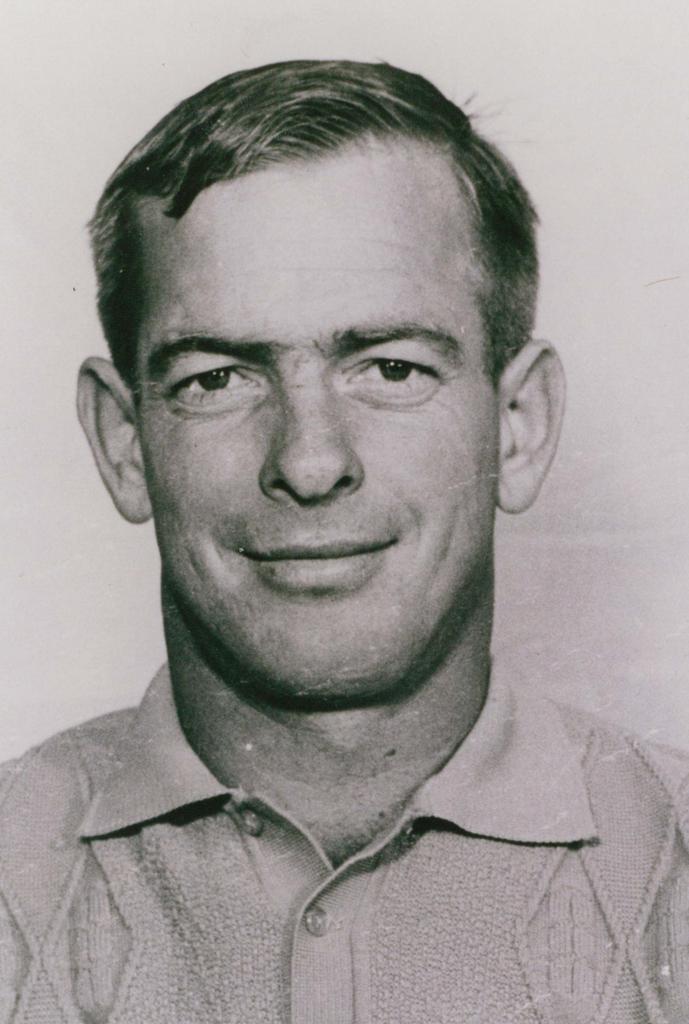 Frederick William Hoare
Corporal
4 August 1969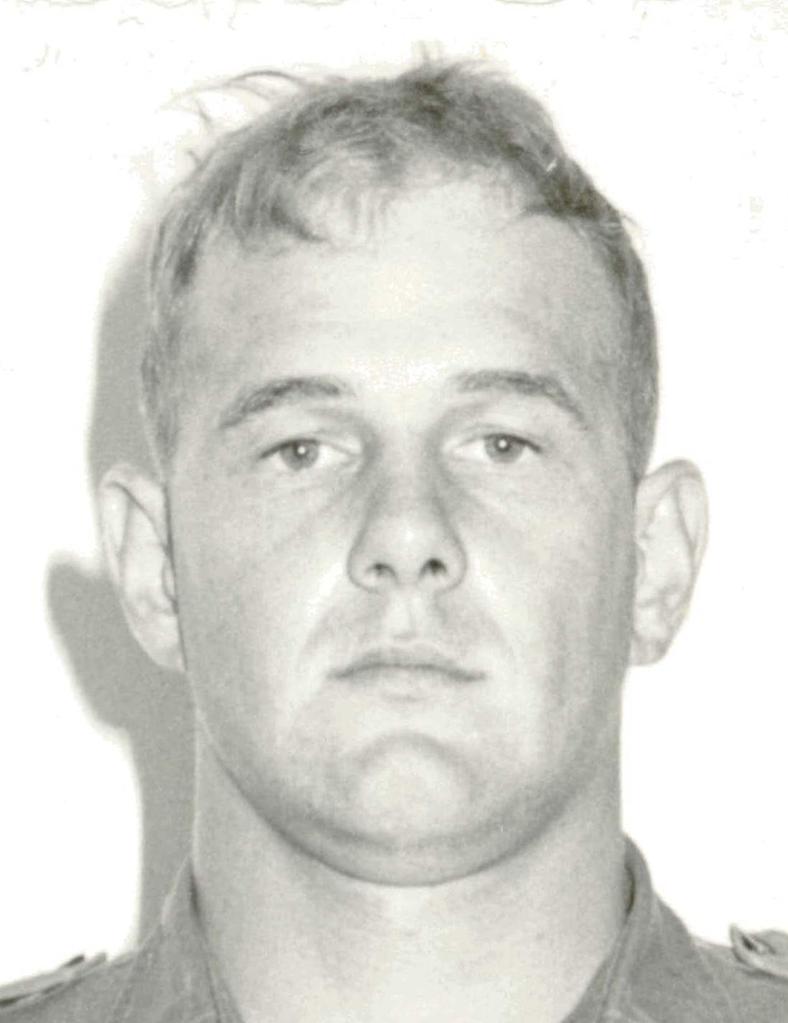 Ian William Kingston
Private
3 September 1969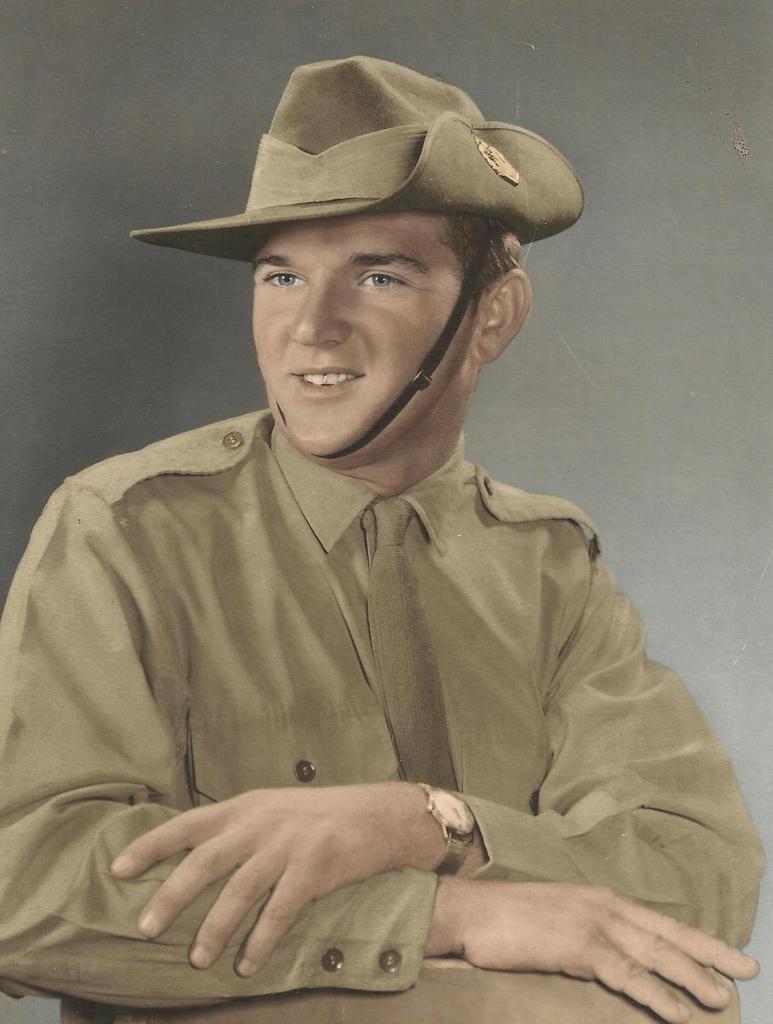 Peter Roy Hansen
Private
25 October 1969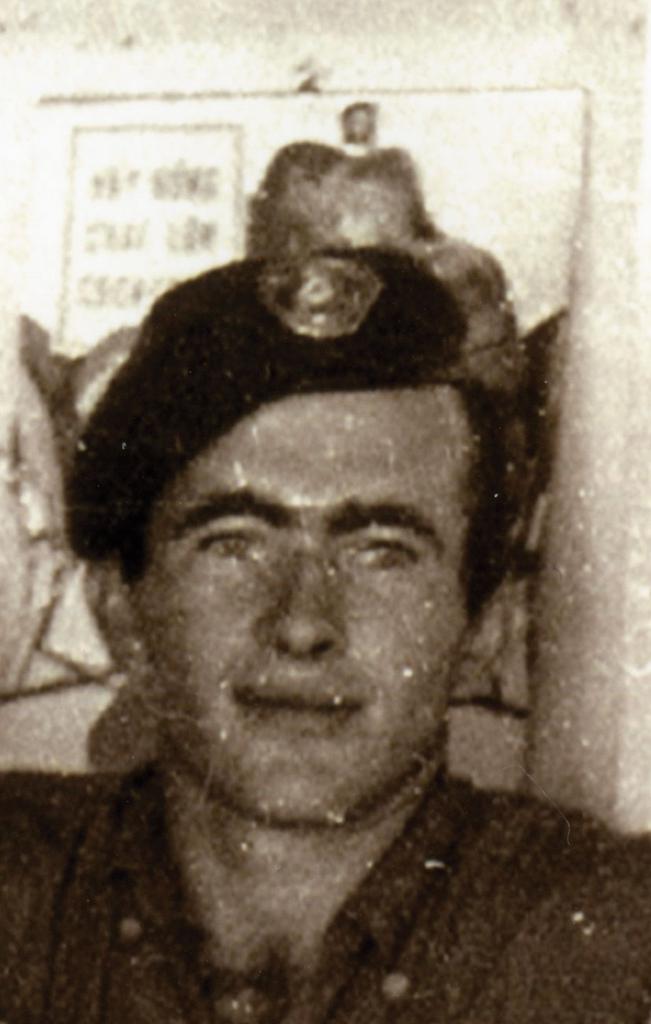 Robert Buchan
Private
11 December 1969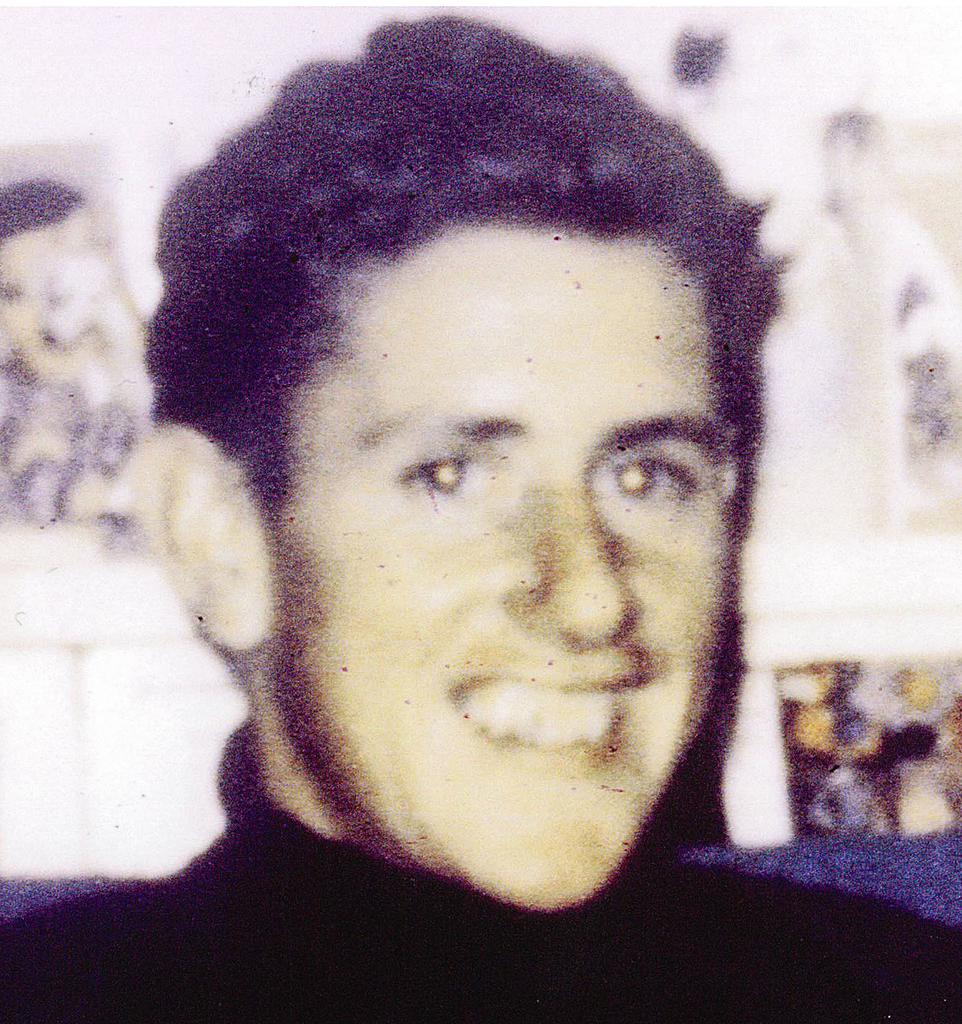 Allen Roy Brown
Private
18 December 1969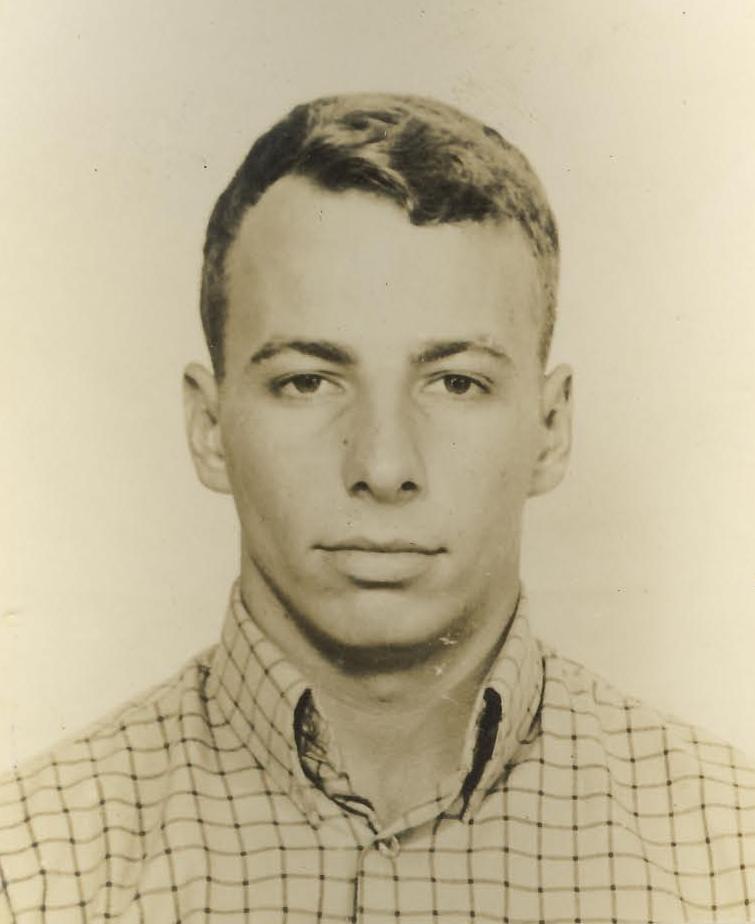 Gregory Ian Stanford
Lance-Corporal
18 December 1969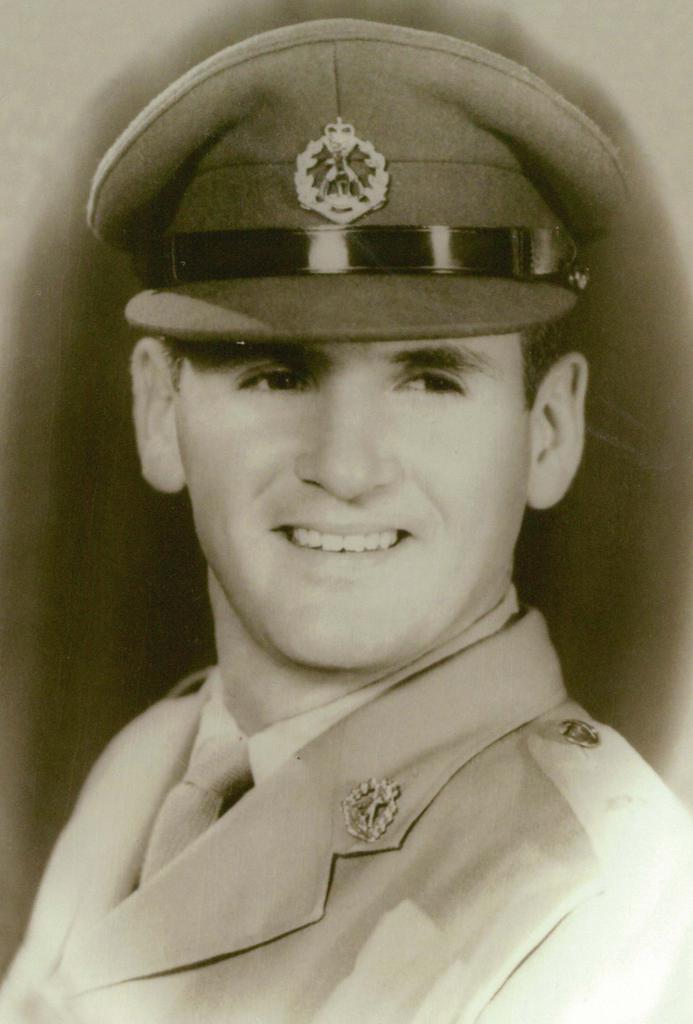 Peter Robert Marks-Chapman
Lieutenant
19 December 1969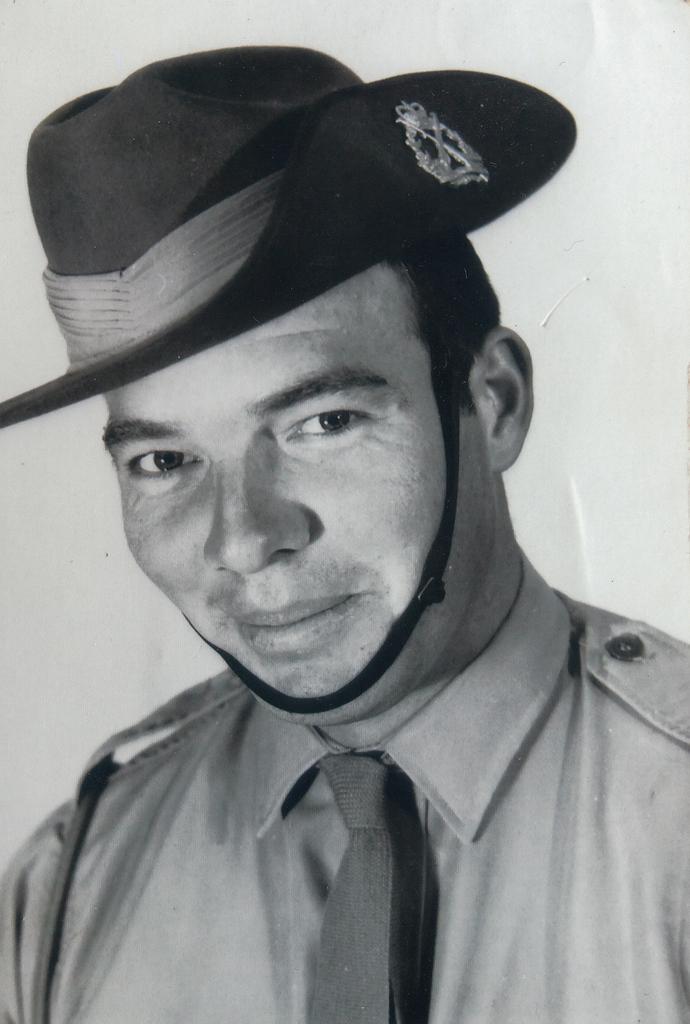 Kenneth Allan Duffy
Private
8 March 1970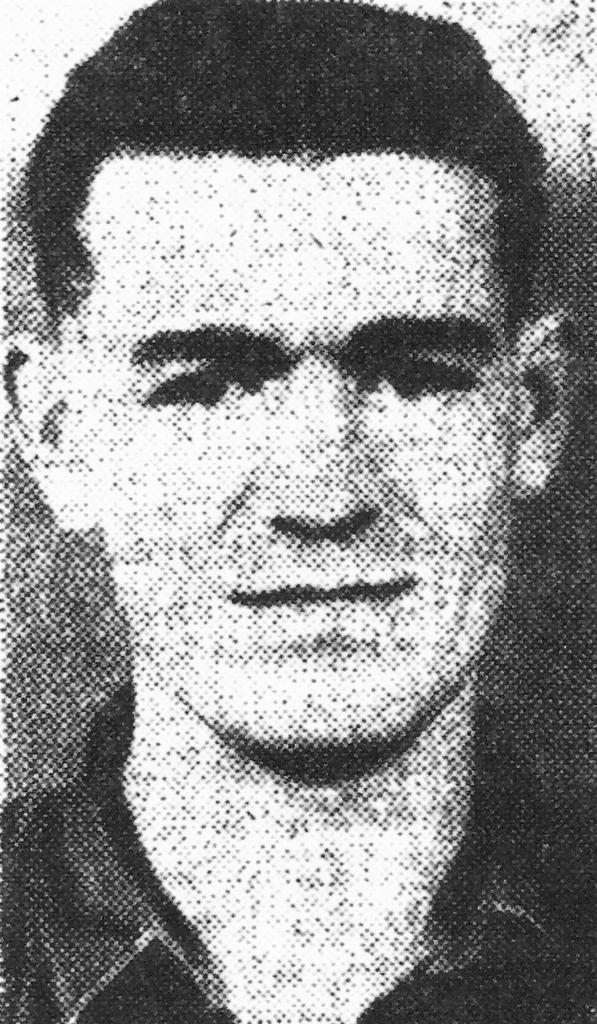 Raymond Duncan Clark
Private
8 March 1970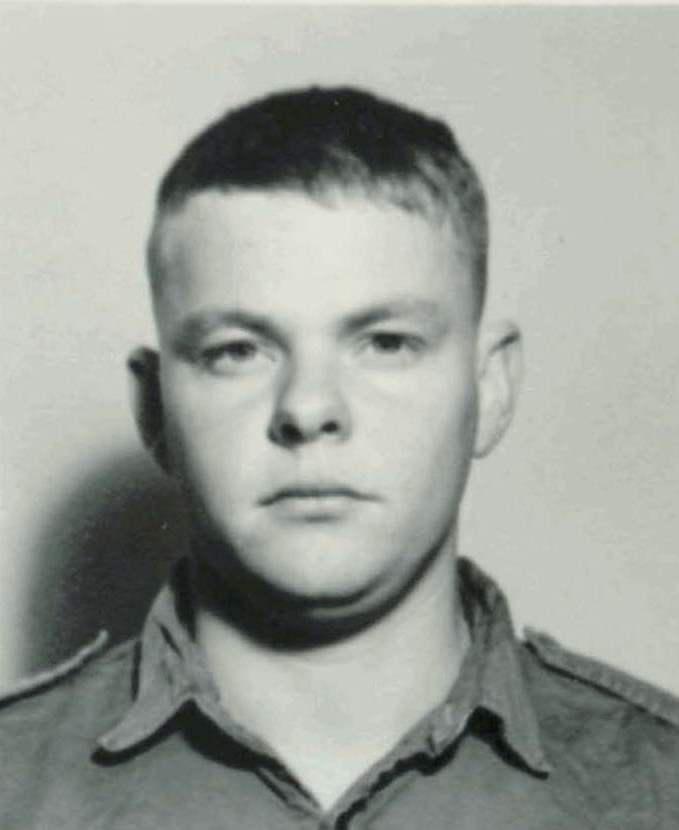 Robert Edward Power
Lance-Corporal
8 March 1970
Photographs #
From the site's collection: pictures linked to the unit's contacts, and others taken near them at the time. Each opens on the Battle Map.
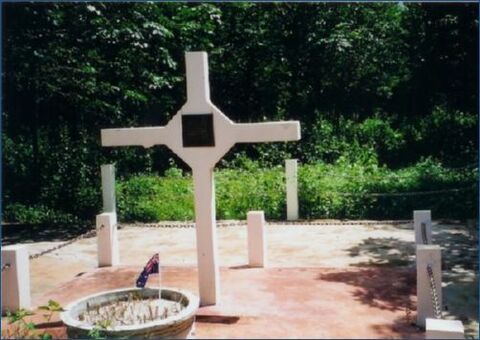 Long Tann Cross 2002 Ern Marshall
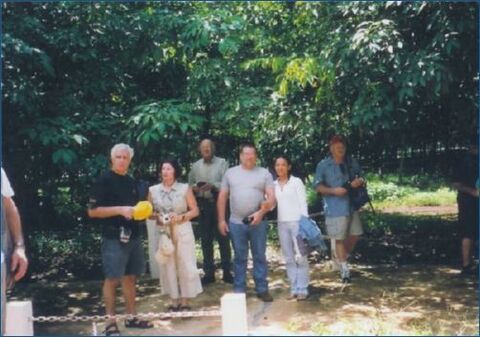 Ern Marshall at The Cross 2002 Ern Marshall
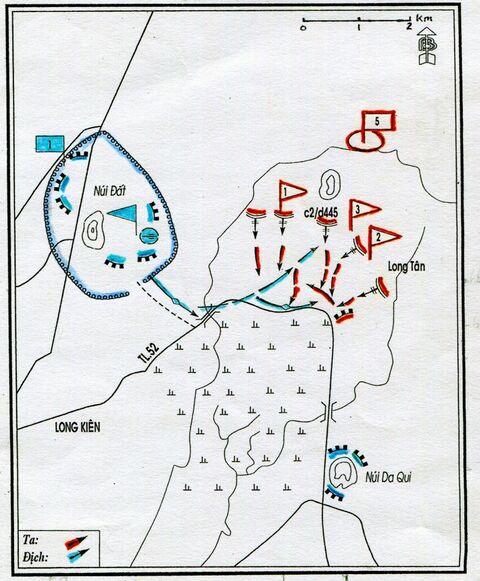 Sketch Map of the Battle of Long Tan - D445 \"version\"
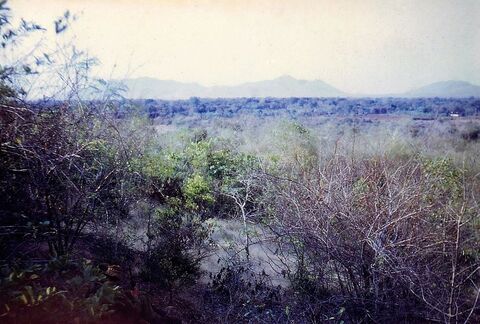 The Long Hai Hills as viewed from the western side of the Horseshoe during the morning 7.3.67 errol999, 7 March 1967
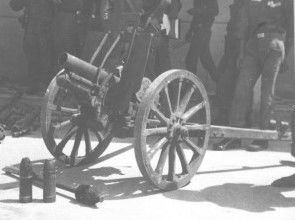 Pre-Long Tan shelling of the 1 ATF Nui Dat base by VC 70mm Japanese howitzer. VCAT, 17 August 1966
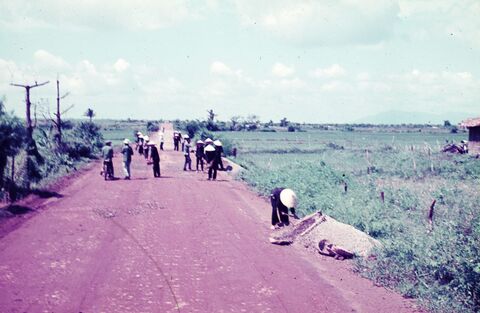 Repairing road east of Hoa Long village 6 May 1970
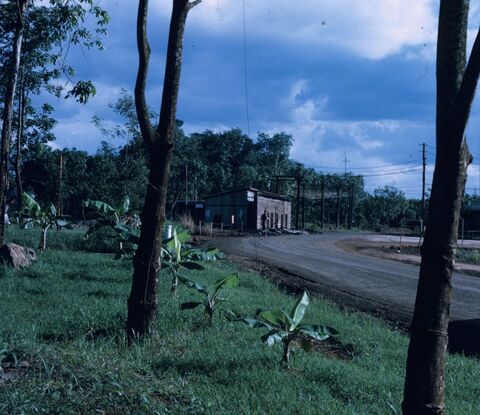 1 ATF Power plant before fire 1 March 1970
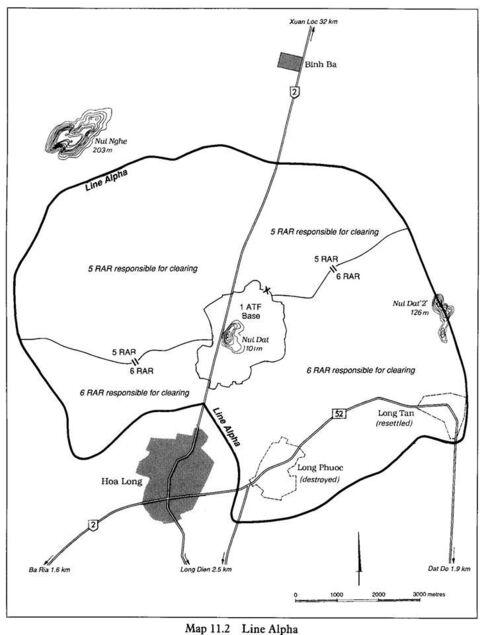 Outline of Line Alpha. This was the line that patrols could work in so they had artillery and mortar fire to support them. This was completed while Nui Dat … 1 August 1966
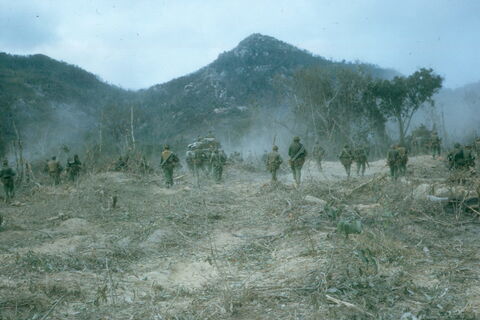 C Company 8 RAR assaulting into an enemy bunker system in the foothills of the Long Hais (Minh Dam Secret Zone) shortly after a B52 strike had hit the system. Rod Simpson, 22 February 1970
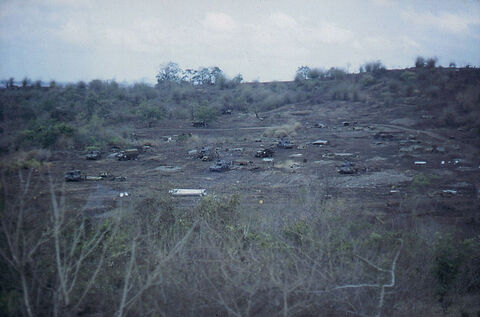 The Horseshoe on the morning of 1 April 1967 errol999, 1 April 1967
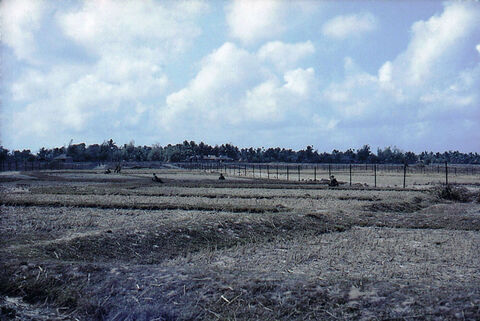 B Company 5 RAR entering fence, moving south towards Xa Phuoc Loi 29.3.67 errol999, 29 March 1967
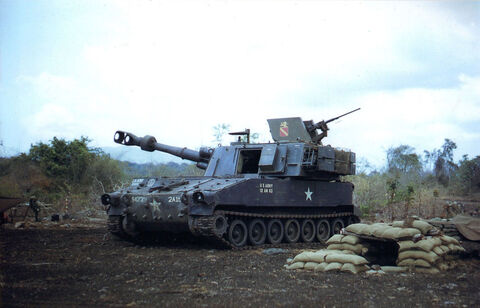 U.S. Army M109 155mm Self-Propelled Gun of Battery A 2/35TH Artillery Regiment inside the Horseshoe on the overcast morning of 1 April 1967 errol999, 1 April 1967
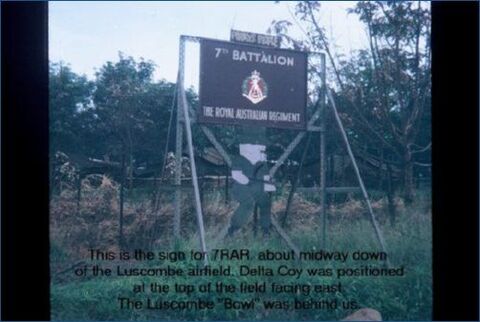 Company Sign Ern arshall, 1 July 1967
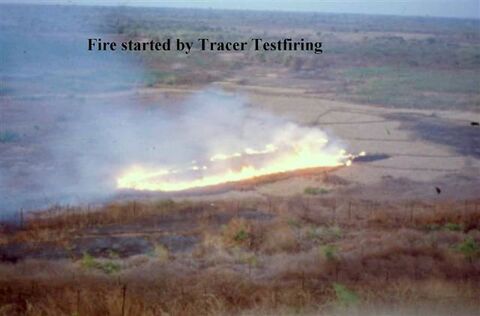 Fire started by test firing tracer rounds Ern Marshall, 30 November 1967
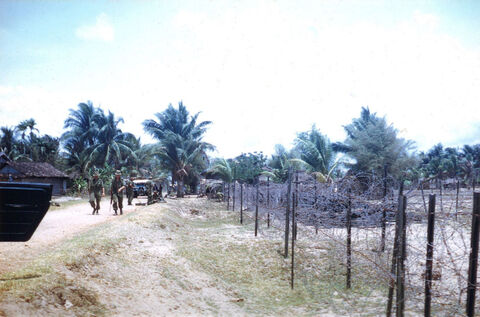 Lt. A.E. (Ted) Pott and Corporal Bobby Harboard walking south out of Xa Phuoc Loi on Route 44. The Australian Engineers had advised us that the barbed wire … errol999, 9 April 1967
Sources #
- Tours and arm: the Australian War Memorial's record of the unit.
- Contacts: the Battle Map's records of 461 contacts, each report citing the archival source (most often the commanders' diaries, AWM95).
- The dead: the honour roll, with tours of duty from the nominal roll.
- Helicopter missions: No. 9 Squadron RAAF's unit history sheets (National Archives of Australia, A9186, 736), read into the Battle Map's records, with each report's summary written by an AI model (Claude).
- Summaries of the reports: written by an AI model (Claude) from the reports, and reviewed.