
Artillery · September 1965 – May 1967, February 1969 – May 1970
1st Field Regiment
- Helicopter missions
- 2
- Contacts
- 68
- Operations
- 26
- Dead
- 4
- Australian wounded
- 140
- Enemy killed
- 447
 View unit in Battle MapView missions in Battle Map
Year by year #
68 contacts are recorded for the unit and sub-units, from 23 October 1965 to 21 August 1970. It was the unit in contact in 29 of them, and took part in 39 led by other units.
Unit actions #
In the contacts it led, by the task the report records:
| Task | Contacts | Share |
|---|---|---|
| Artillery engagement | 22 | 76% |
| Enemy attack | 2 | 7% |
| Security | 2 | 7% |
| Artillery and mortar fire | 1 | 3% |
| Mine incident | 1 | 3% |
| Transport | 1 | 3% |
Fire support in 39 contacts led by other units: 5 RAR (17), 1 RAR (9), 6 RAR (8), 161 Field Battery, RNZA (New Zealand) (2), US Army (2), US Artillery (1).
Operations #
| Operation | Dates | Contacts | Australians killed | Enemy killed |
|---|---|---|---|---|
| 13/65 | 23 October 1965 | 1 | 0 | 0 |
| 14/65, Hump | 5 November 1965 | 1 | 0 | 0 |
| 14/65 | 8 November 1965 | 1 | 0 | 2 |
| 17/65, Smash | 17 December 1965 | 1 | 0 | 0 |
| 18/65, Marauder | 1 January 1966 | 1 | 0 | 0 |
| 1/66, Crimp | 8 January 1966 | 1 | 0 | 0 |
| 3/66, Roundhouse | 4 February 1966 | 1 | 0 | 0 |
| 4/66, Rolling Stone | 19 February 1966 | 1 | 0 | 0 |
| 6/66, Silver City | 9 March 1966 | 1 | 0 | 0 |
| Silver City | 16 March 1966 – 17 March 1966 | 2 | 0 | 0 |
| 7/66, Abilene | 30 March 1966 | 1 | 0 | 0 |
| Hardihood | 24 June 1966 | 1 | 0 | 0 |
| TAOR | 17 August 1966 – 10 February 1967 | 2 | 1 | 0 |
| Smithfield (original - Vendetta) | 18 August 1966 | 3 | 17 | 265 |
| Bribie | 17 February 1967 | 1 | 8 | 50 |
| Hammer | 6 June 1969 | 1 | 1 | 43 |
| Hammer/Tong | 7 June 1969 | 1 | 0 | 40 |
| TONG | 7 June 1969 | 1 | 0 | 6 |
| Lavarack | 11 June 1969 | 1 | 0 | 9 |
| Camden | 8 August 1969 – 28 August 1969 | 2 | 0 | 8 |
| Camden 2 | 21 August 1969 | 1 | 1 | 9 |
| Burnham | 9 September 1969 – 13 September 1969 | 2 | 0 | 1 |
| Kingston | 21 September 1969 | 1 | 0 | 0 |
| Kings Cross | 2 November 1969 – 7 December 1969 | 7 | 2 | 14 |
| U/K | 4 January 1970 | 1 | 0 | 0 |
| Bondi 2 | 28 January 1970 | 1 | 0 | 0 |
Air support #
No. 9 Squadron RAAF's unit history records 2 helicopter missions flown for 1 Fd Regt, from 1 February 1970 to 28 February 1970.
| Mission | Missions | Share |
|---|---|---|
| Gunship | 1 | 50% |
| Troop Lift | 1 | 50% |
View the missions in Battle Map
Notable contacts #
23 October 1965: Deployment, Operation 13/65 #
First · Fire support for 1 RAR
Operation 13/65, 1 RAR's search-and-destroy operation north-east of the US 173rd Airborne Brigade's base at Bien Hoa, with a troop of armoured personnel carriers, 3 Field Troop, and 105 Field Battery and New Zealand's 161 Battery in direct support.
8 November 1965: Arty/Mor, Operation 14/65 #
Typical: artillery and mortar fire · 1 Fd Regt in contact
Enemy: 2 killed.
105 Field Battery fired a battery mission from Landing Zone Queen in support of the US 1/503rd Battalion, which had met a Viet Cong main-force unit north-west of the Dong Nai River. The airborne controller confirmed two Viet Cong killed.
16 March 1966: Attack by en, Operation Silver City #
Typical: enemy attack · 1 Fd Regt in contact
The US 2/503rd Battalion was attacked from all sides of its perimeter for four hours, after a bombardment of mortars, a howitzer and recoilless rifles, probably by three battalions of the 271st Regiment. Artillery, including 105 Field Battery, and air strikes played a large part in defeating the attack. The Americans lost 7 killed and 114 wounded; 288 Viet Cong were counted dead. A large cache of weapons was found the next day.
17 August 1966: Security, Operation TAOR #
Significant · Fire support for 161 Field Battery, RNZA (New Zealand)
Australian: 1 killed, 24 wounded.
The Viet Cong shelled the Task Force's artillery lines at Nui Dat with about 66 rounds from 82 mm mortars and what was thought to be a 70 mm howitzer, killing one Australian and wounding 24. The artillery returned fire within seven minutes. A patrol from B Company, 6 RAR, later found the firing positions, with signs of a hurried departure, blood trails and carts used to take bodies away. This was the night before the Battle of Long Tan.
18 August 1966: Patrol, Operation Smithfield (original - Vendetta) #
Significant · Fire support for 6 RAR
Australian: 17 killed, 19 wounded. Enemy: 245 killed, 350 wounded.
The Battle of Long Tan. D Company, 6 RAR, 108 strong, was following fresh tracks east of Nui Dat when 11 Platoon met a few Viet Cong and then a much larger force. From about 5.30 pm the company was attacked by at least a company, later found to be far more, under heavy machine-gun and mortar fire in heavy rain, and held on until A Company arrived in armoured personnel carriers after 7 pm. Close artillery fire broke up many of the attacks; low cloud ruled out air strikes, and helicopters flew in ammunition and took out the wounded. Seventeen Australians were killed and nineteen wounded; 245 enemy were recorded killed. The company commander afterwards reported that the M60 machine-guns jammed in the mud and that the men needed to carry more ammunition.
18 August 1966: Contact, Operation Smithfield (original - Vendetta) #
Significant · Fire support for 6 RAR
Australian: 4 wounded. Enemy: 20 killed, 40 wounded.
During the Battle of Long Tan, A Company, 6 RAR, rode out from Nui Dat in the armoured personnel carriers of 3 Troop, 1 APC Squadron, to relieve D Company. On the way it clashed with the support company of the D445 Battalion, causing about 15 casualties, and then with two companies of the 275th Regiment, causing about 45 more, before joining D Company as the enemy withdrew. Four Australians were wounded.
4 February 1967: Contact #
Typical: artillery engagement · 1 Fd Regt in contact
An aircraft saw many cooking fires around Thua Tich, and the artillery fired 25 rounds into the area.
10 February 1967: Security, Operation TAOR #
Typical: security · 1 Fd Regt in contact
A standing patrol near 103 Field Battery heard noises to its south for 20 minutes. Believing it had been given away, the patrol leader moved it 150 metres north to the battery's outer wire; about half an hour later the enemy threw a grenade into the patrol.
17 February 1967: Bunker, Operation Bribie #
Significant · Fire support for 6 RAR
Australian: 8 killed, 21 wounded. Enemy: 50 killed, 13 wounded.
Operation Bribie. After A Company, 6 RAR, found a Viet Cong company and its heavy weapons company dug into bunkers, B Company was ordered to assault the position. It was pinned down by fire from all sides, including heavy machine-guns, Claymore mines and mortars; four air strikes were called in, and carriers of 2 Troop, A Squadron, 3 Cavalry Regiment, went in to bring out the wounded, one being disabled by recoilless-rifle fire. After four hours both companies withdrew into the battalion's night position, and the enemy left during the night. Eight Australians were killed and 21 wounded; about 50 enemy were recorded killed. The battalion's commander said that tanks could have taken the position with little difficulty.
6 June 1969: Contact, Operation Hammer #
Significant · Fire support for 5 RAR
Australian: 1 killed, 10 wounded. Enemy: 43 killed, 6 wounded.
The Battle of Binh Ba. B and D Companies of 5 RAR, with tanks of B Squadron, 1 Armoured Regiment, carriers of B Squadron, 3 Cavalry Regiment, and local Regional and Popular Force troops, fought an estimated 90 enemy in the village of Binh Ba from late morning until evening. One Australian was killed and eight to ten wounded, and two Centurion tanks were damaged; 27 enemy were counted dead, more were recorded later, and two were captured.
7 June 1969: Contact, Operation Hammer/Tong #
Significant · Fire support for 5 RAR
Enemy: 40 killed.
A company of the 33rd North Vietnamese Regiment attacked Duc Trung and overwhelmed its local defence platoon. B Company, 5 RAR, was sent to retake it: artillery fire was brought within 20 metres of the houses, helicopter gunships attacked the north and west of the village, and B Company attacked from the south with a troop of tanks. The enemy were routed, and local forces cleared the rest of the village to avoid civilian casualties. Forty enemy were recorded killed.
11 June 1969: Bunker, Operation Lavarack #
Significant · Fire support for 6 RAR
Australian: 10 wounded. Enemy: 9 killed.
B Company, 6 RAR, spotted a sentry and sent a platoon and a half to attack what seemed a small camp, their approach hidden by heavy rain. They surprised the enemy and killed the sentry, but the camp proved to be a large bunker system, and the enemy counter-attacked. The whole company was committed, with artillery, helicopter gunships and a gunship aircraft overhead for over an hour; after ten were wounded, the company was ordered to withdraw, hampered by rain and eight to ten snipers in the trees. Two machine-guns failed and radio contact was poor. Nine enemy bodies were found when the company went back in the next day to an empty camp.
21 August 1969: Bunker, Operation Camden 2 #
Significant · Fire support for 5 RAR
Australian: 1 killed, 37 wounded. Enemy: 9 killed, 25 wounded.
A Company, 5 RAR's Assault Pioneer Platoon heard voices ahead and, with 3 Platoon, assaulted a bunker system after artillery fire behind it to cut off the enemy. They met very heavy rocket and rifle fire from the bunkers and flanks, and pulled back to a clearing to evacuate the wounded; as the medical helicopters arrived, the enemy closed in and fired mortars, rifles and rockets into the wounded, until helicopter gunships drove them back and the evacuation was moved. One Australian was killed and more than 30 wounded; nine enemy were recorded killed and 25 wounded. The company commander said the radio net had been chaotic with every supporting element on it.
21 August 1970: Contact #
Last · 1 Fd Regt in contact
A grader of 1 Field Regiment set off an M14 mine with its blade. There were no casualties.
Sub-units #
101 Field Battery #
24 contacts, 17 February 1967 to 4 January 1970; 4 operations. Australian: 8 killed, 34 wounded. Enemy: 60 killed, 14 wounded.
Actions: artillery engagement 100%.
Most significant contacts:
- 17 February 1967: bunker, Operation Bribie. Australian: 8 killed, 21 wounded. Enemy: 50 killed.
- 11 June 1969: bunker, Operation Lavarack. Australian: 10 wounded. Enemy: 9 killed.
- 9 September 1969: bunker, Operation Burnham. Australian: 2 wounded. Enemy: 1 killed.
View 101 Field Battery in Battle Map
105 Field Battery #
35 contacts, 23 October 1965 to 28 January 1970; 20 operations. Australian: 4 killed, 57 wounded. Enemy: 122 killed, 49 wounded.
Actions: artillery engagement 50%, enemy attack 25%, artillery and mortar fire 12%, security 12%.
Most significant contacts:
- 6 June 1969: contact, Operation Hammer. Australian: 1 killed, 10 wounded. Enemy: 43 killed.
- 7 June 1969: contact, Operation Hammer/Tong. Enemy: 40 killed.
- 21 August 1969: bunker, Operation Camden 2. Australian: 1 killed, 37 wounded. Enemy: 9 killed.
View 105 Field Battery in Battle Map
Roll of honour #

The unit's 4 dead on the honour roll: those on a tour with the unit when they died, and reinforcements killed in the unit's contacts. Each opens their entry on the honour roll.
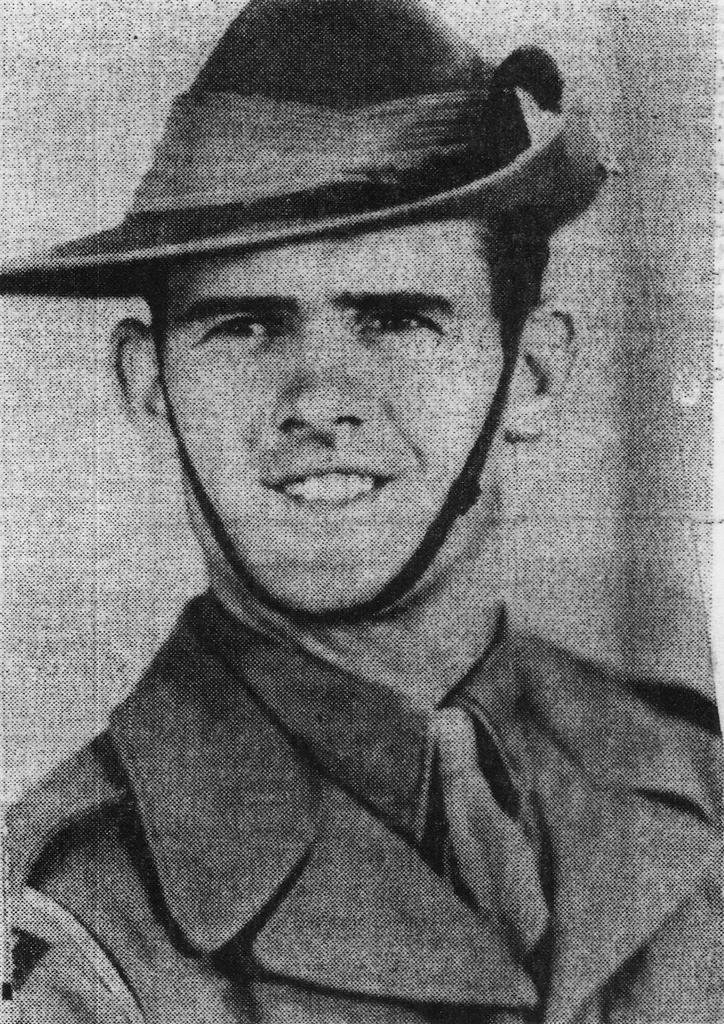 Thomas Simpson
Gunner
9 December 1965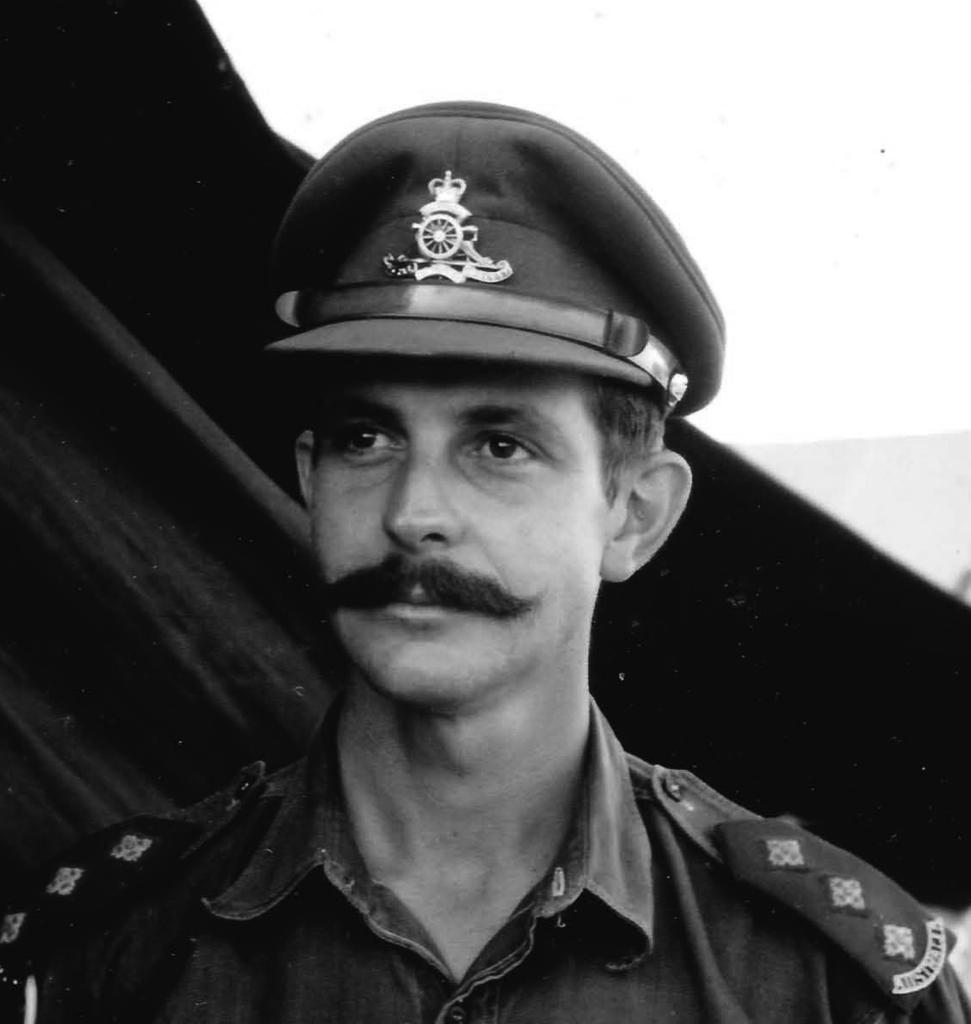 Kenneth Wilfred Bade
Captain
8 January 1966 Richard William Cliff
Gunner
6 February 1967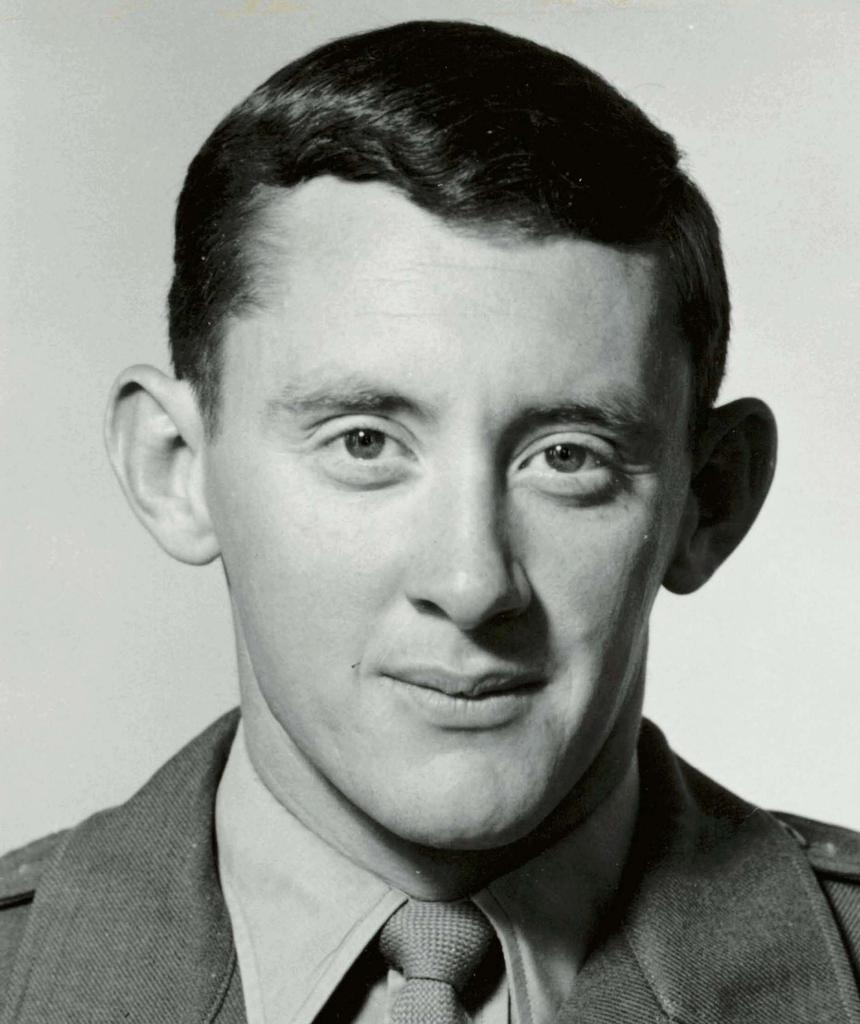 Bernard Anthony Garland
Lieutenant
22 April 1970
Photographs #
From the site's collection: pictures linked to the unit's contacts, and others taken near them at the time. Each opens on the Battle Map.
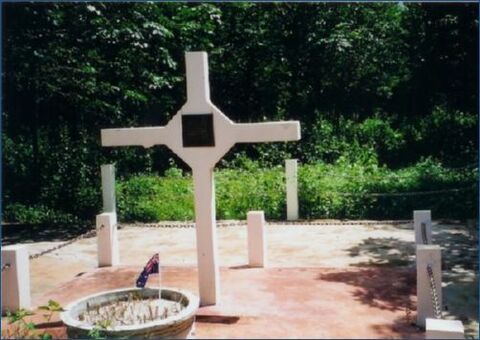 Long Tann Cross 2002 Ern Marshall
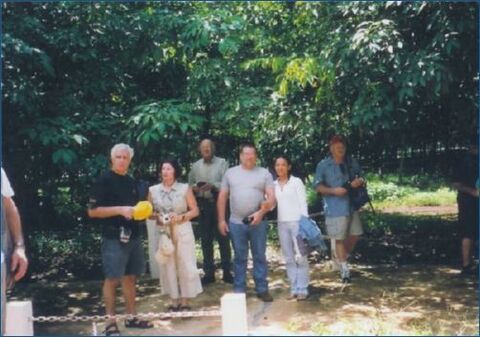 Ern Marshall at The Cross 2002 Ern Marshall
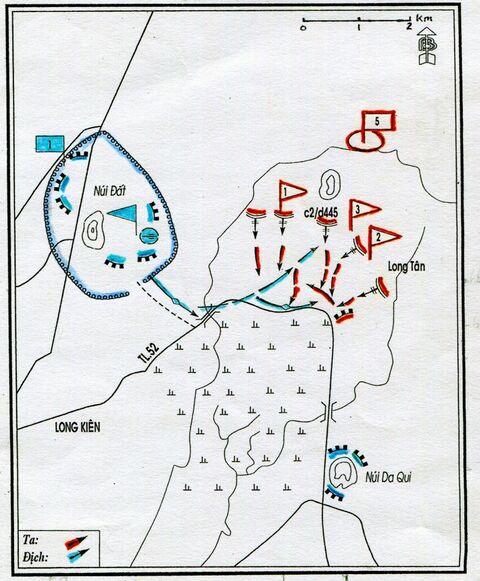 Sketch Map of the Battle of Long Tan - D445 \"version\"
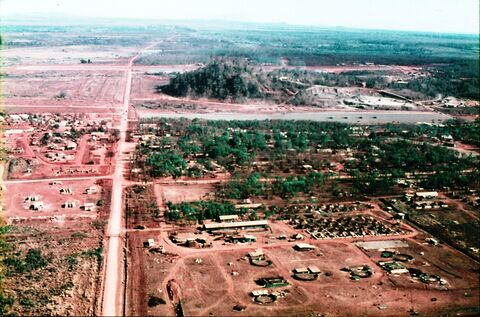 Nui Dat looking north. TBA, 1 August 1966
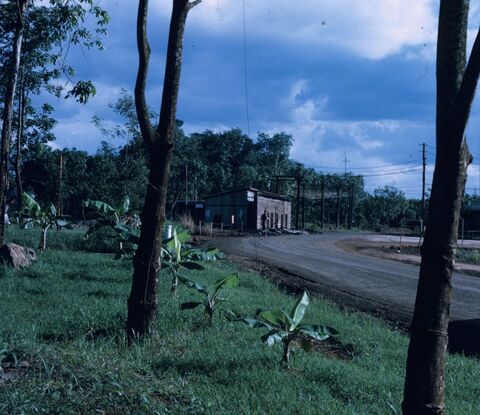 1 ATF Power plant before fire 1 March 1970
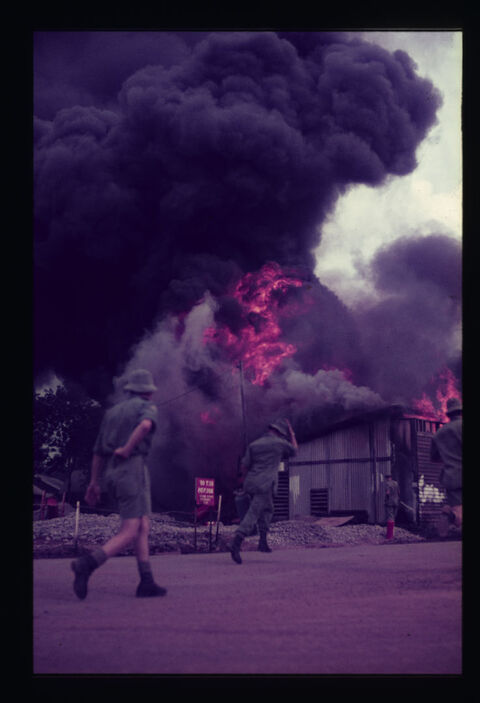 1 ATF Diesel Power Plant fir circa 1970. Plant completely destroyed by fire 1 July 1970
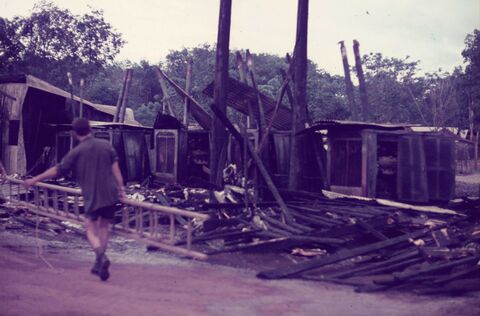 Remains of Power Plant after the fire. 1 June 1970
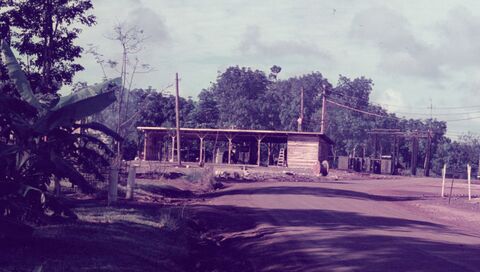 New Power Plant Building after the fire that destroyed the former one. 30 June 1970
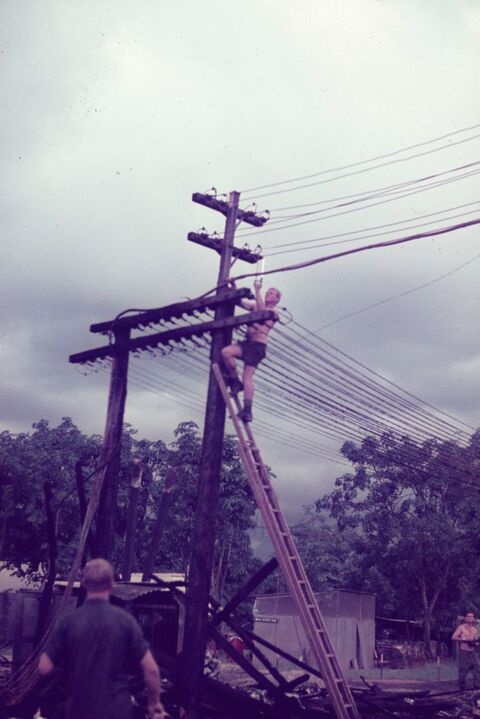 Engineers laying the new Power lines that burnt down during the fire that destroyed the Power Plant. 28 June 1970
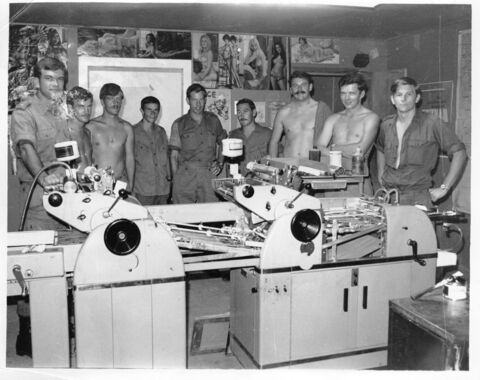 1 Australian Psychology Operations Unit (! Psyops Unit) printing room with psyops staff. Playboy centerfolds behind then on the wall. 1 September 1970
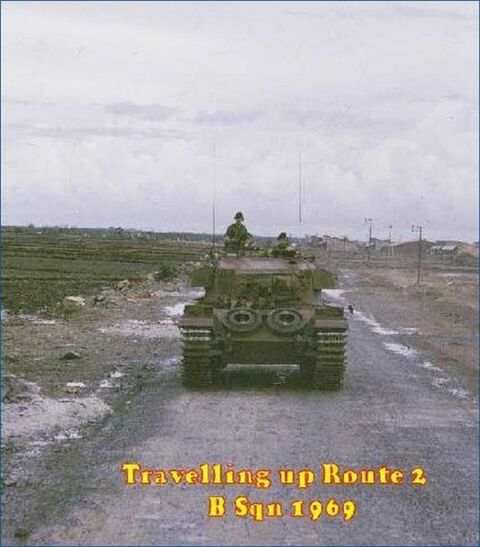 Tanks of B Squadron on Route 2 in 1969 Ern Marshall Barry Hodges
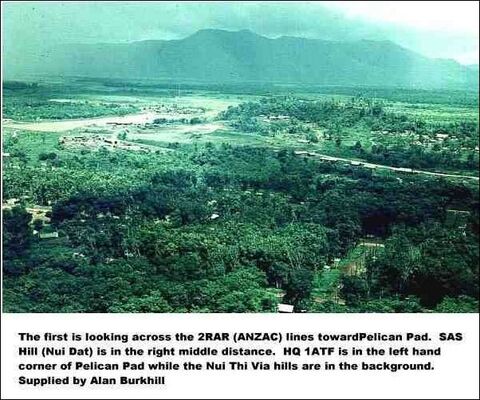 Looking Across 2 RAR lines Allan Burkhill
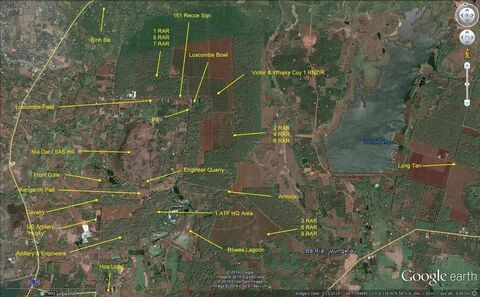 Google map with units overlaid as about 2011 Ern Marshall unknown
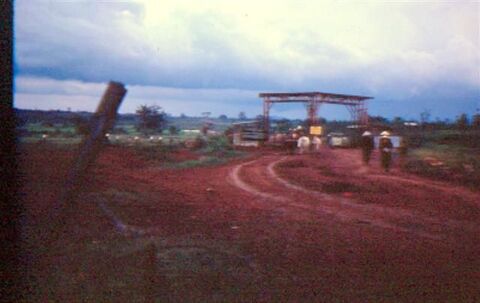 Ern Marshall
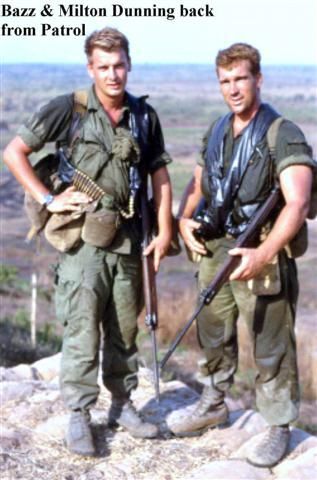 Couple of Diggers at The Horseshoe ErnMarshall
Sources #
- Tours and arm: the Australian War Memorial's record of the unit.
- Contacts: the Battle Map's records of 68 contacts, each report citing the archival source (most often the commanders' diaries, AWM95).
- The dead: the honour roll, with tours of duty from the nominal roll.
- Helicopter missions: No. 9 Squadron RAAF's unit history sheets (National Archives of Australia, A9186, 736), read into the Battle Map's records, with each report's summary written by an AI model (Claude).
- Summaries of the reports: written by an AI model (Claude) from the reports, and reviewed.